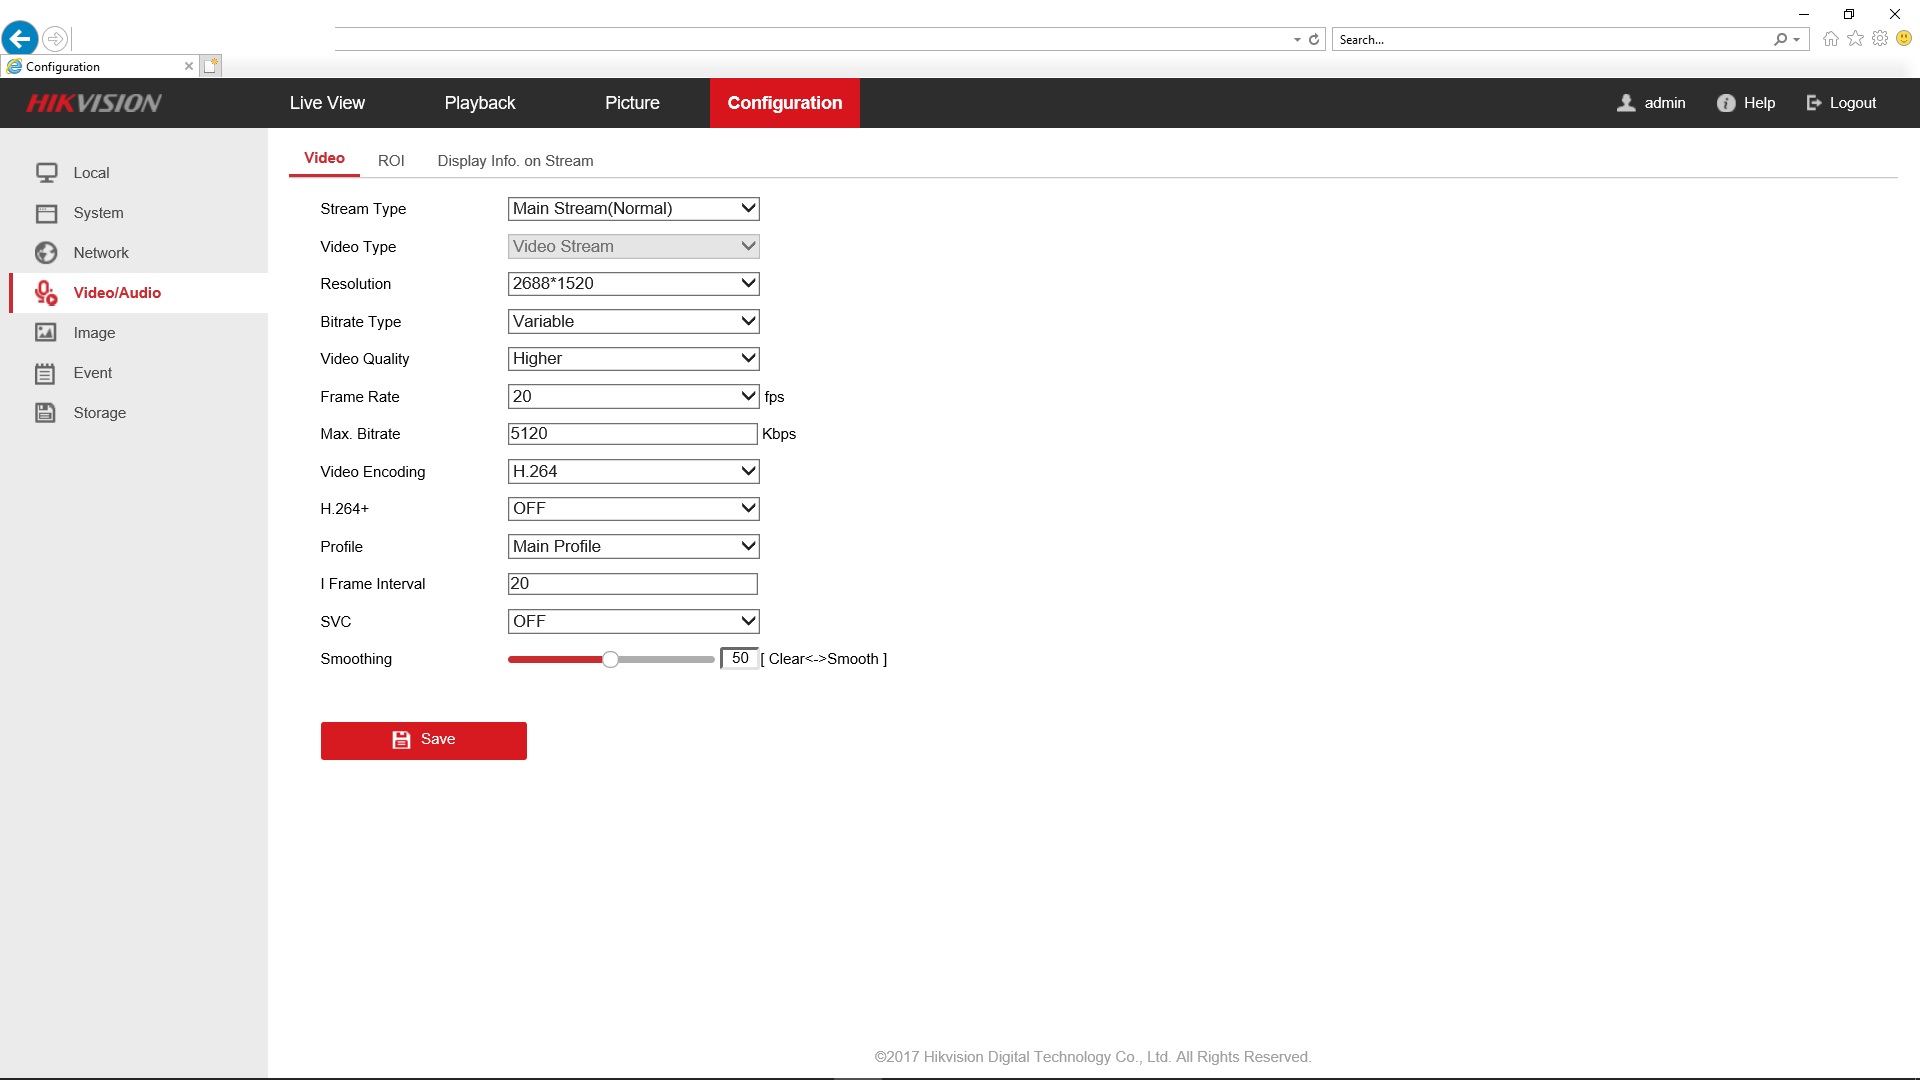
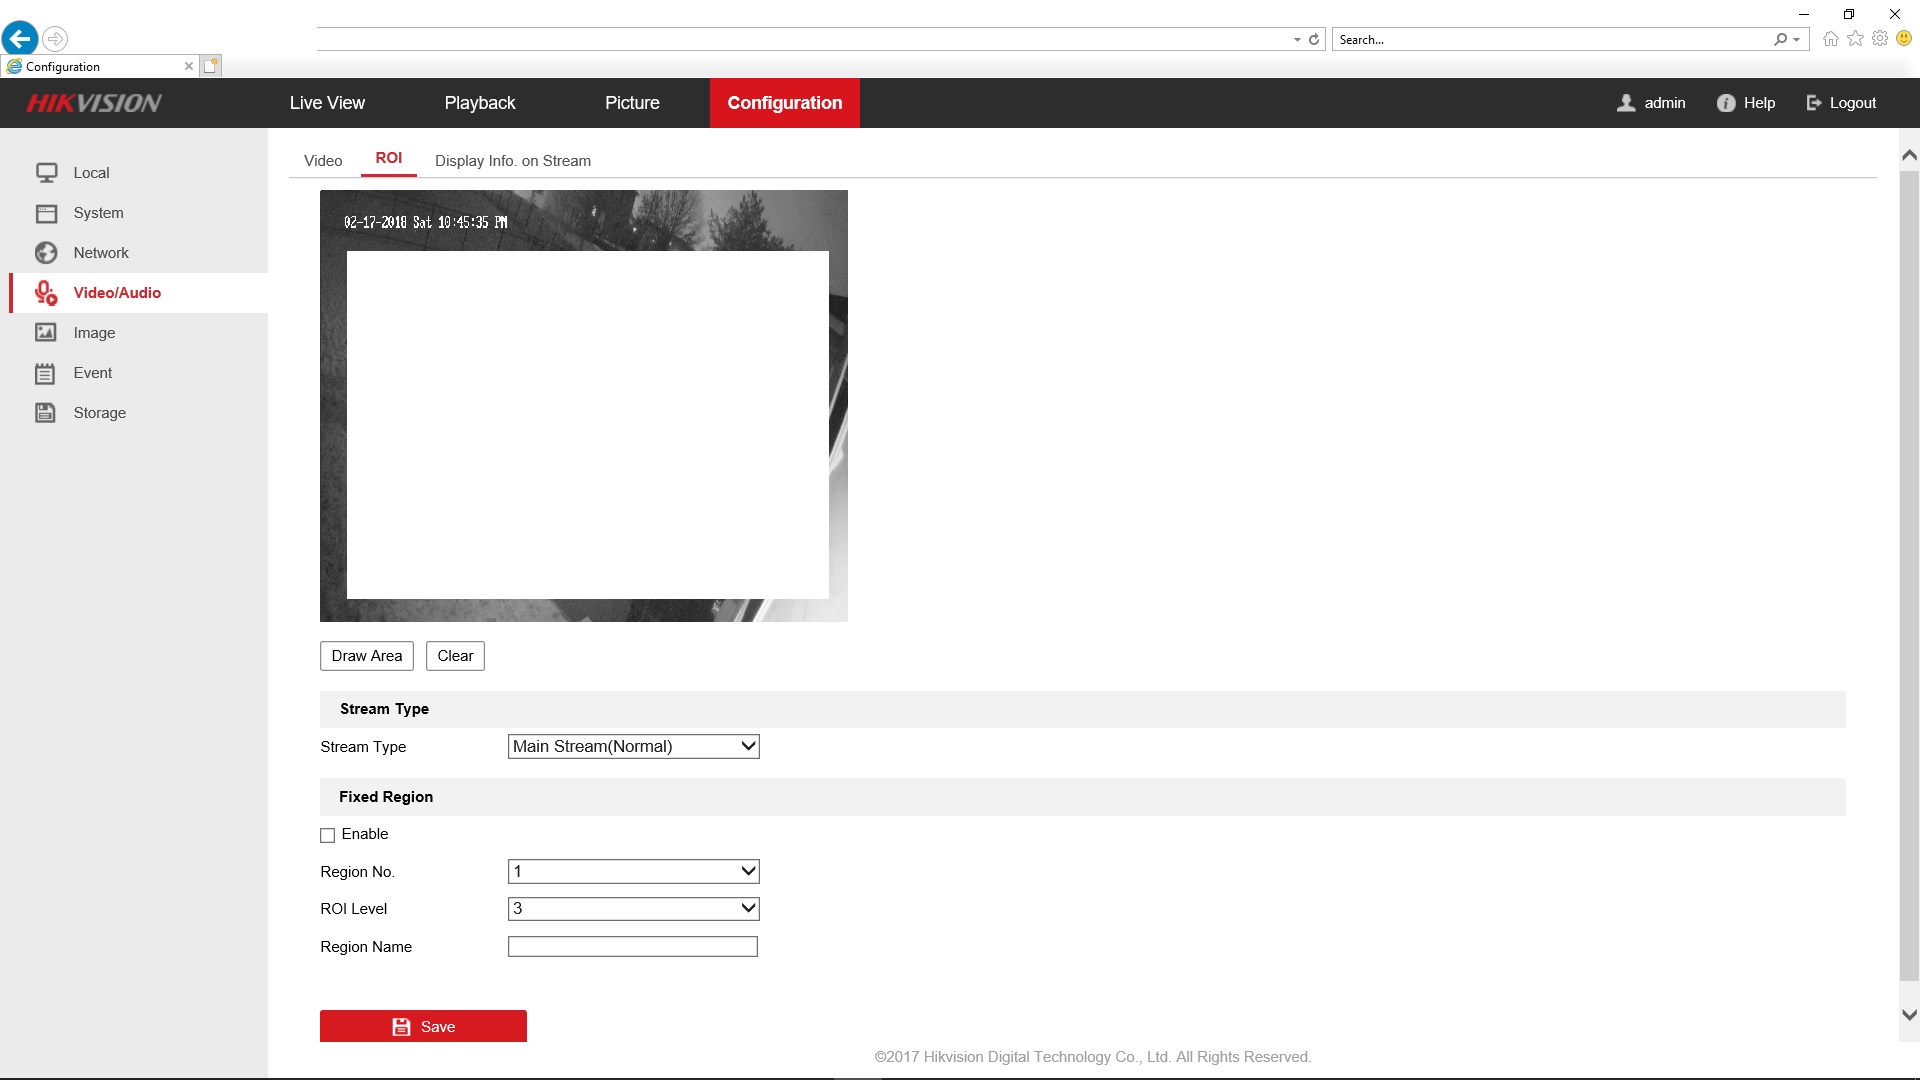
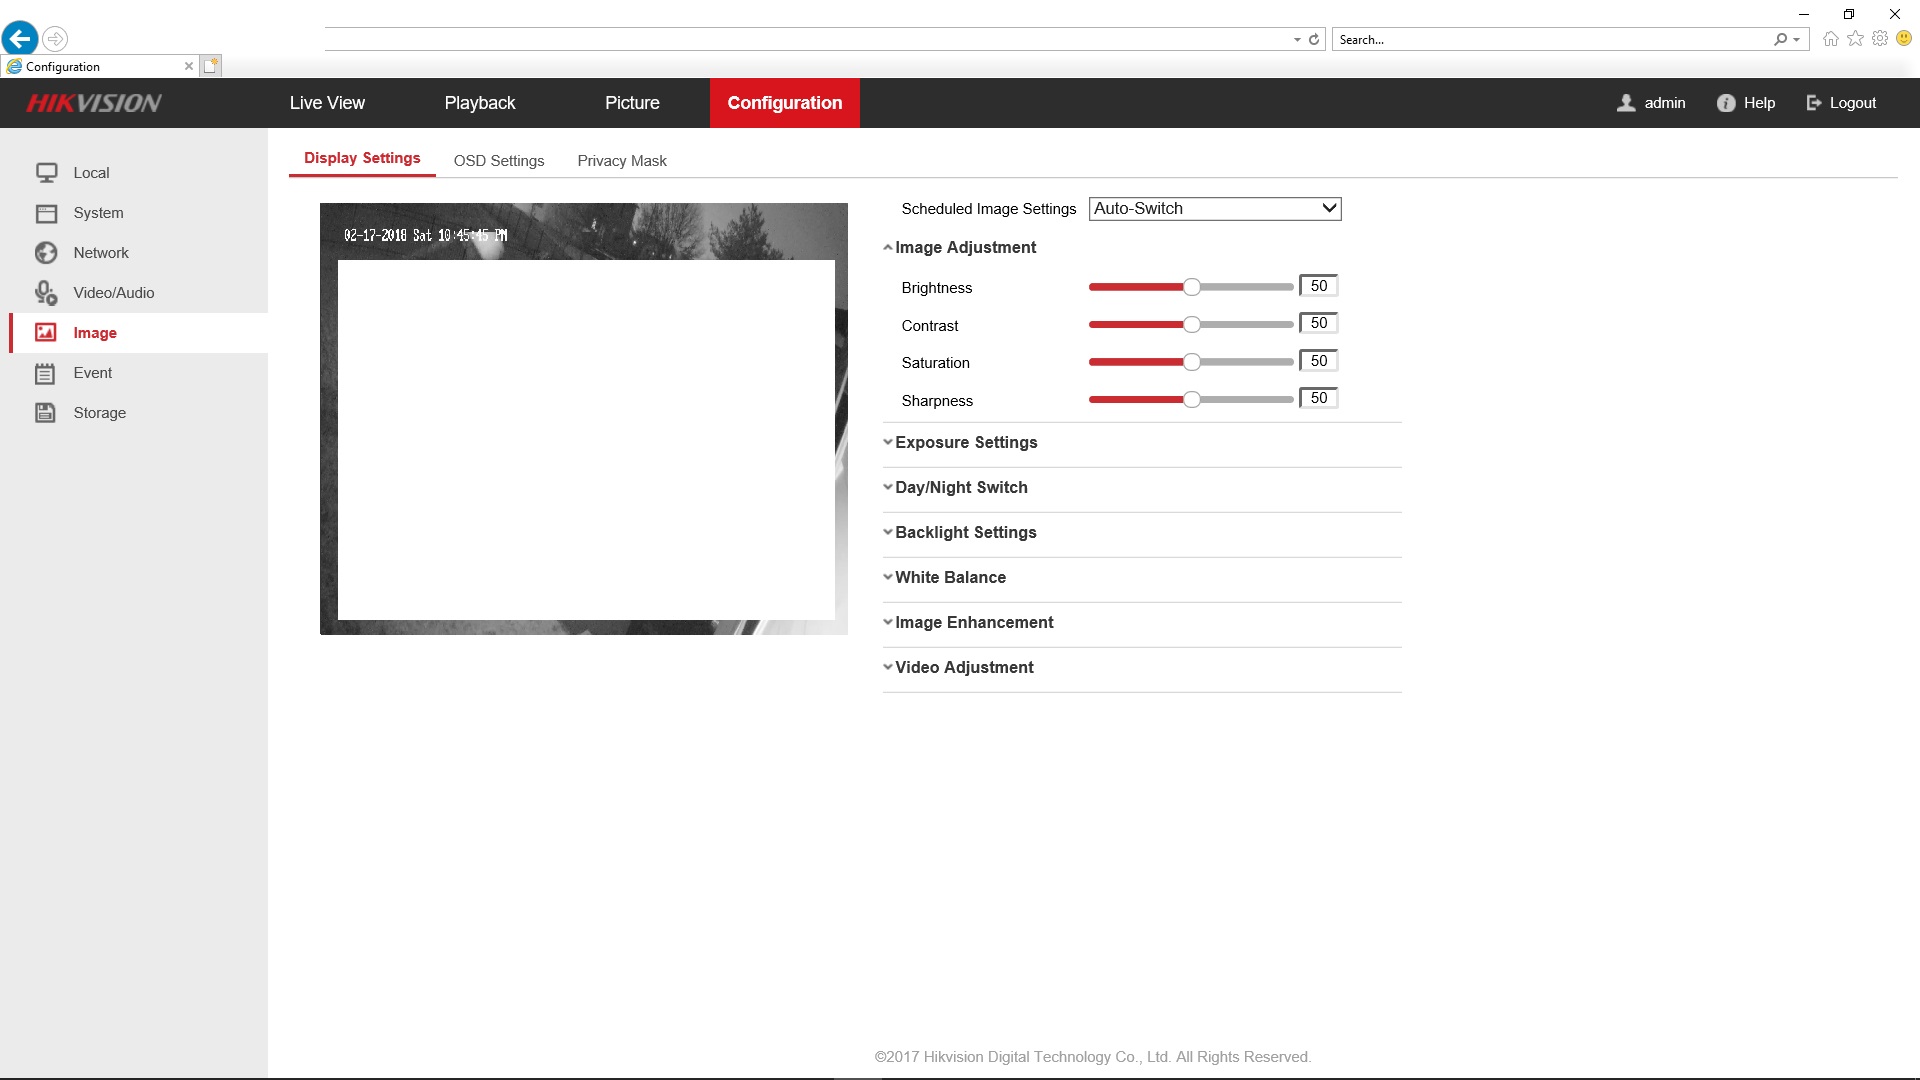
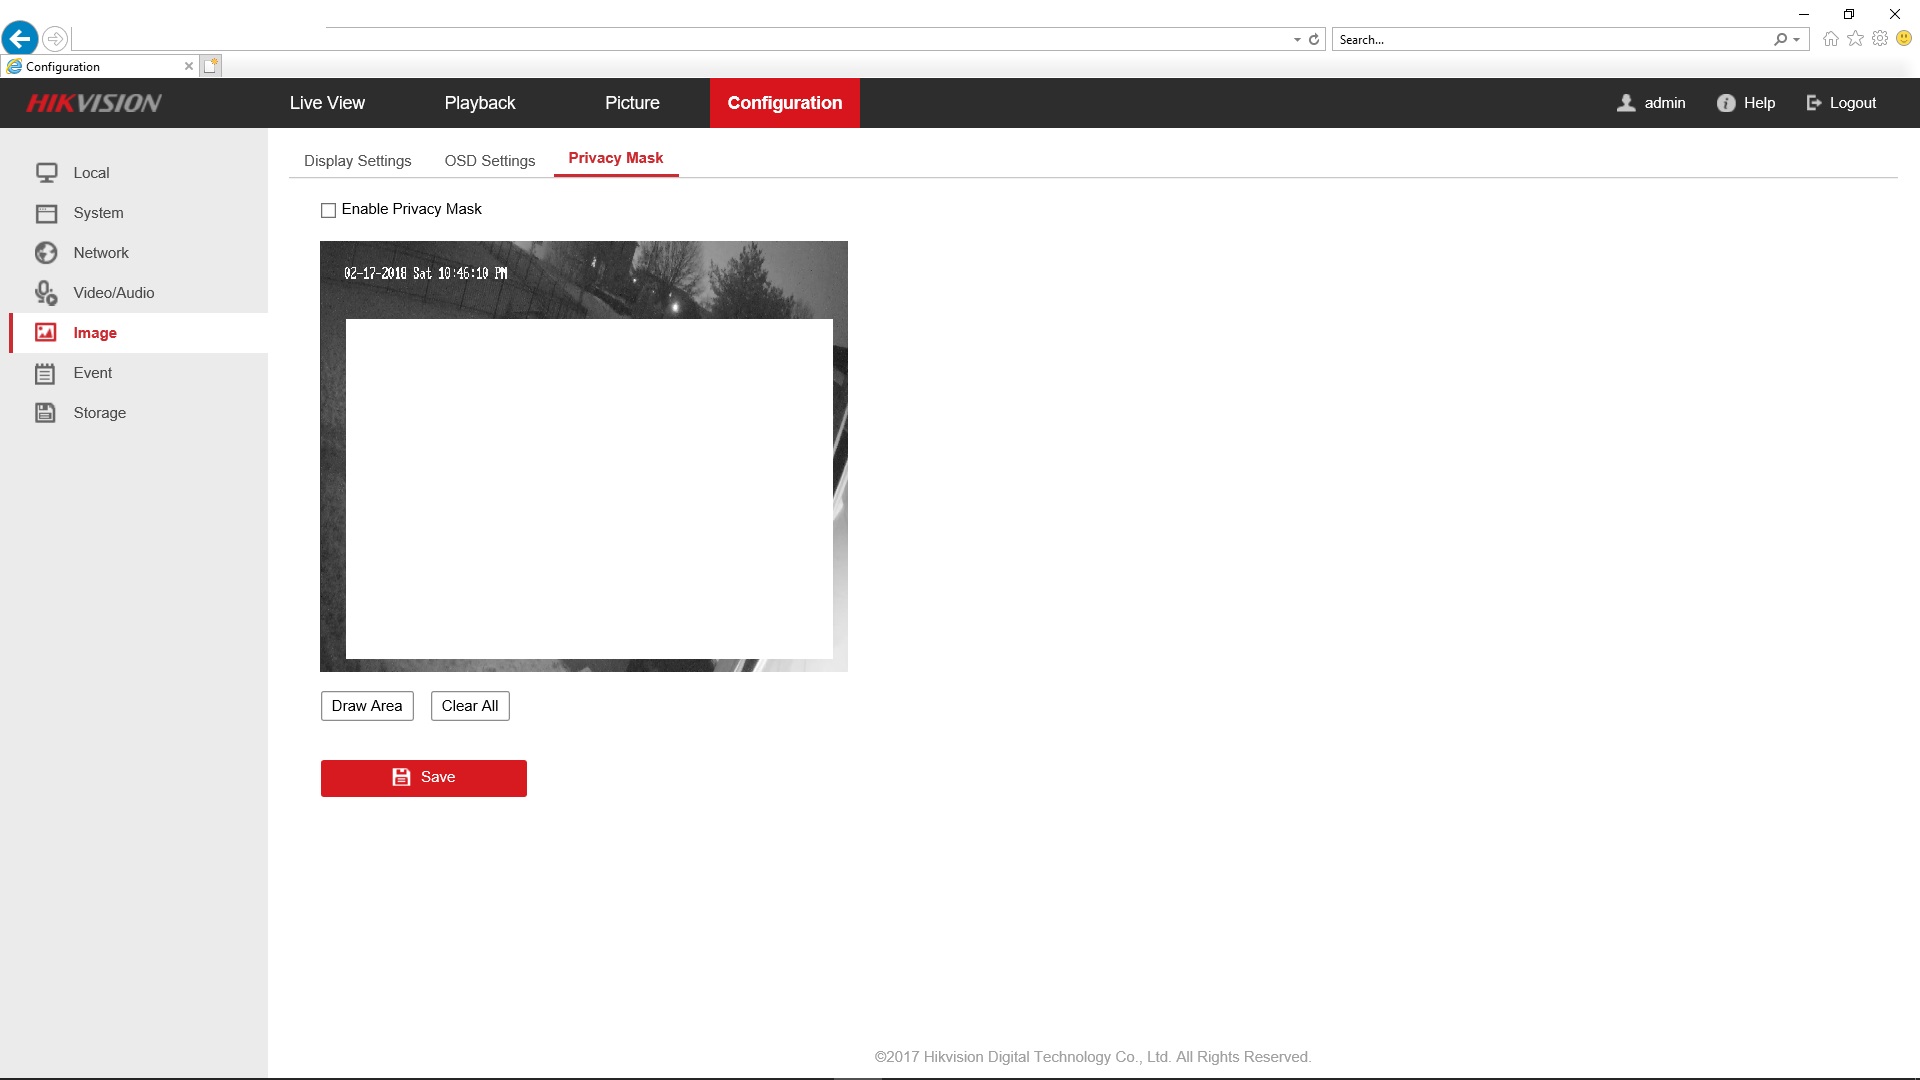
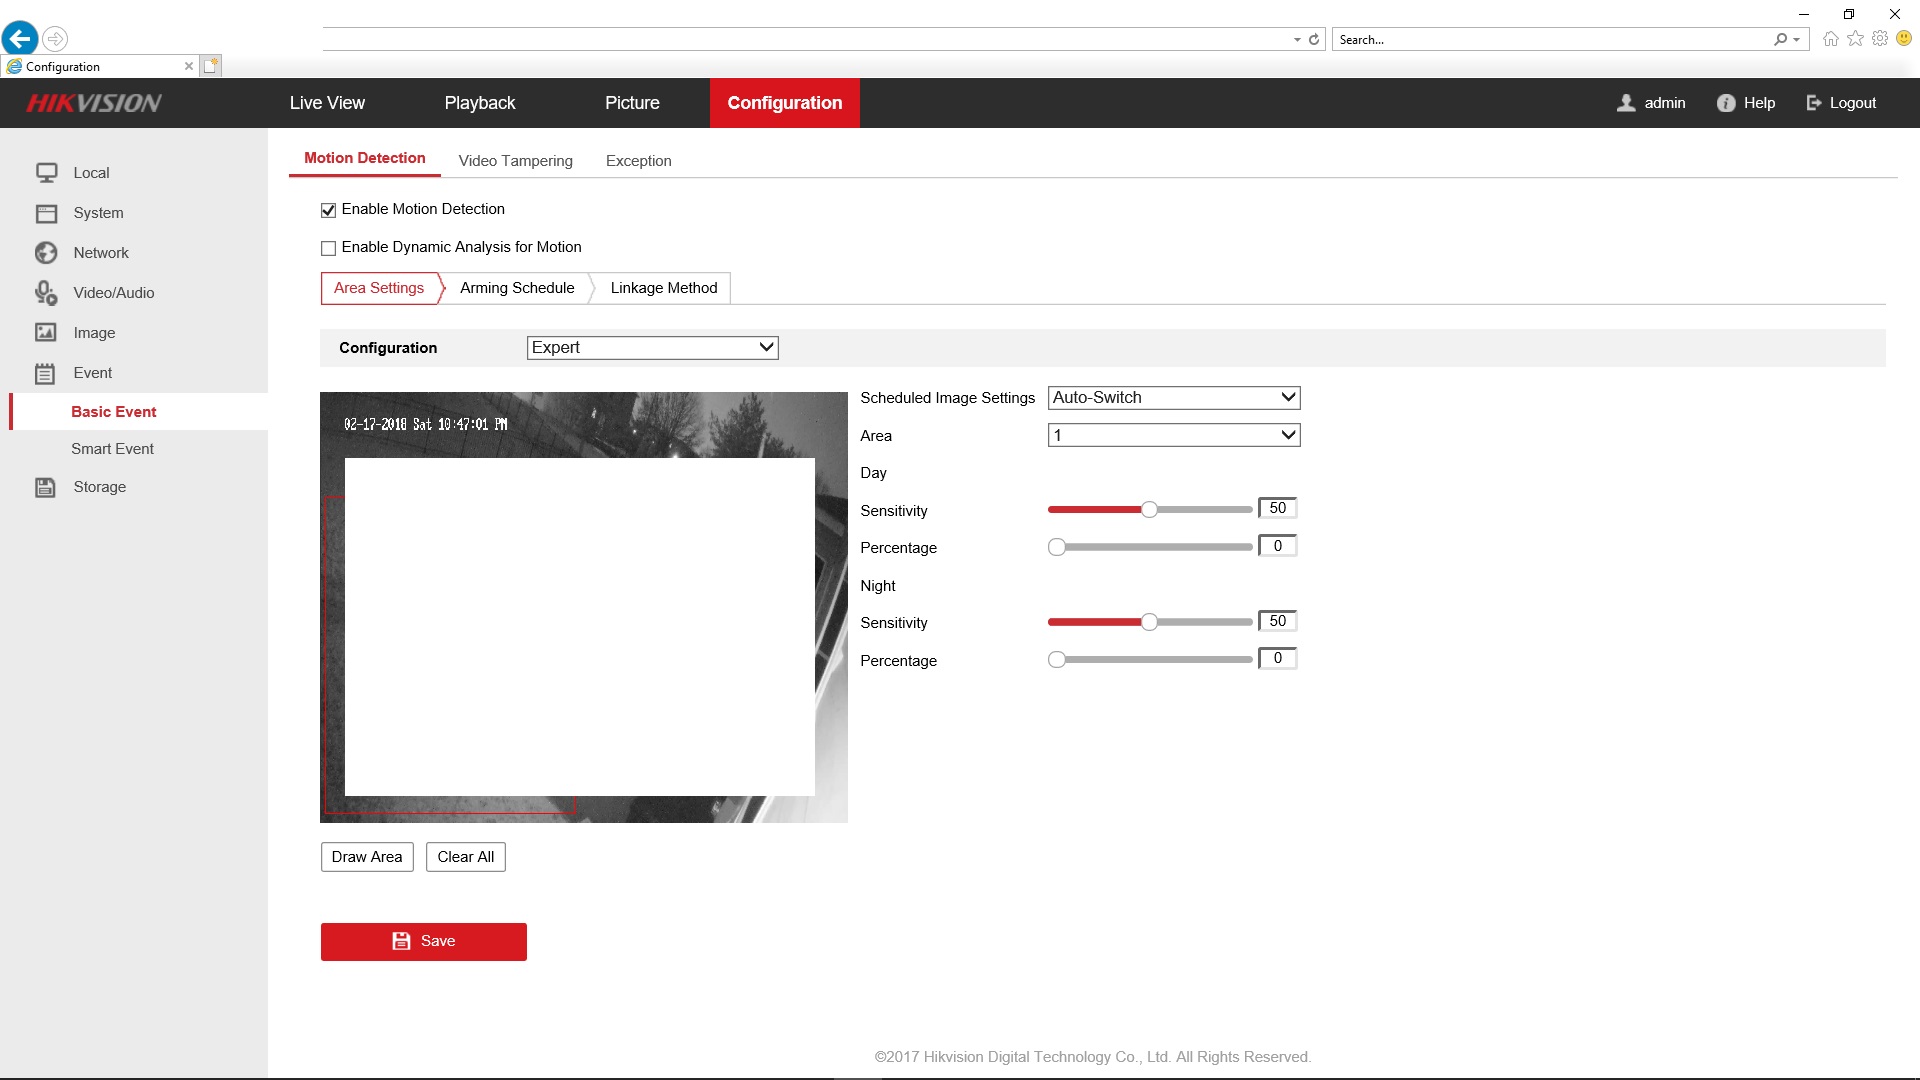
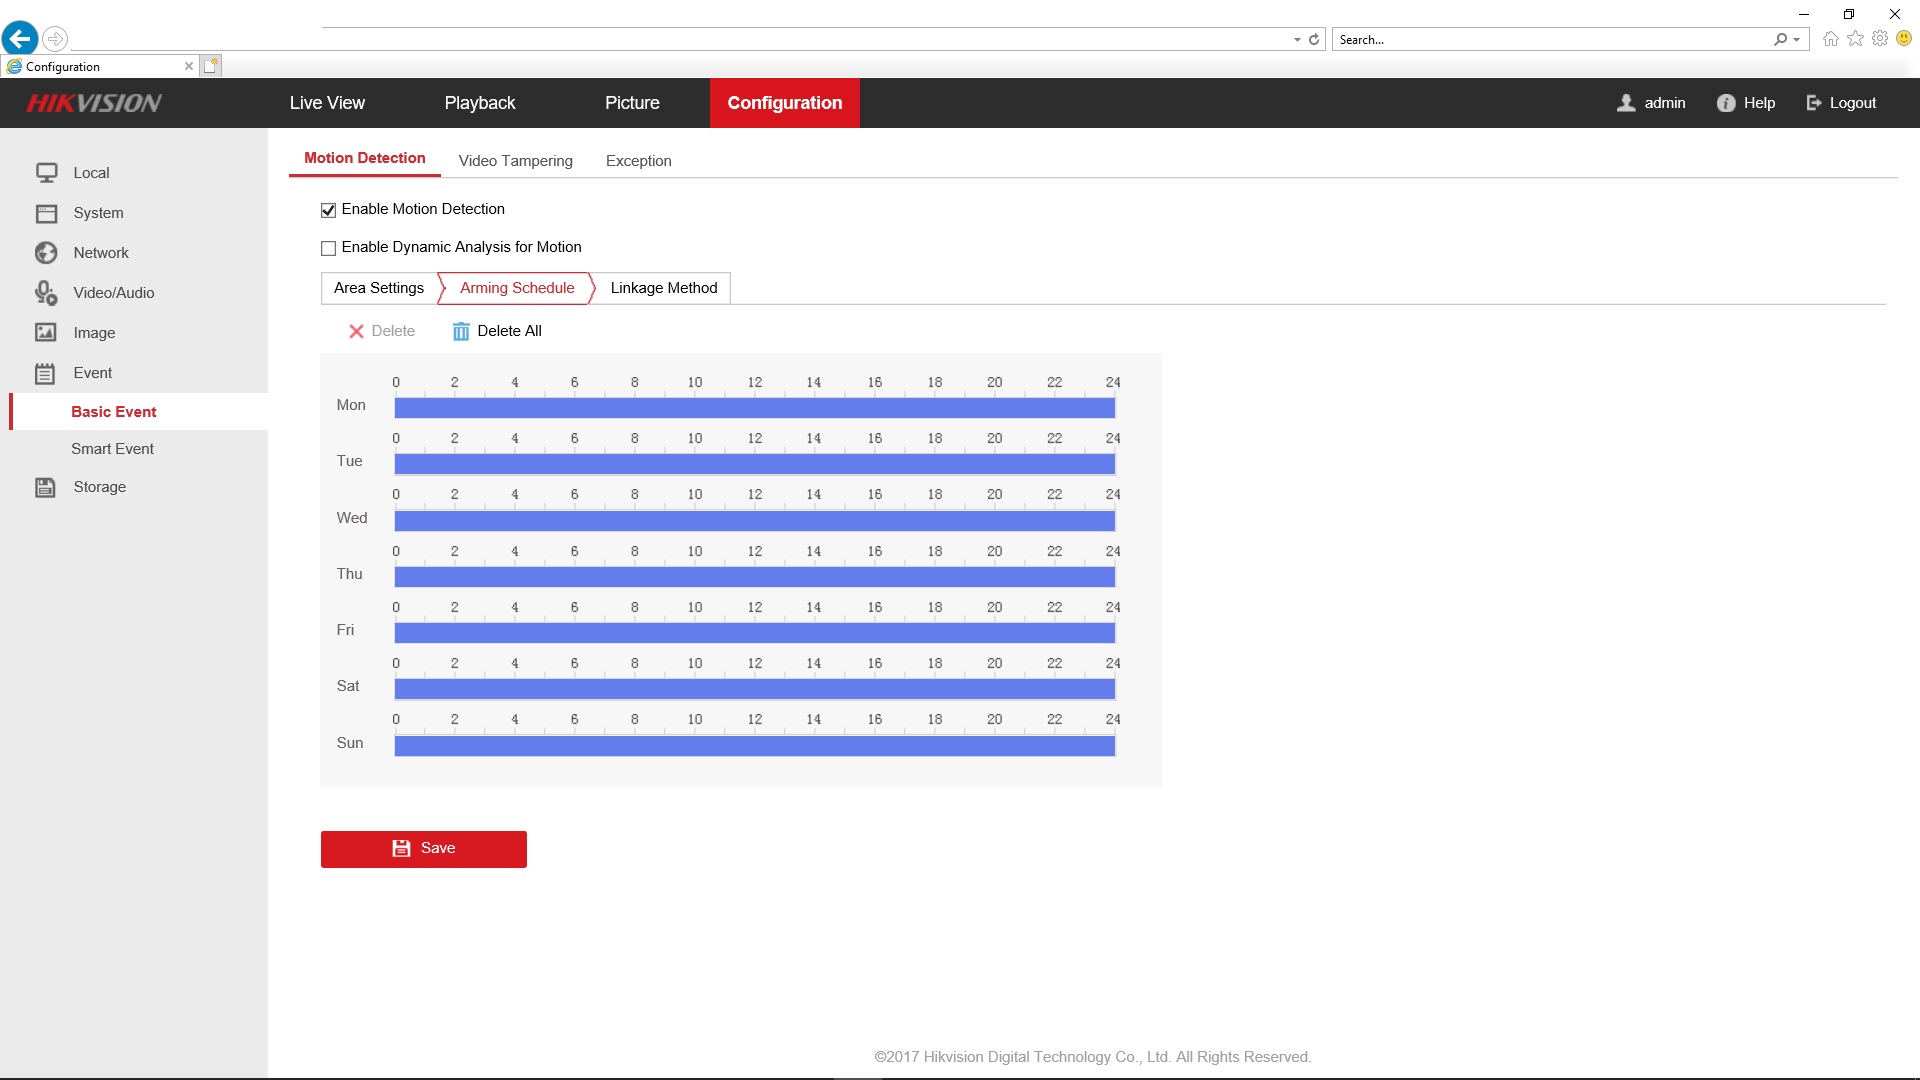
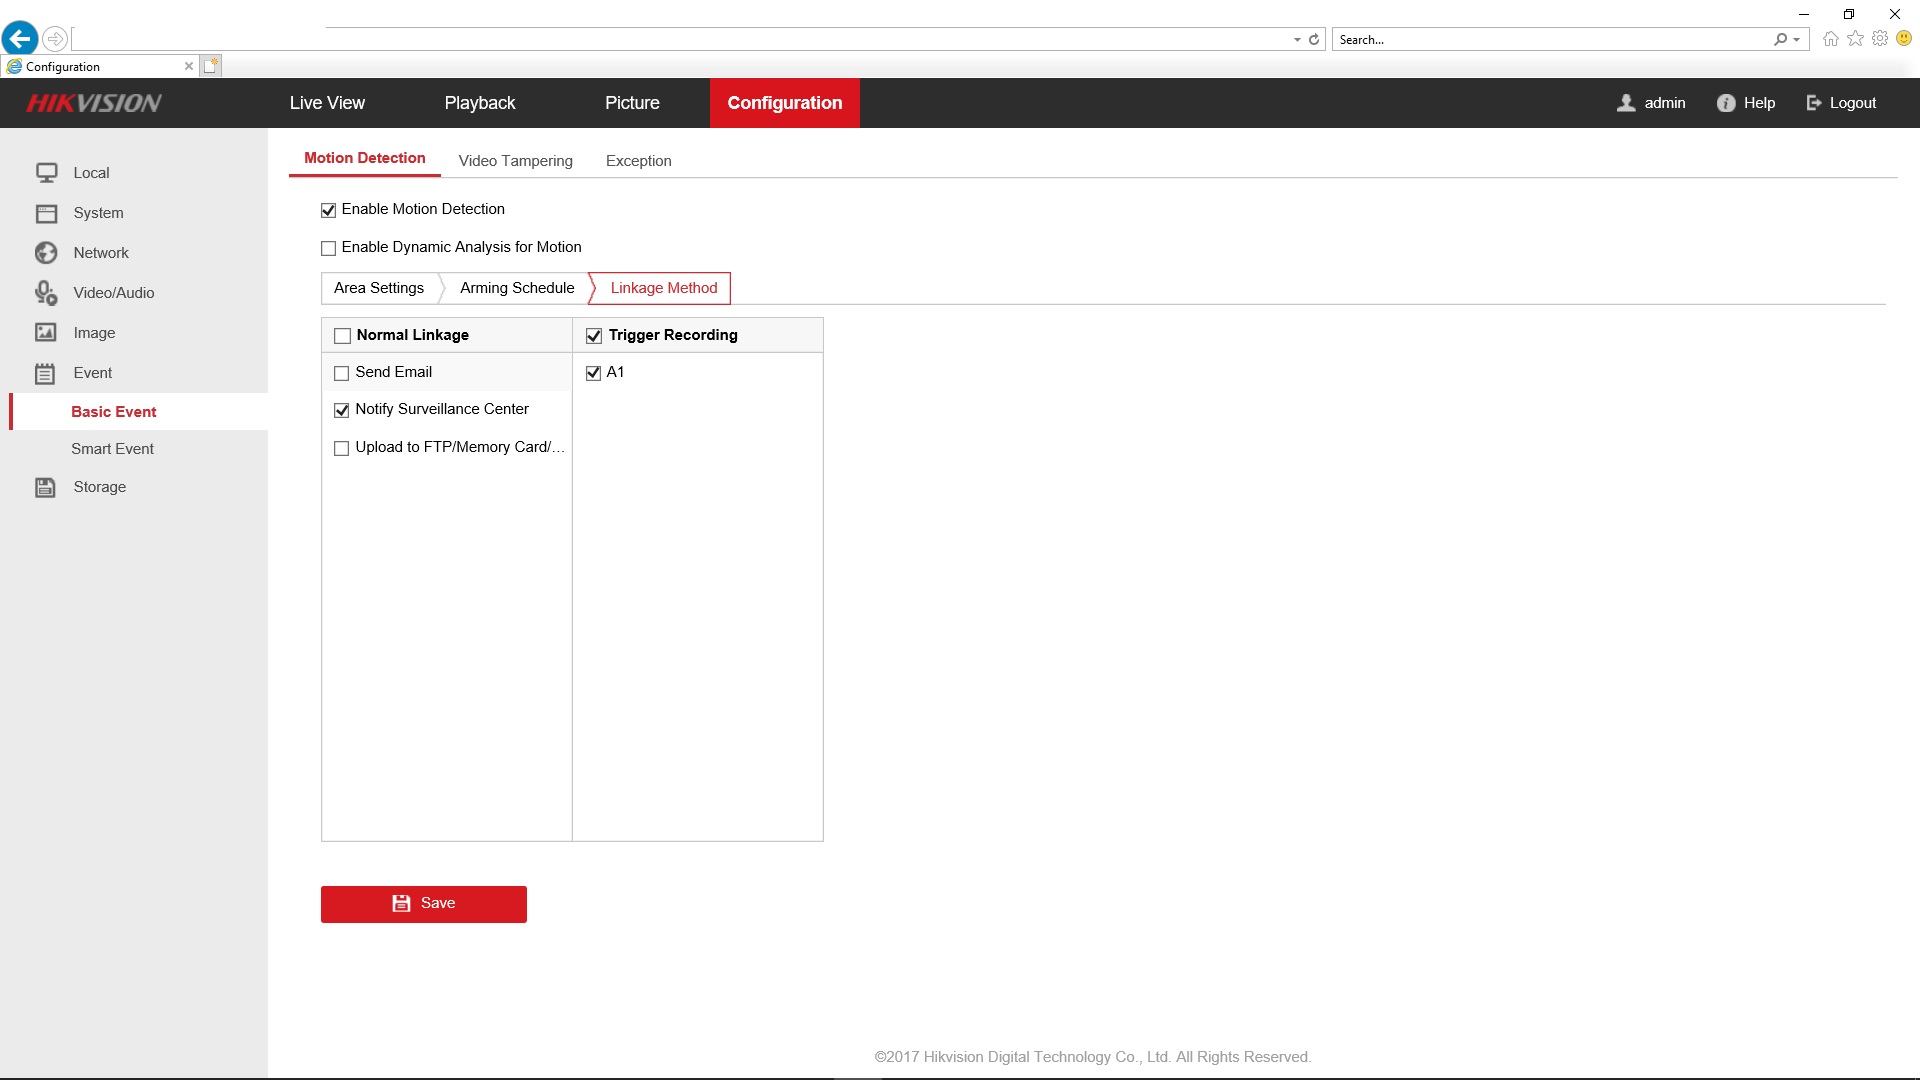
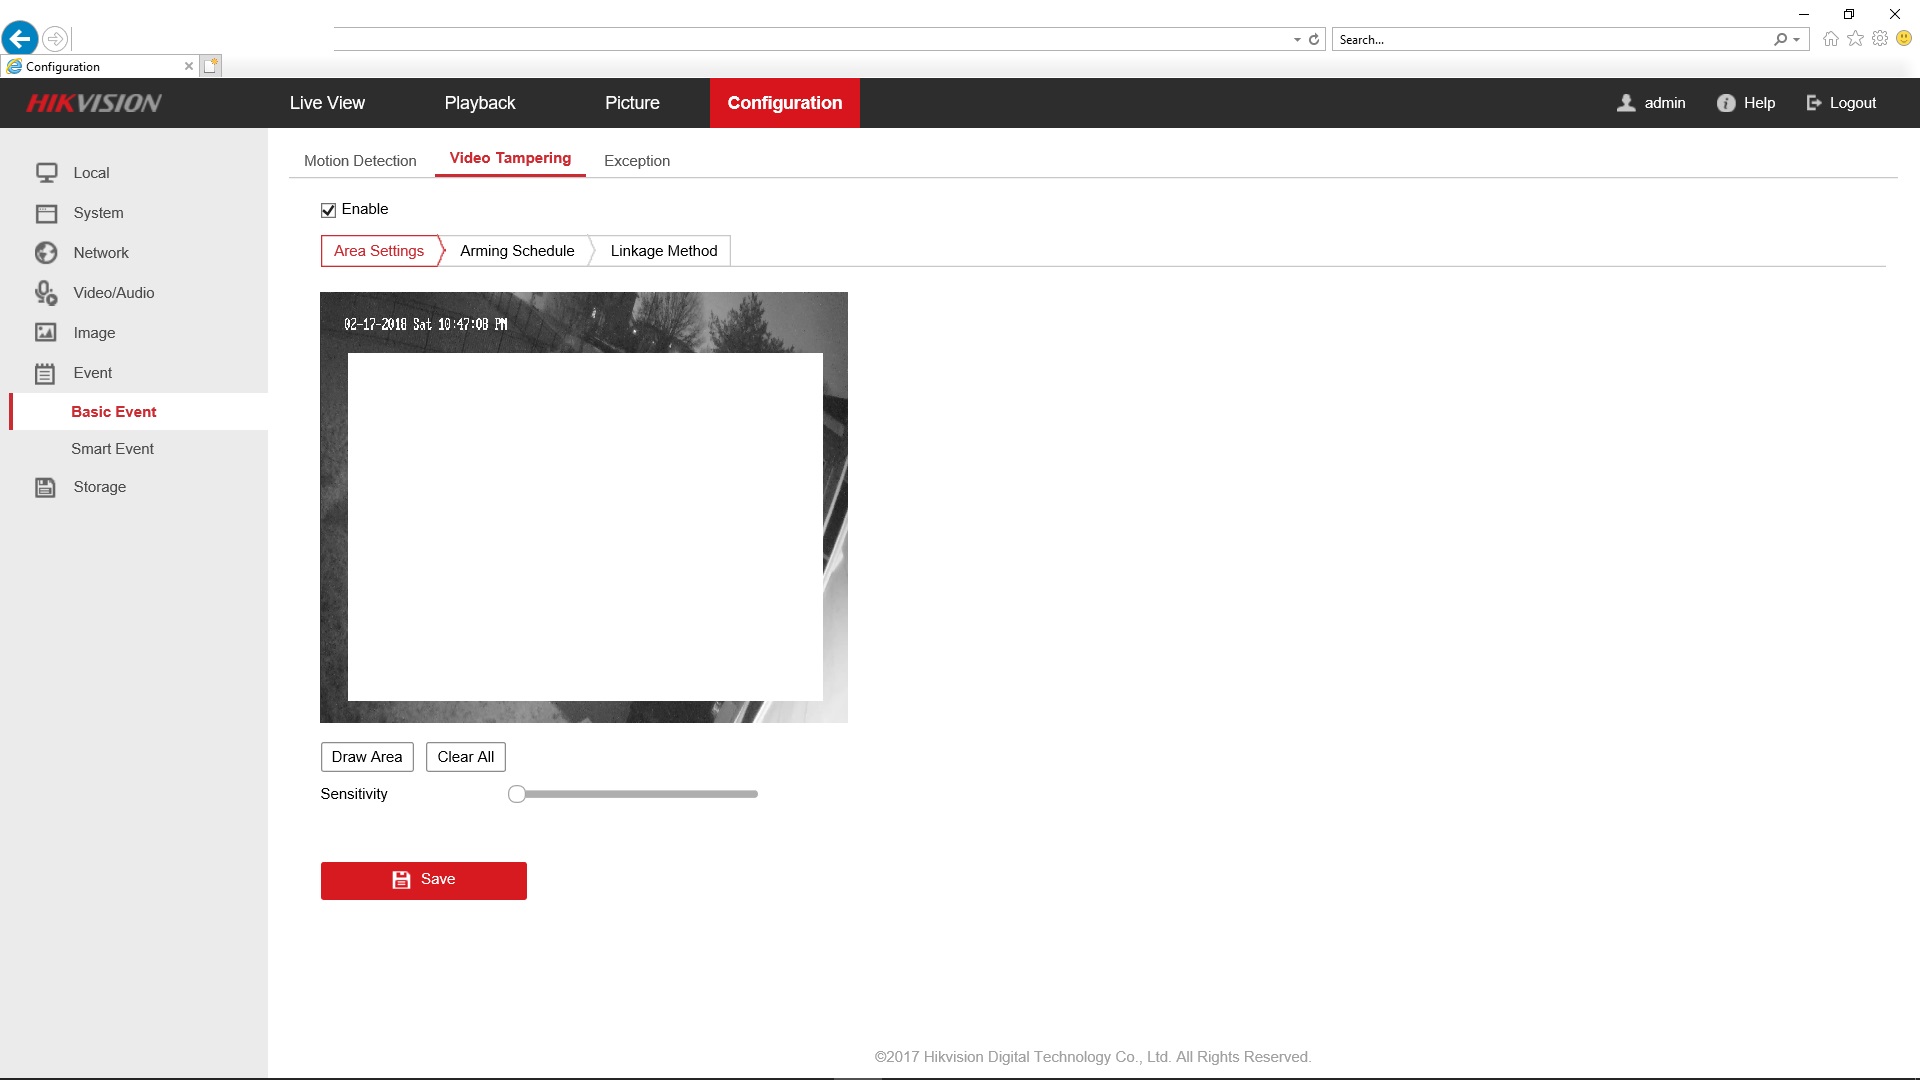
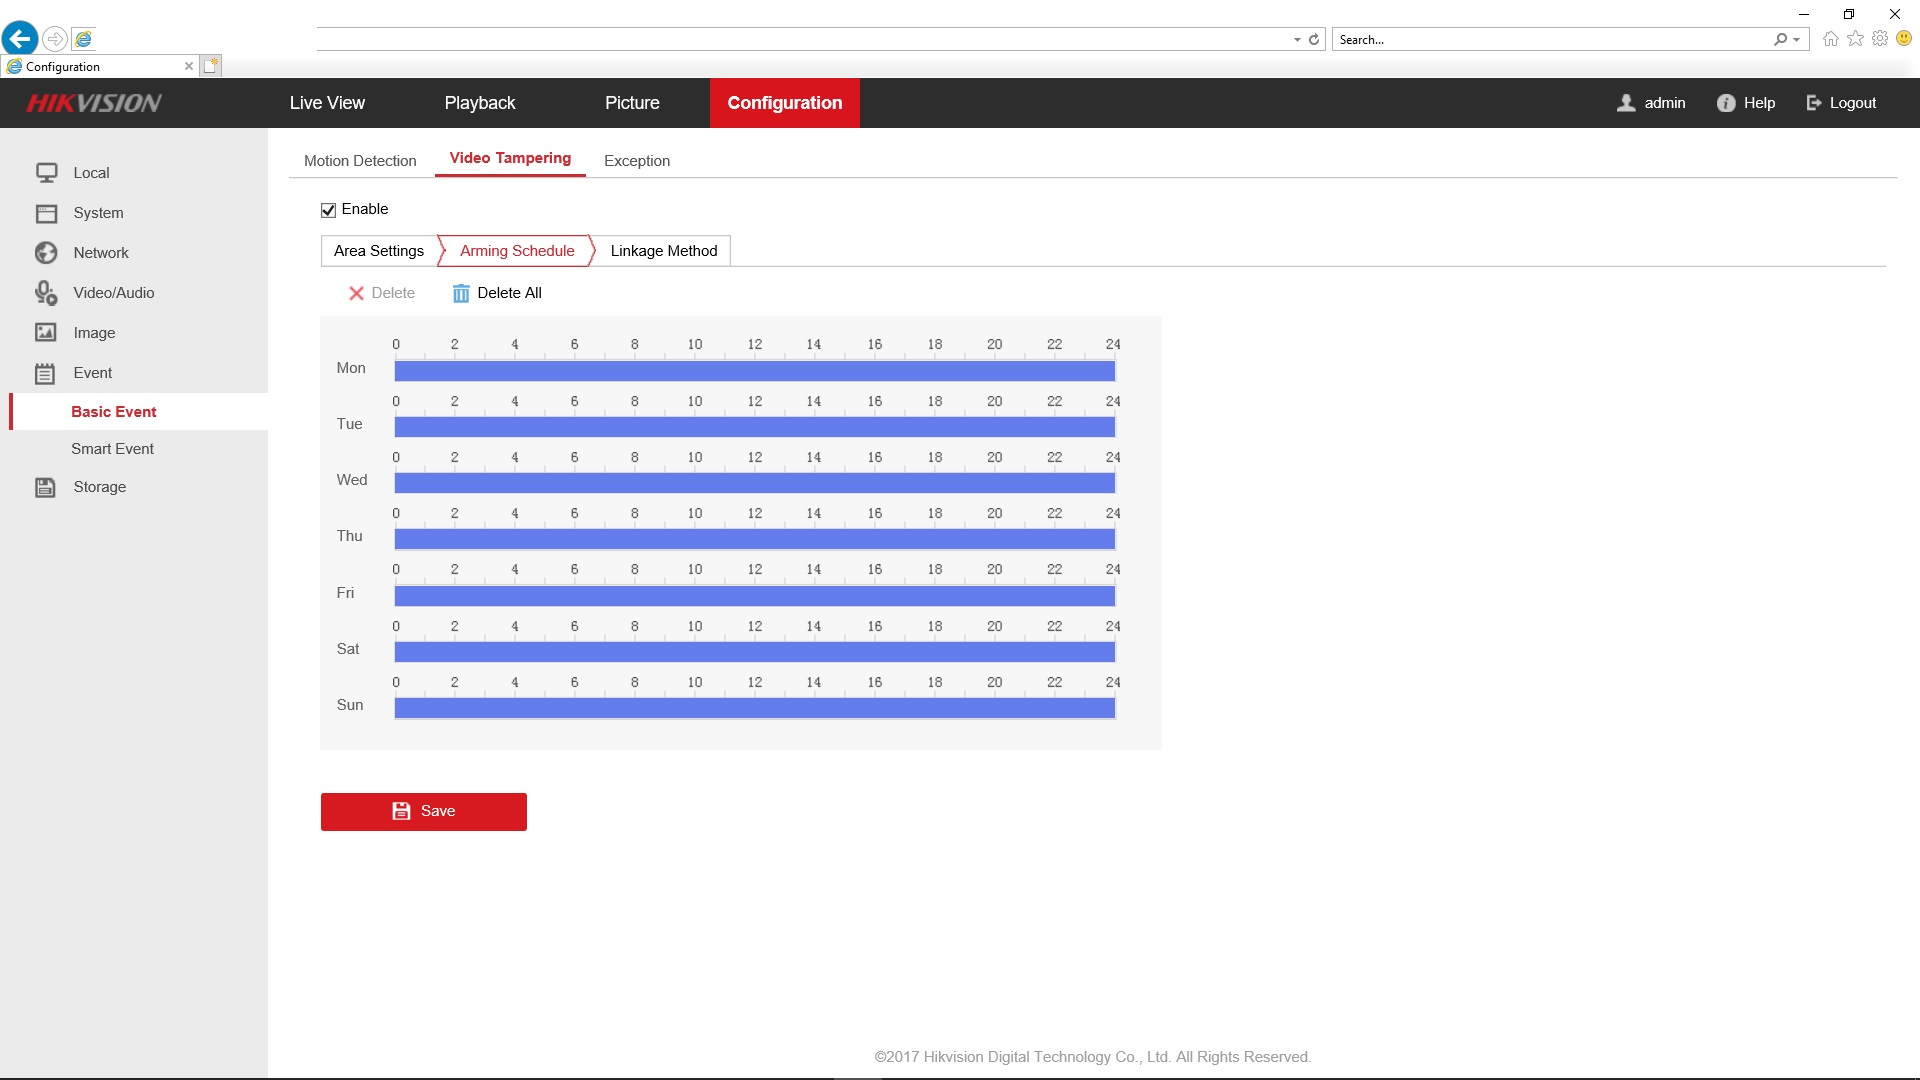
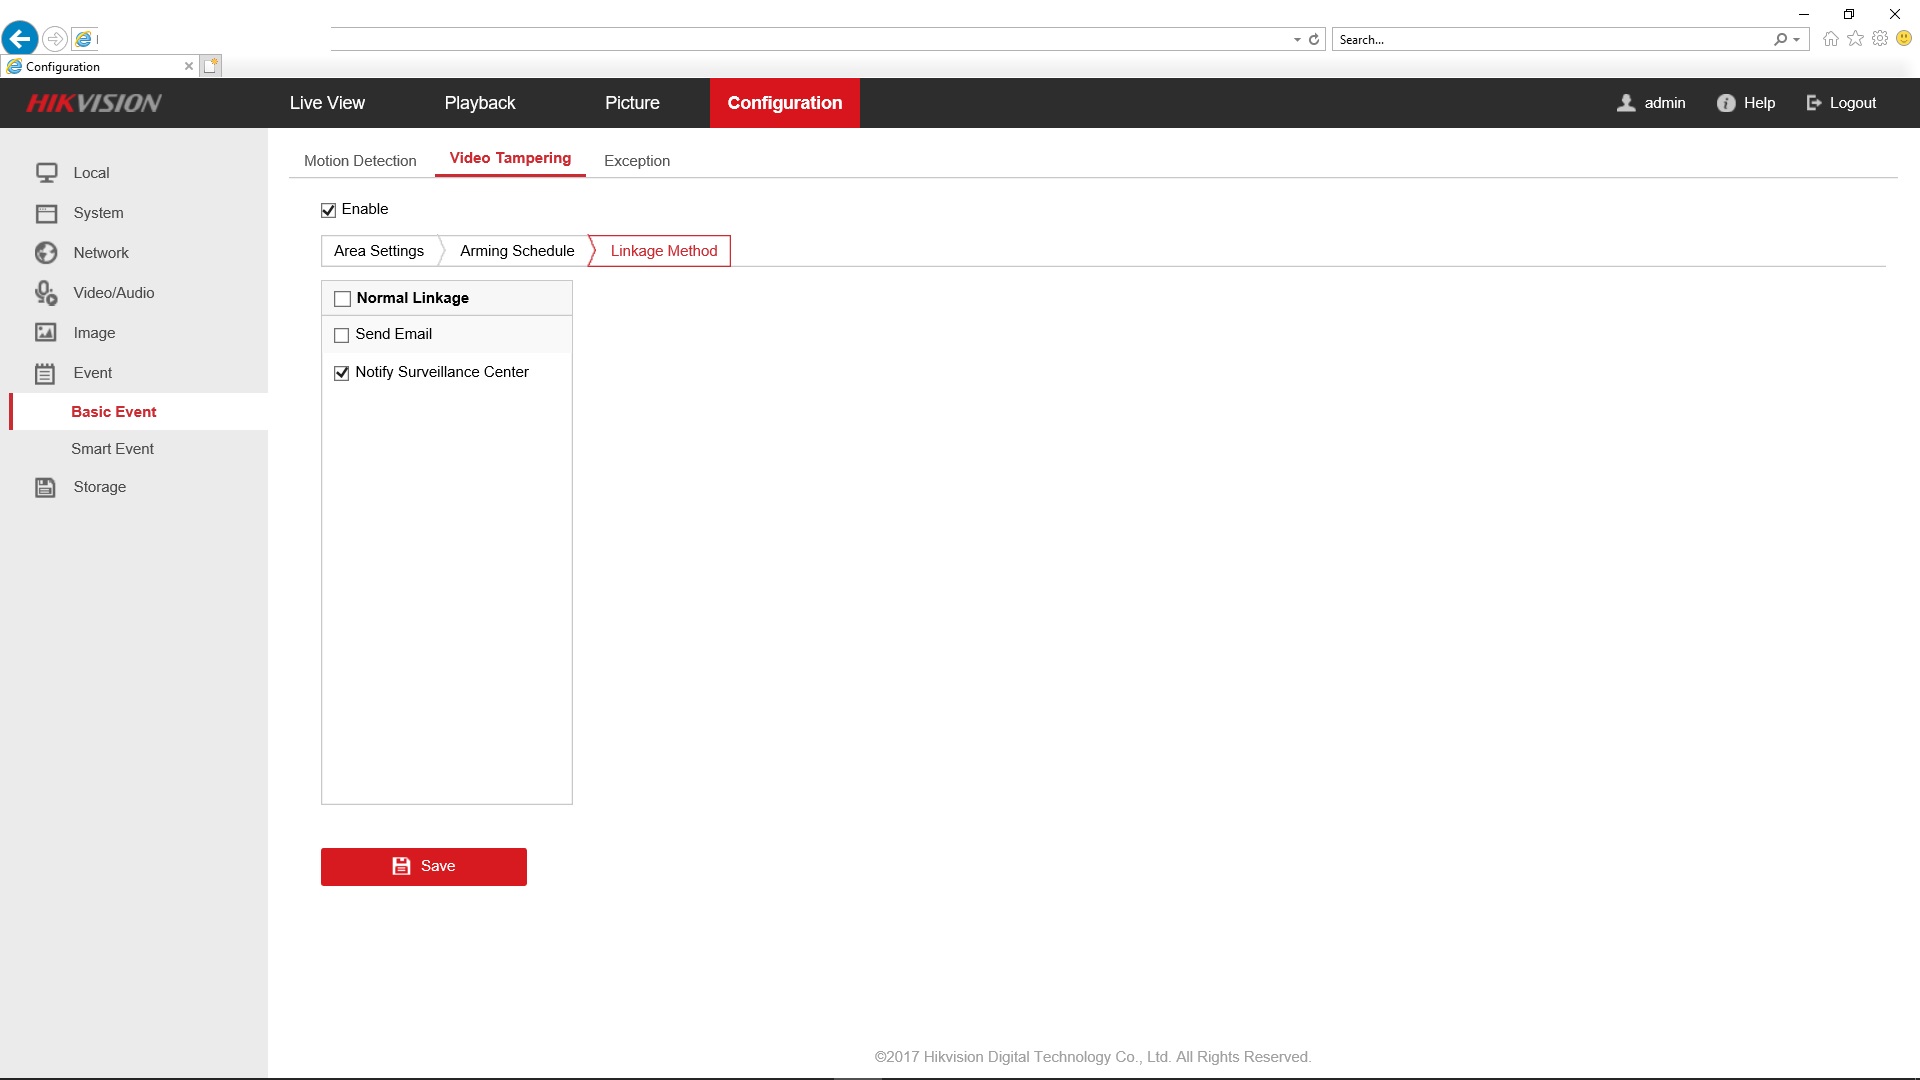
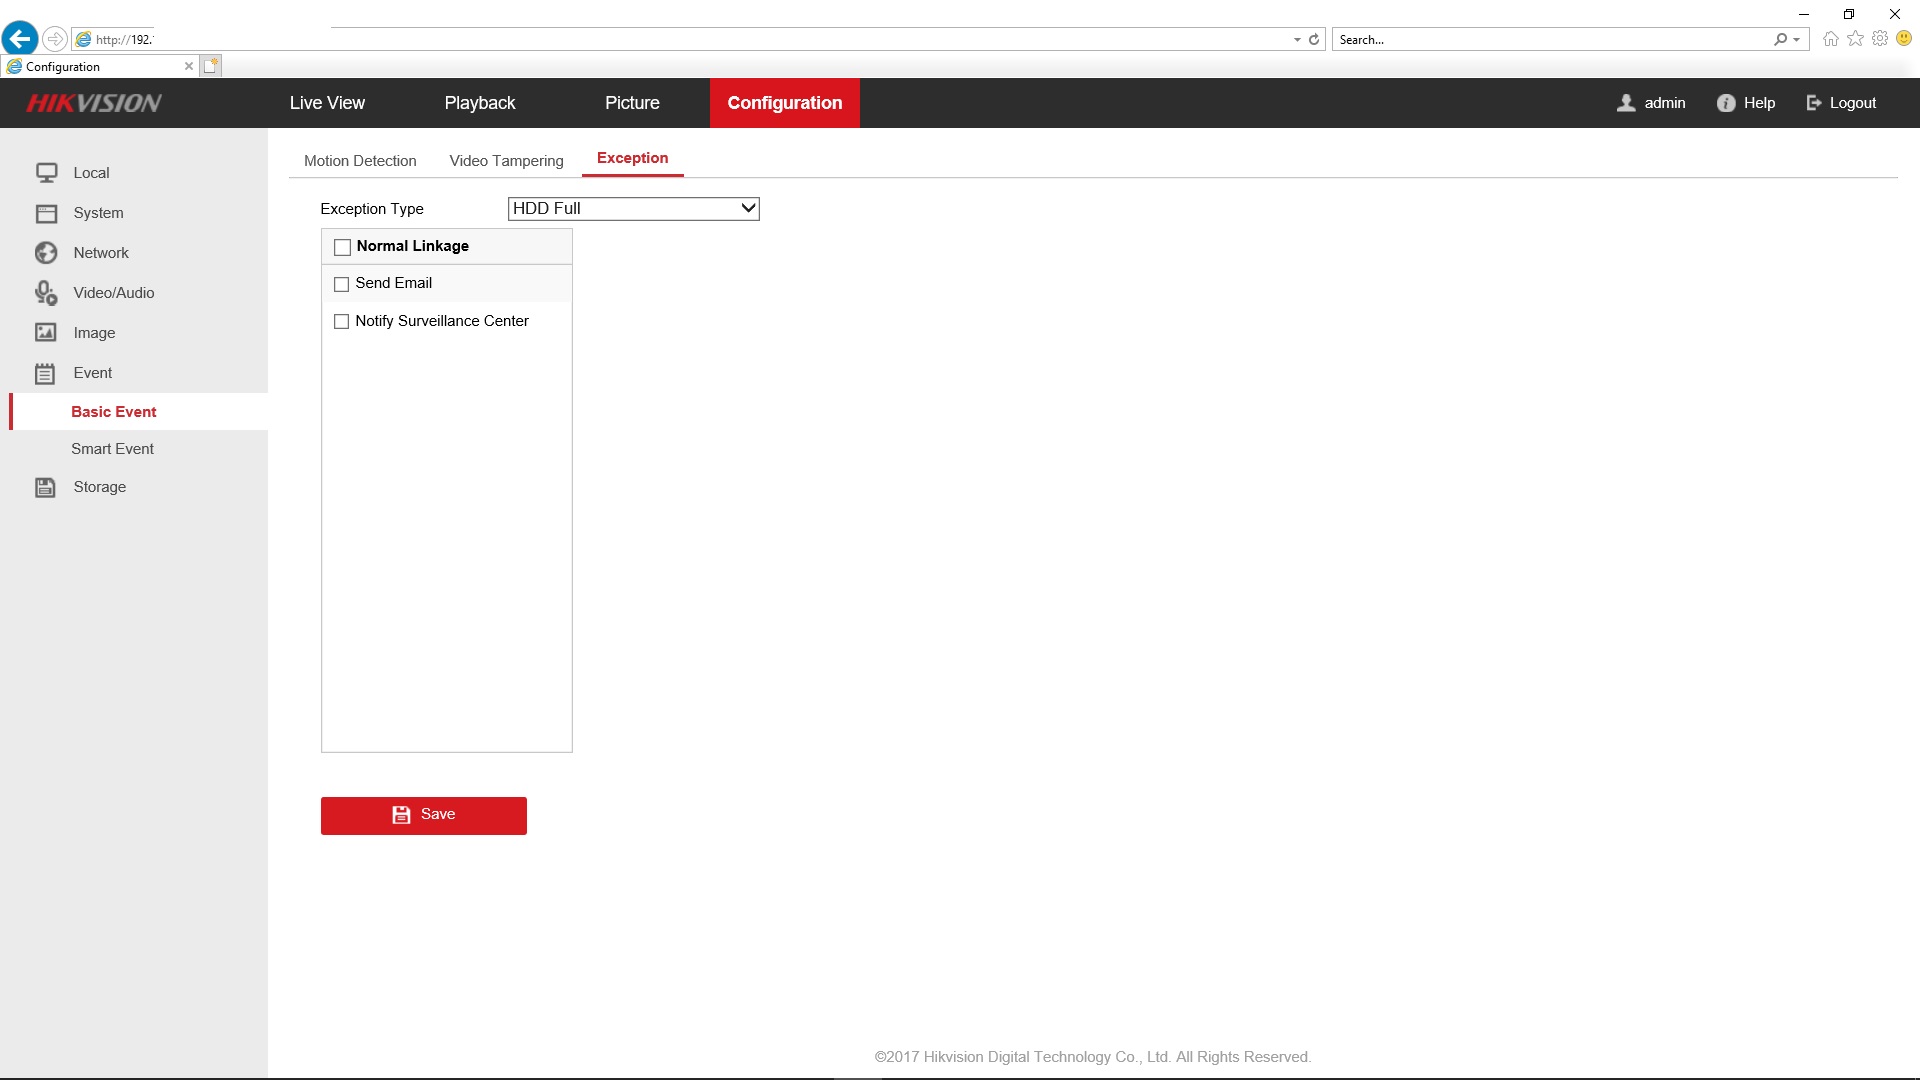
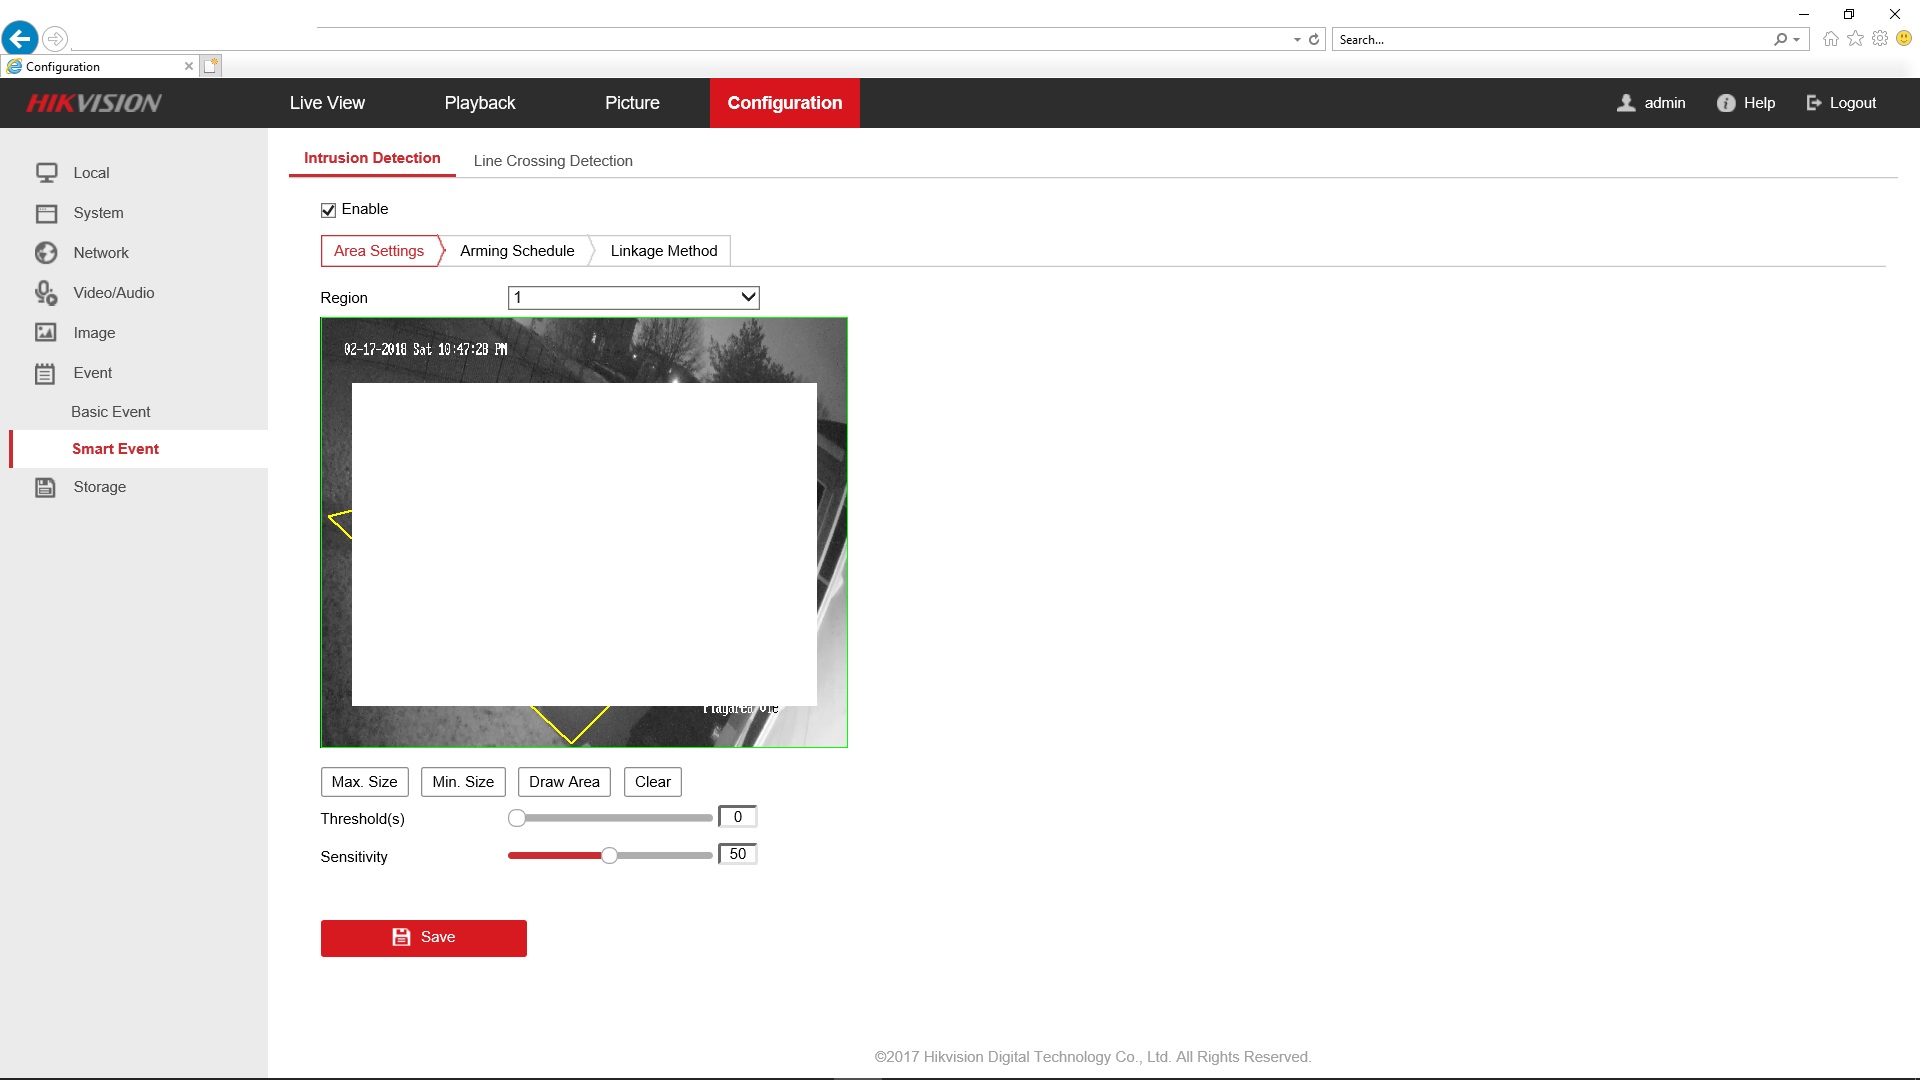
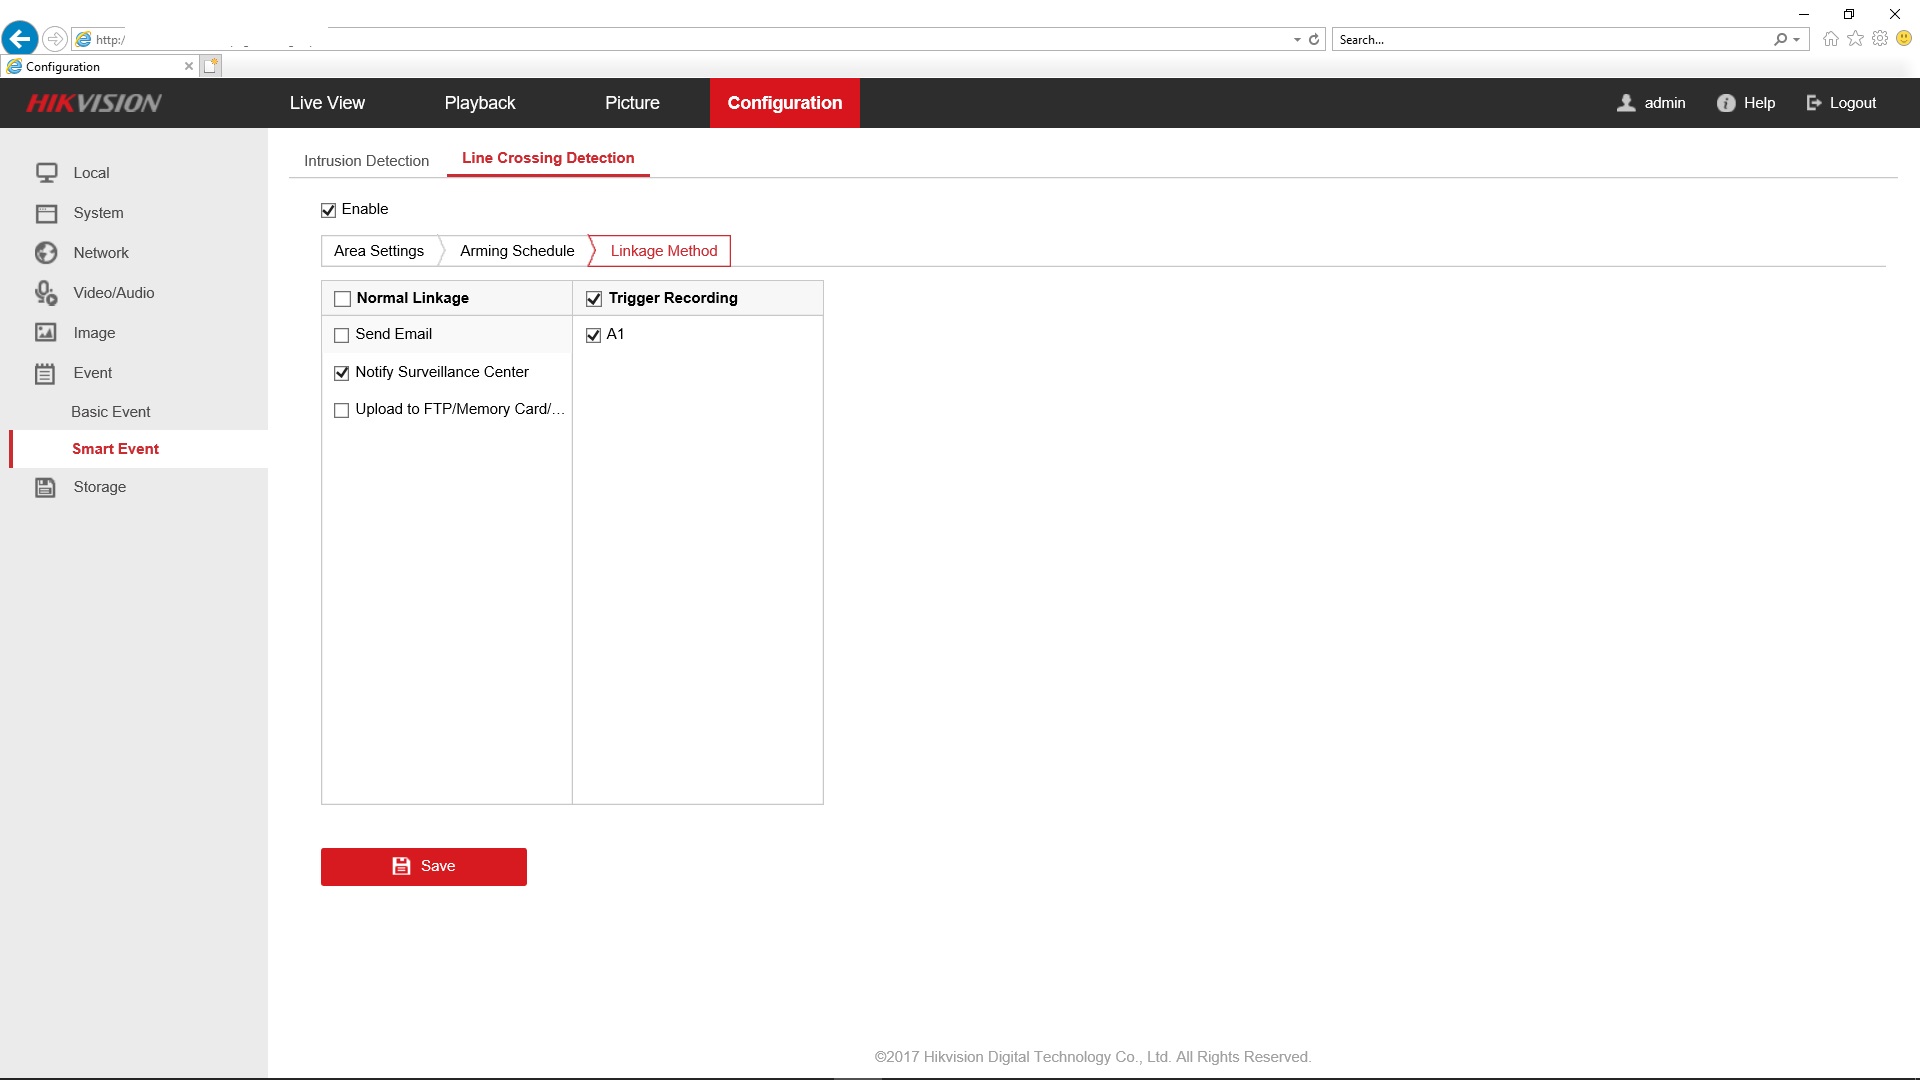
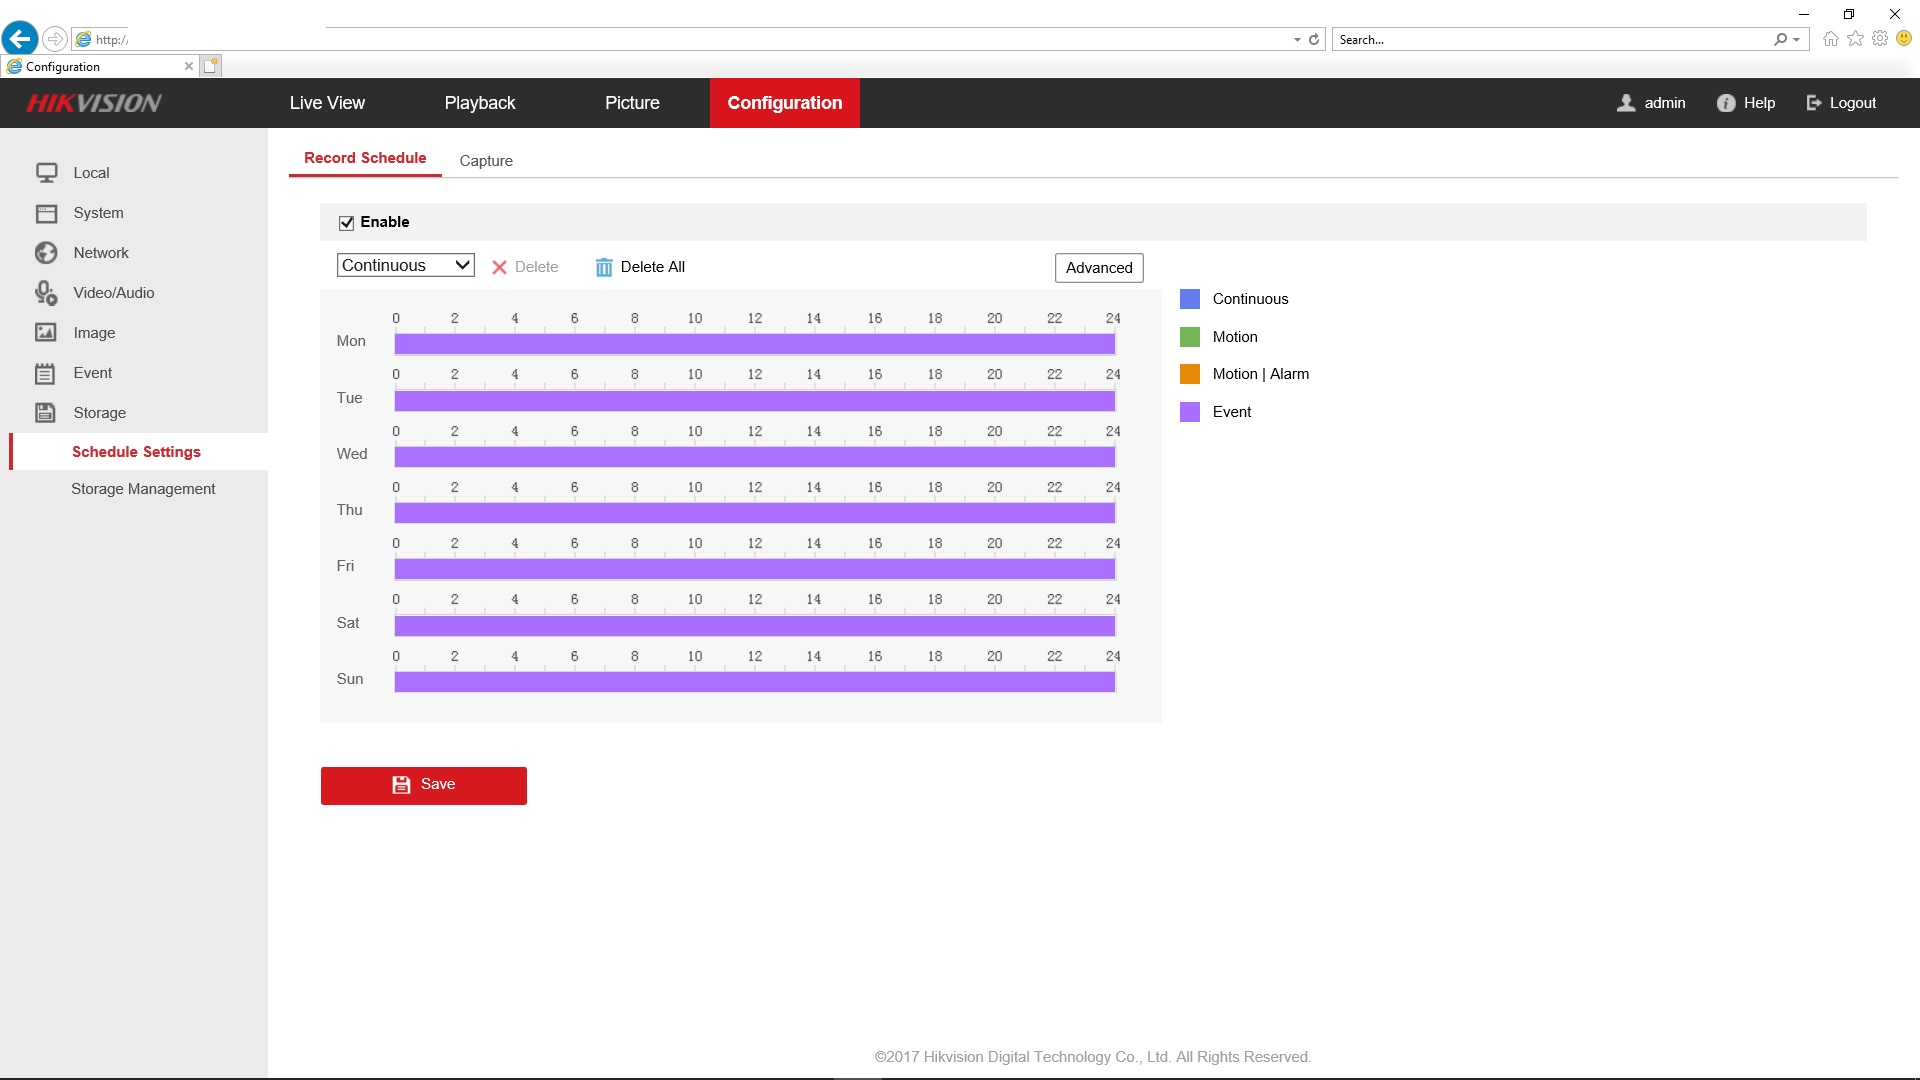
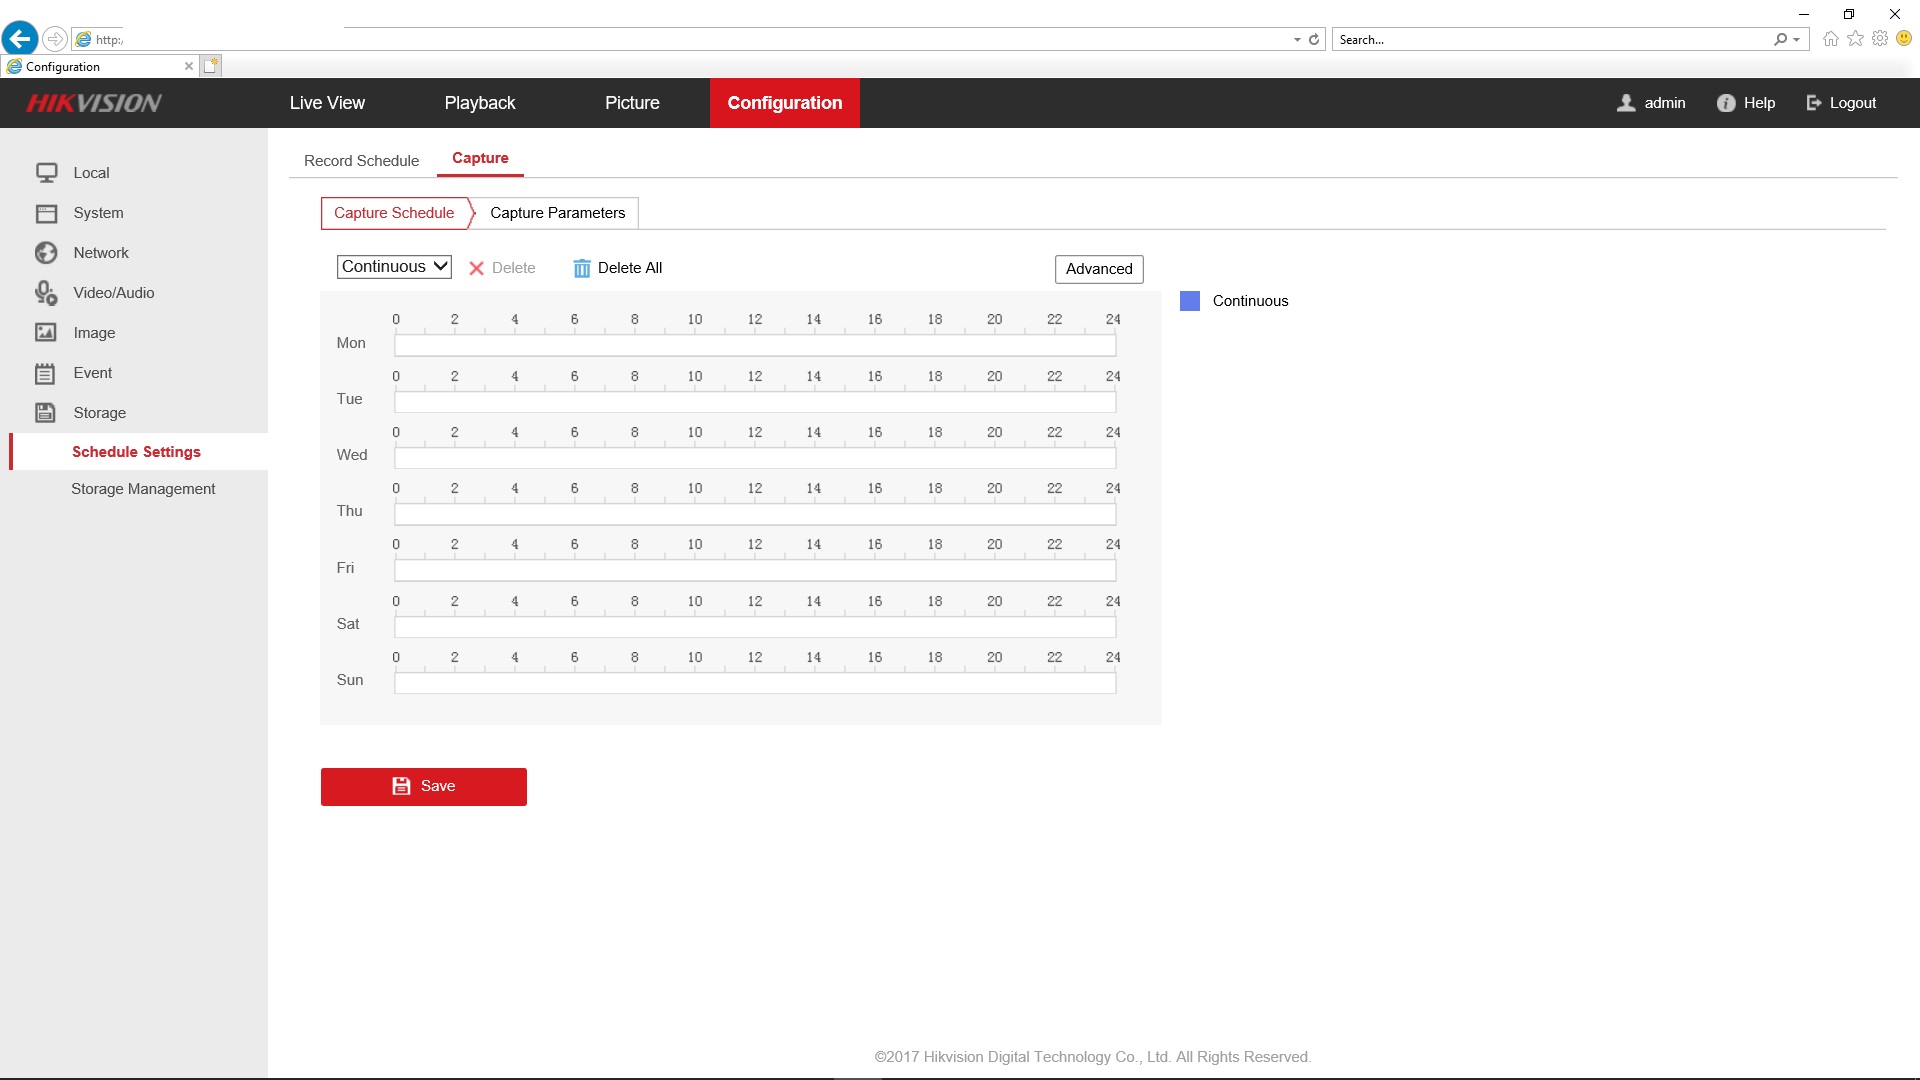
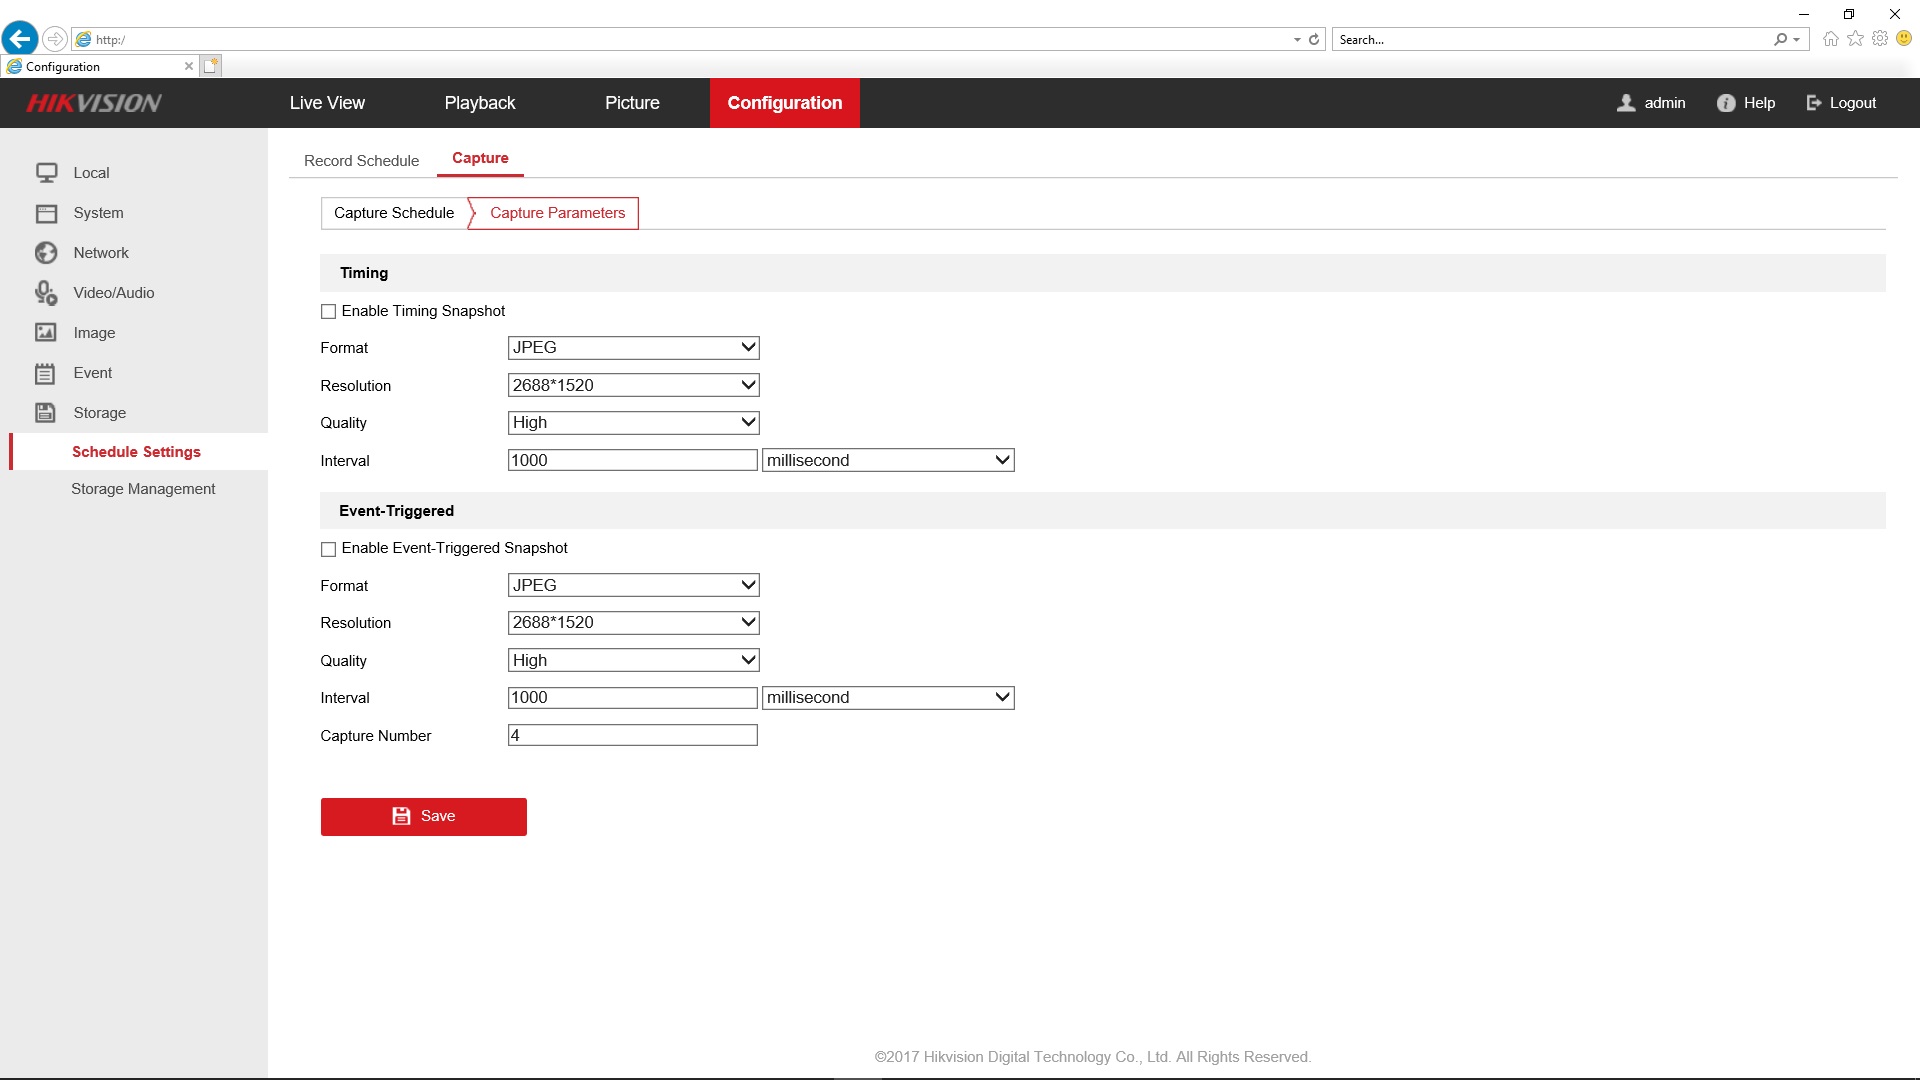
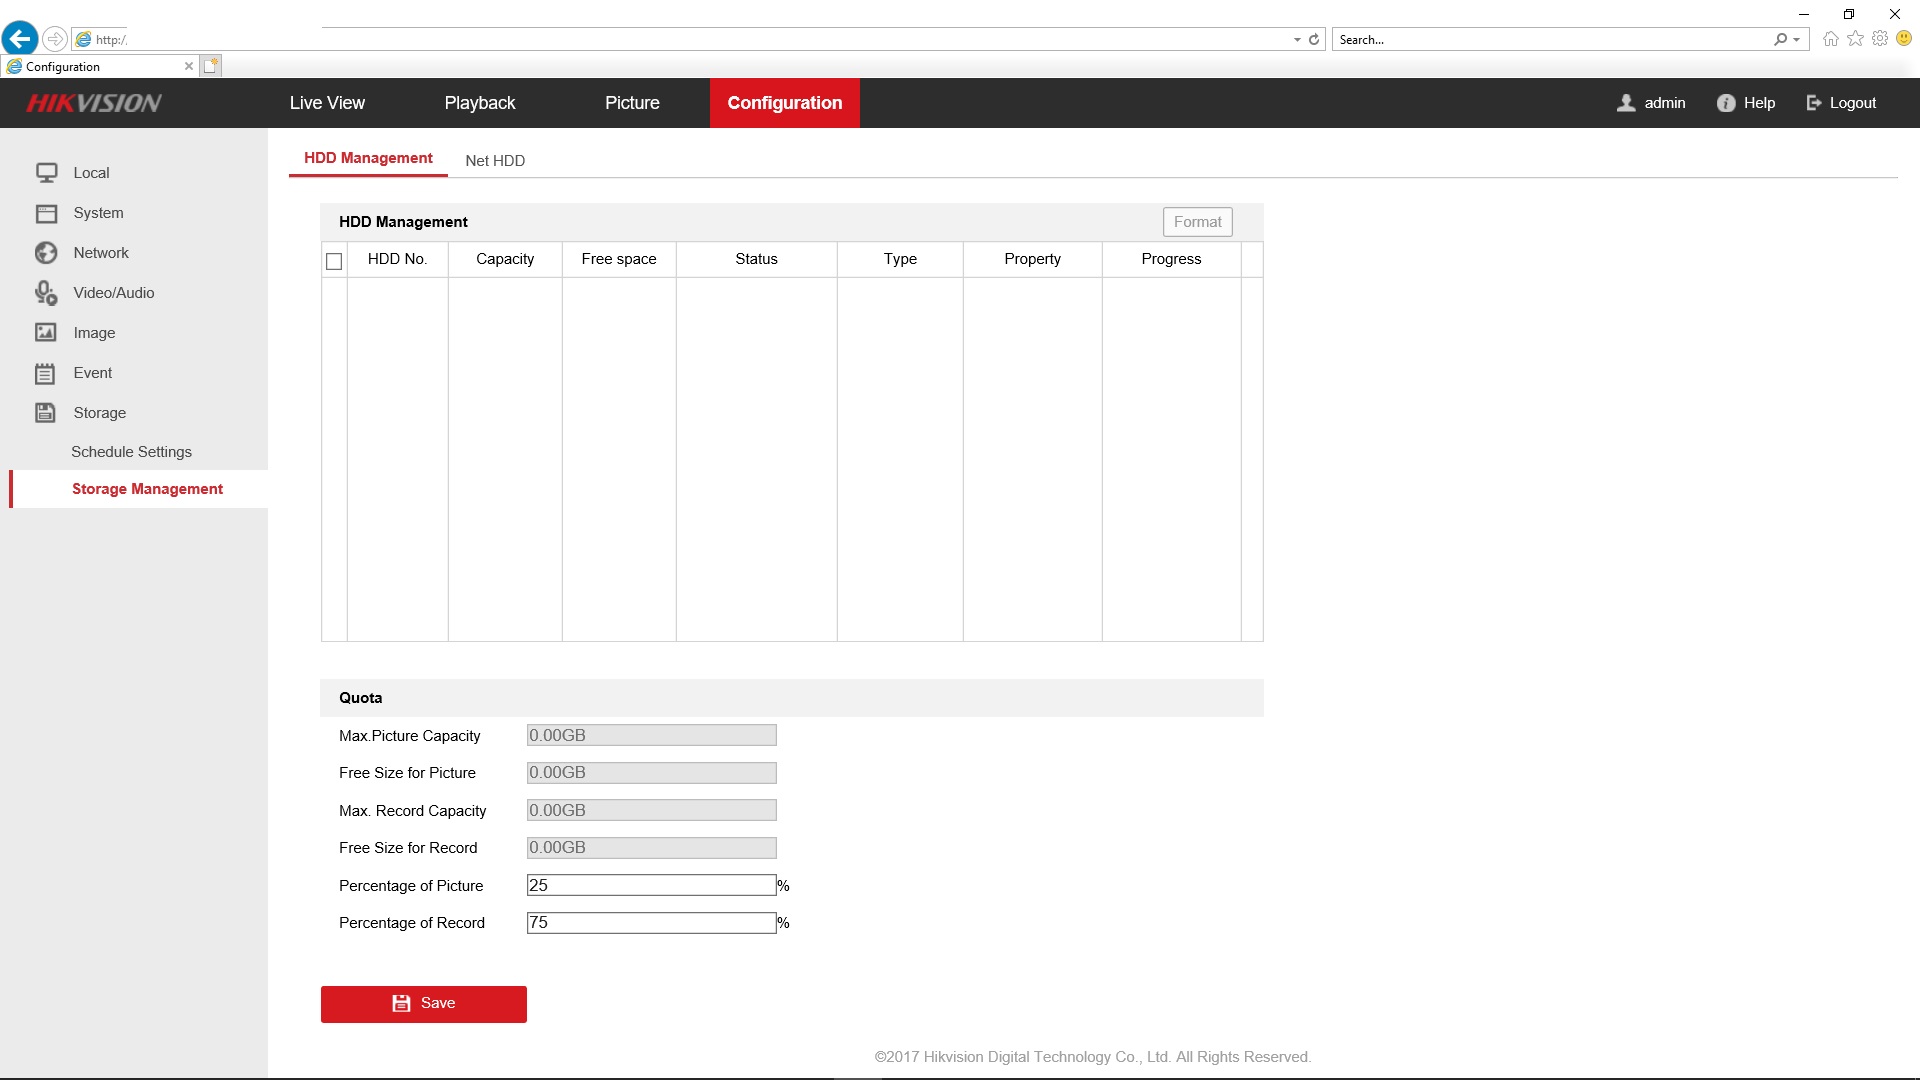
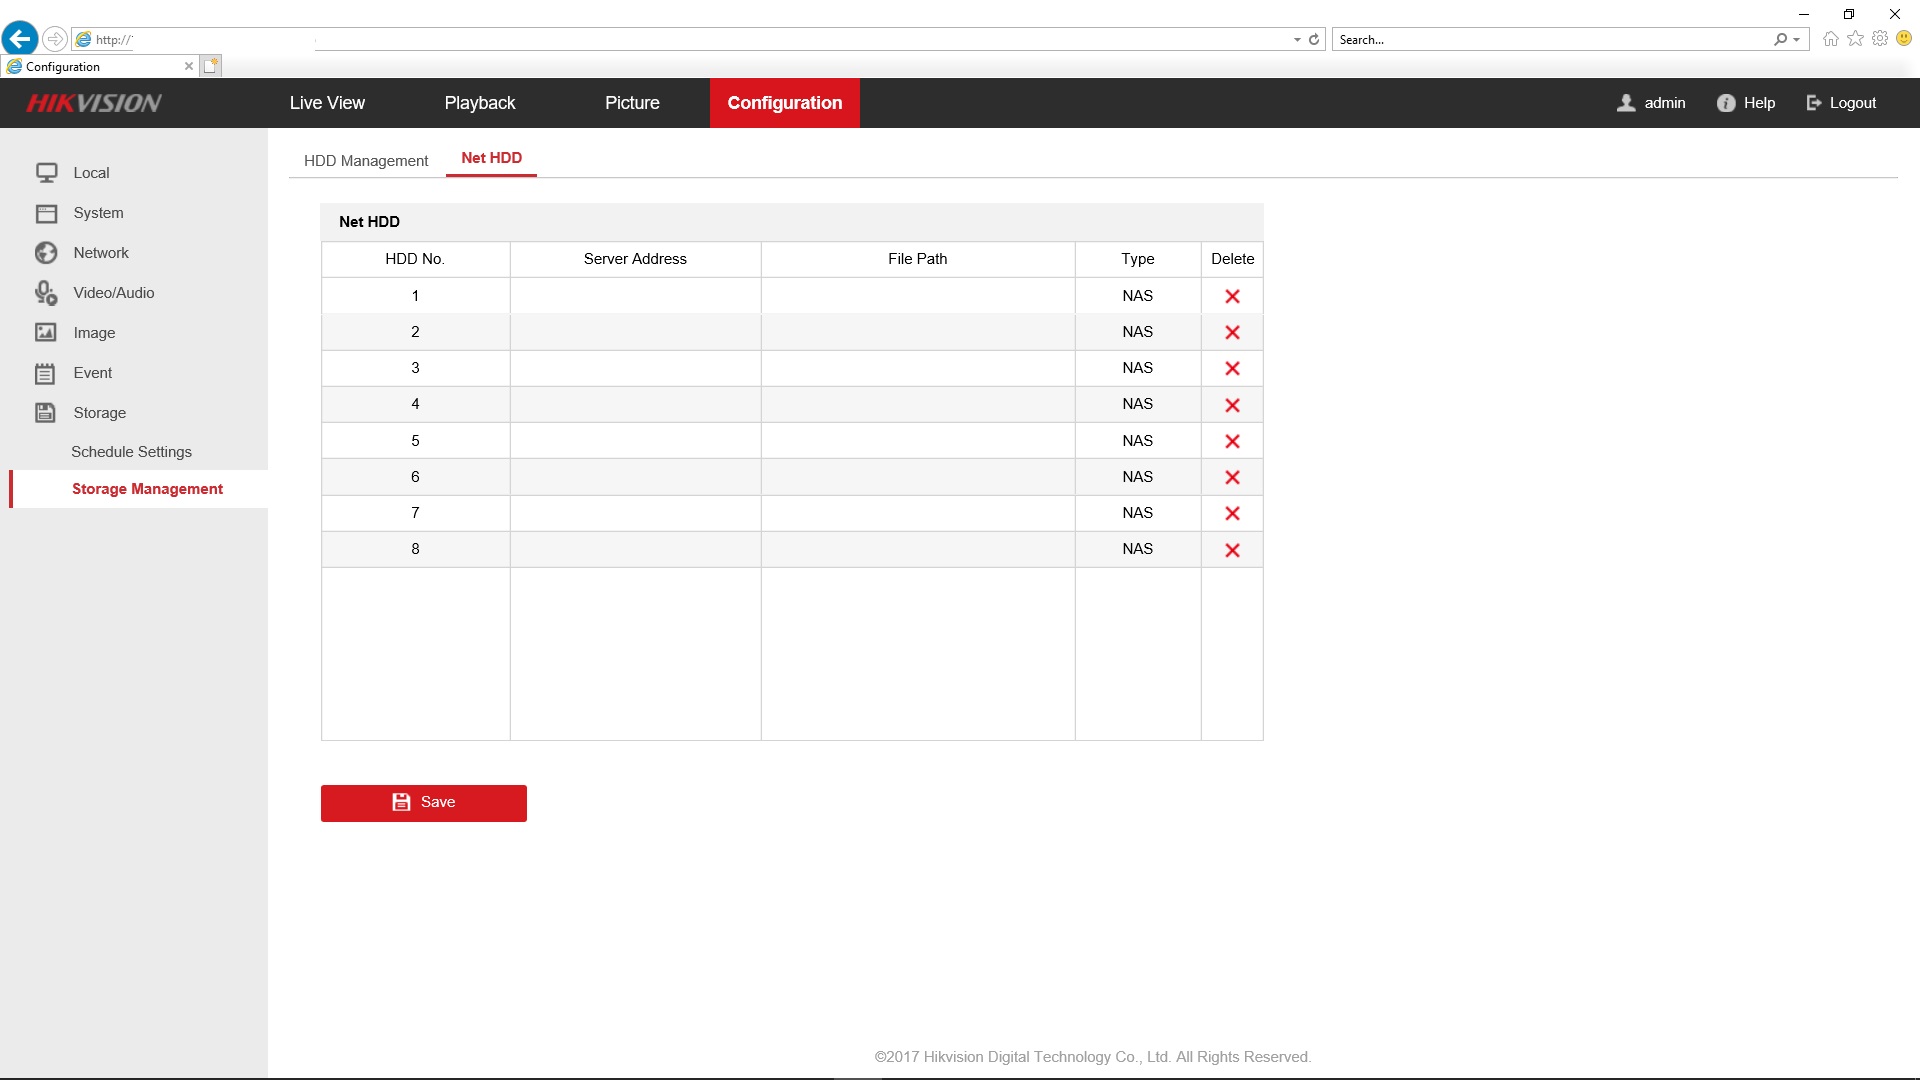
## The following are the screenshots of HikVision camera setup.
### If you get "Parameter Error" when saving the settings, that means you are not using the right browser with correct plug-in.
The HikVision cameras work best on IE11 browsers, where it will install an active-x plug-in. This plug-in lets you see the live view, and also lets you play the recorded content. HikVision requires that plug-in to be installed to save settings. If you are on Windows 10, just go to run command, and type `iexplore.exe` to open old internet explorer, and go to your camera URL. It will then ask you to install that active-x plugin.
Also, for the text overlay to work, the authentication for web must be digest/basic.
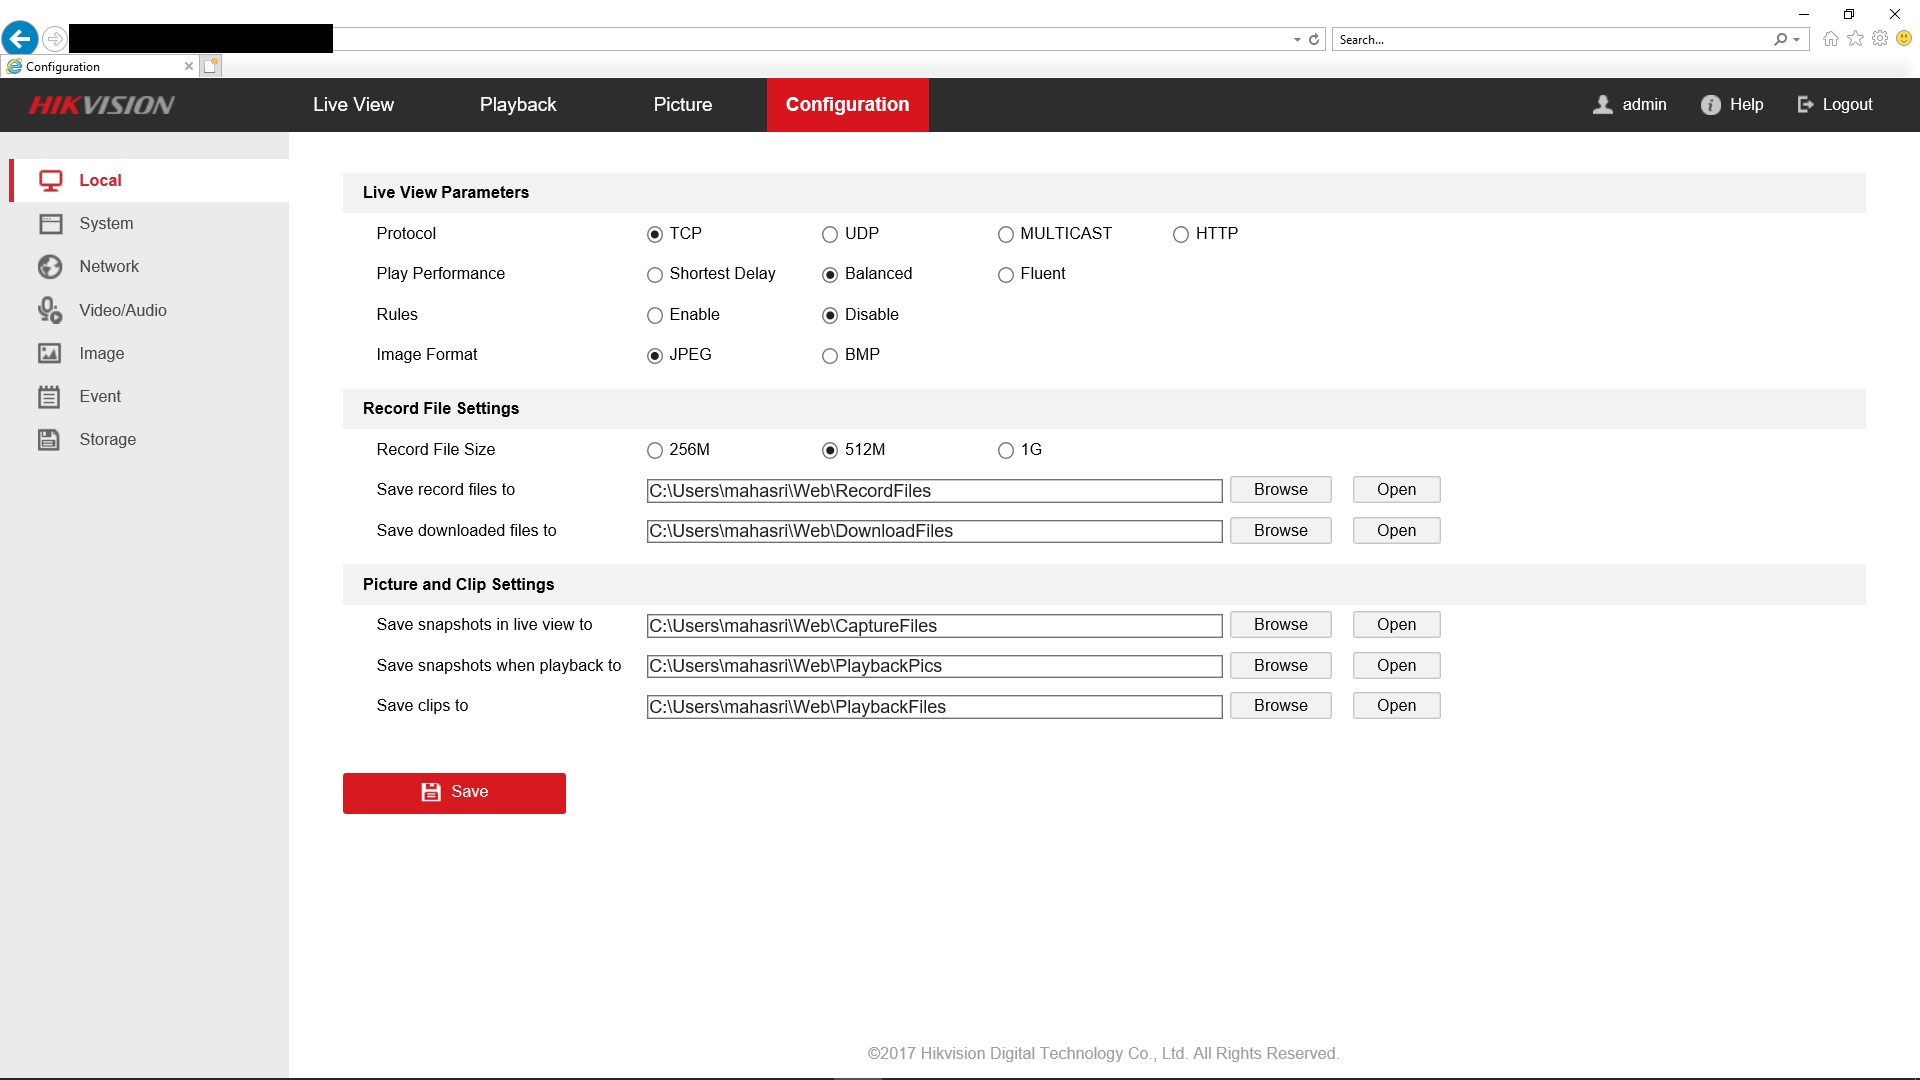
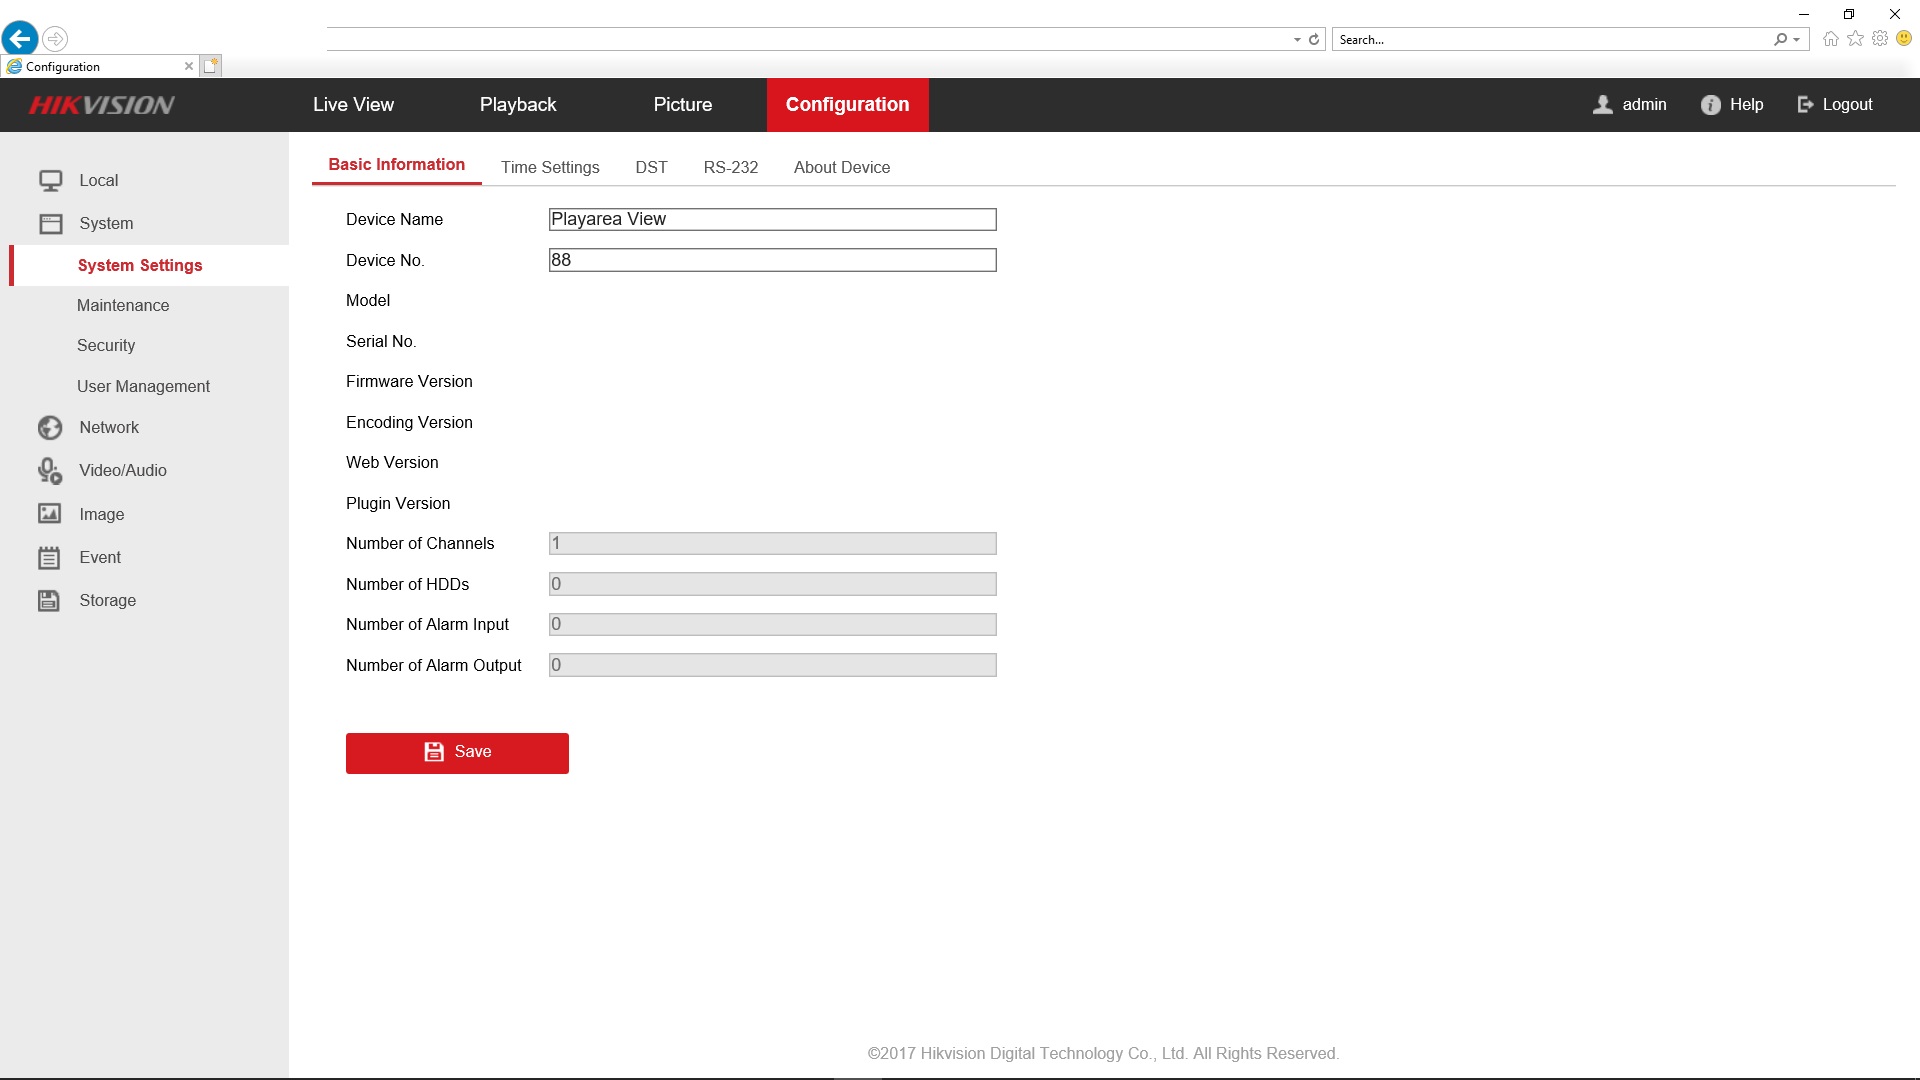
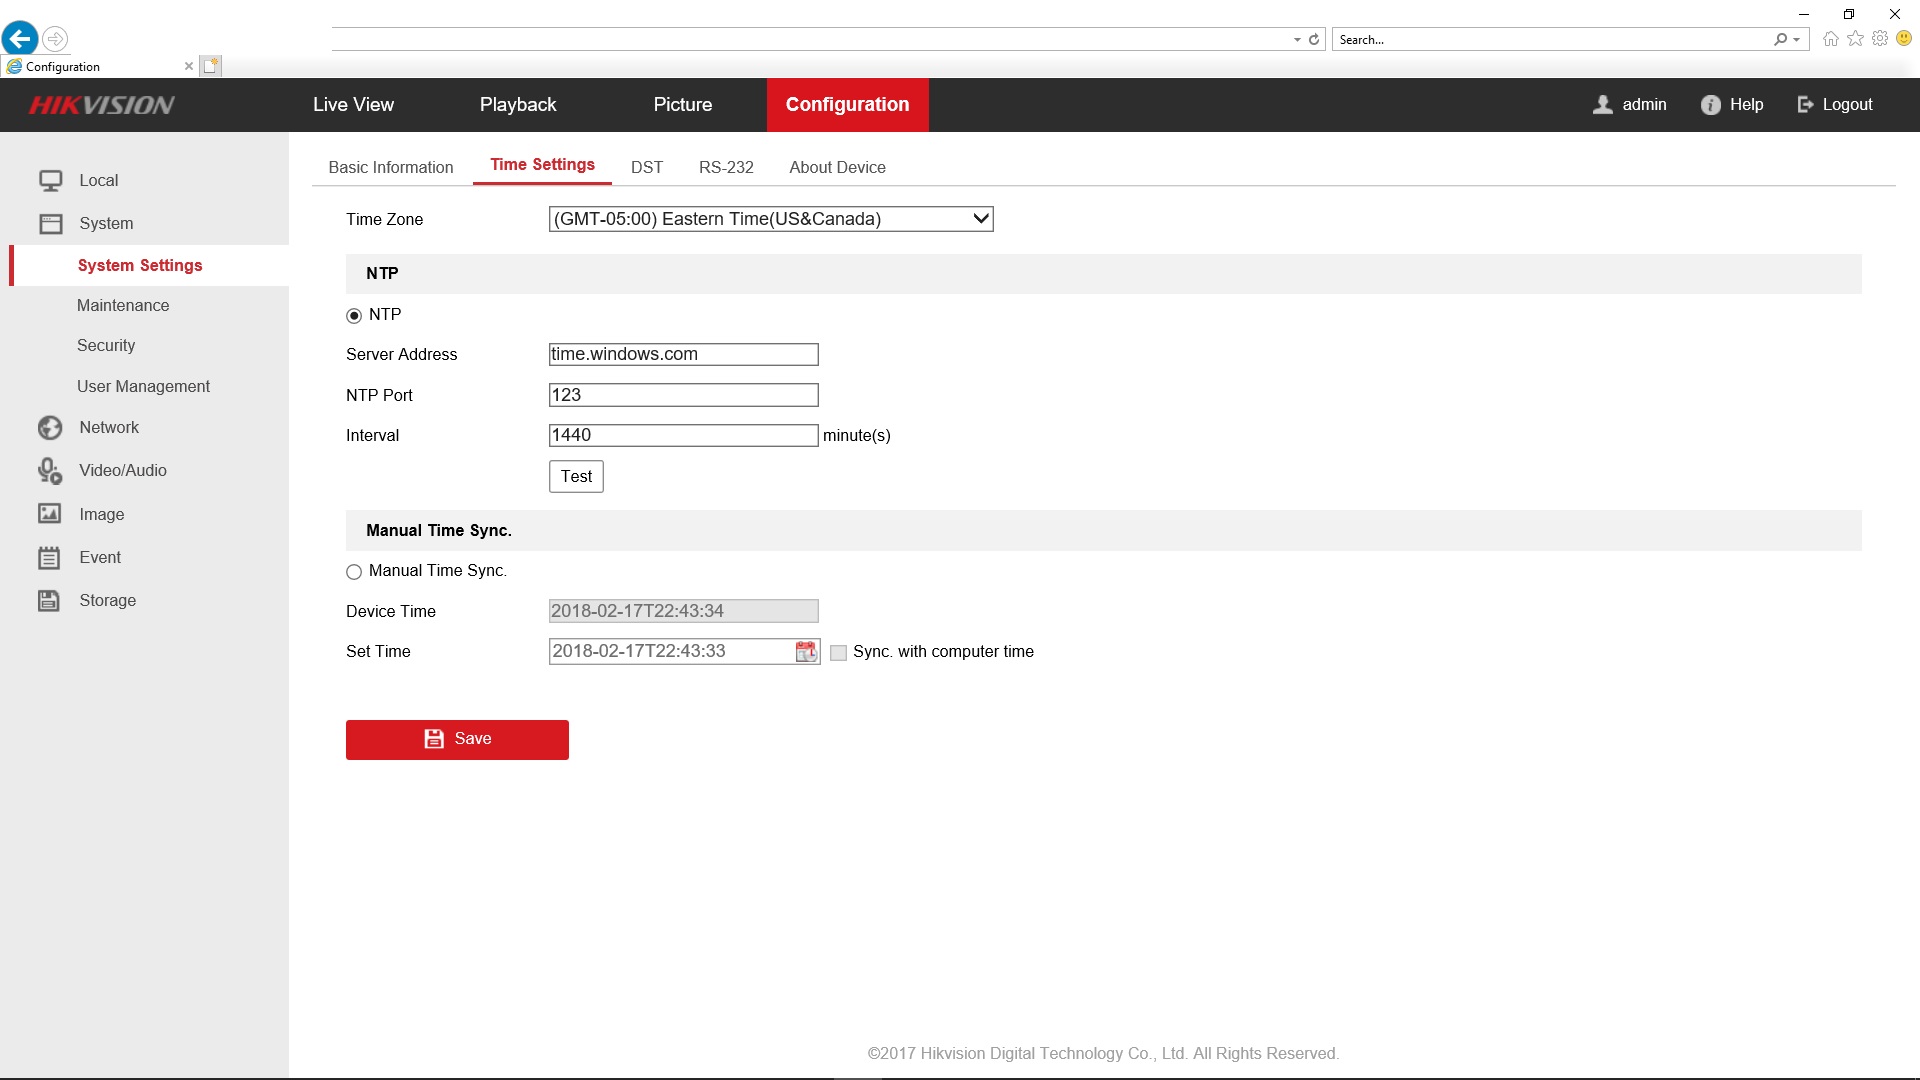
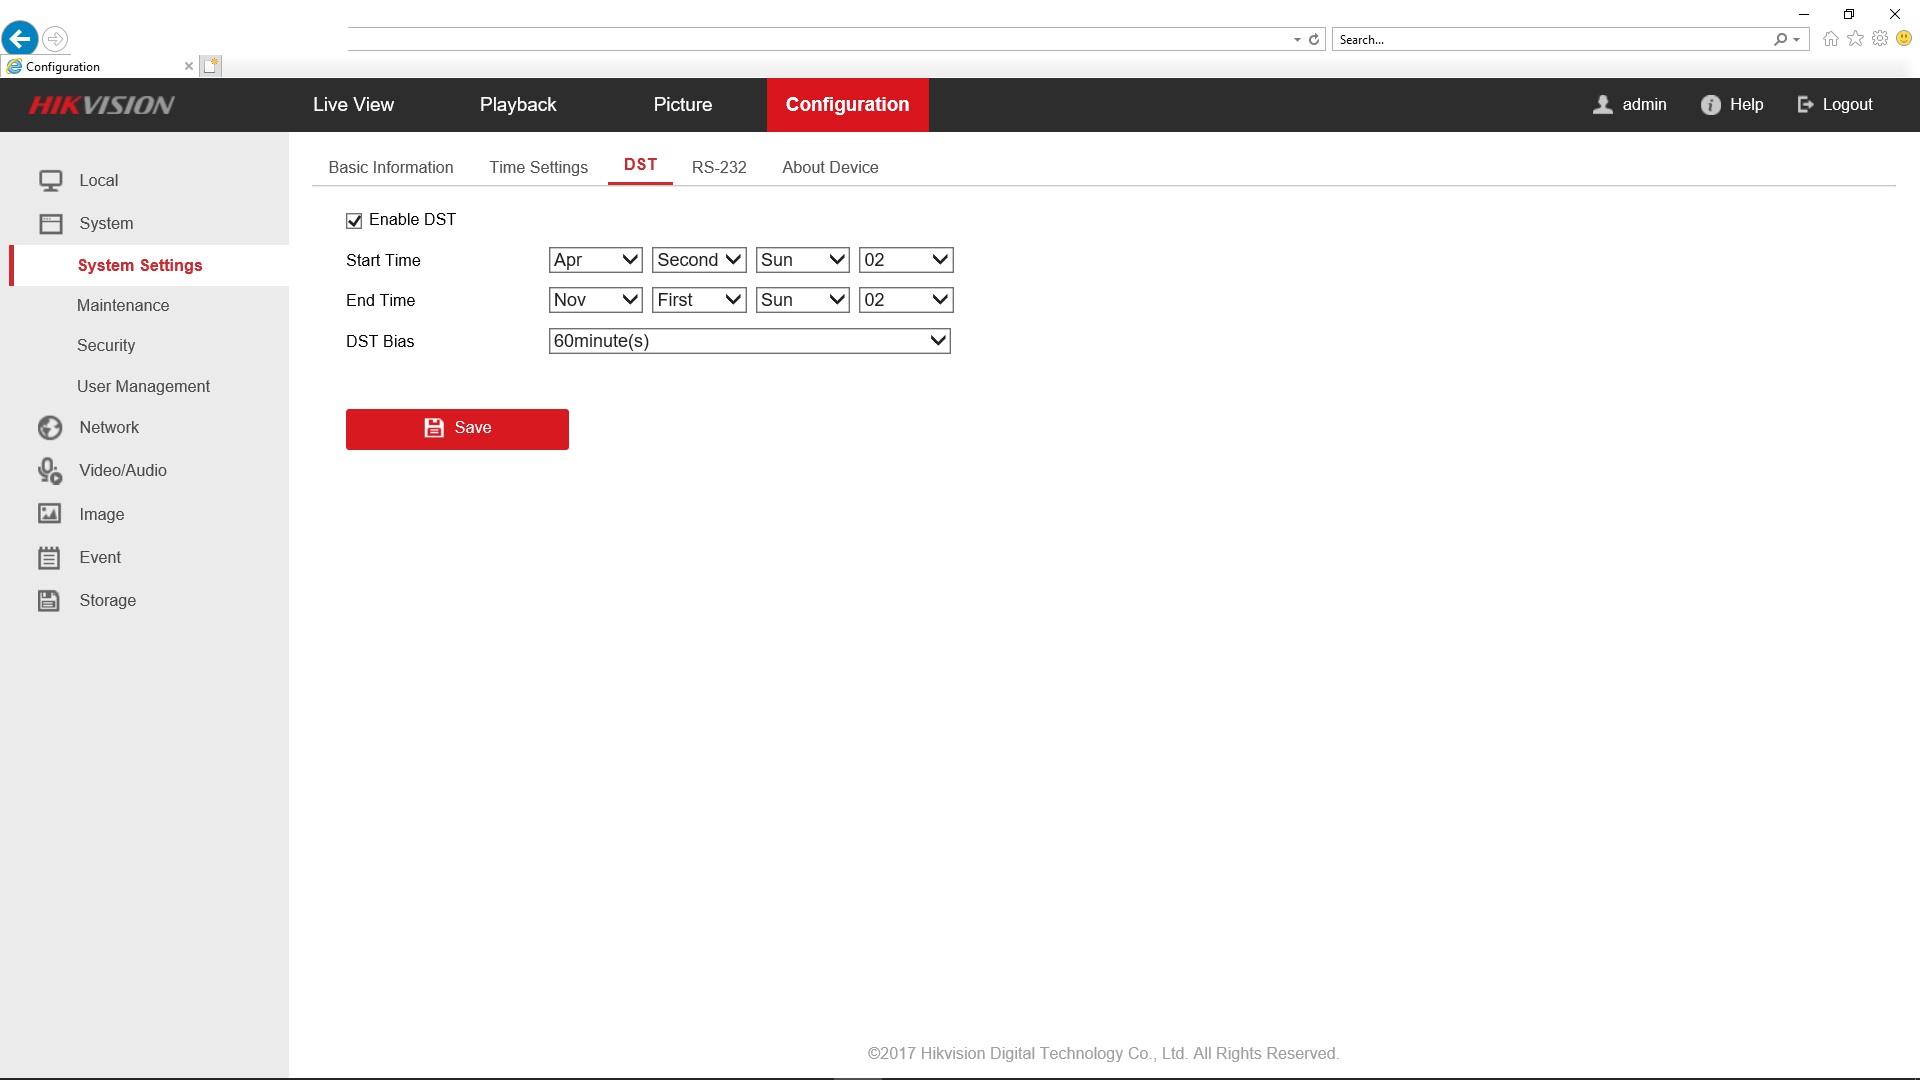
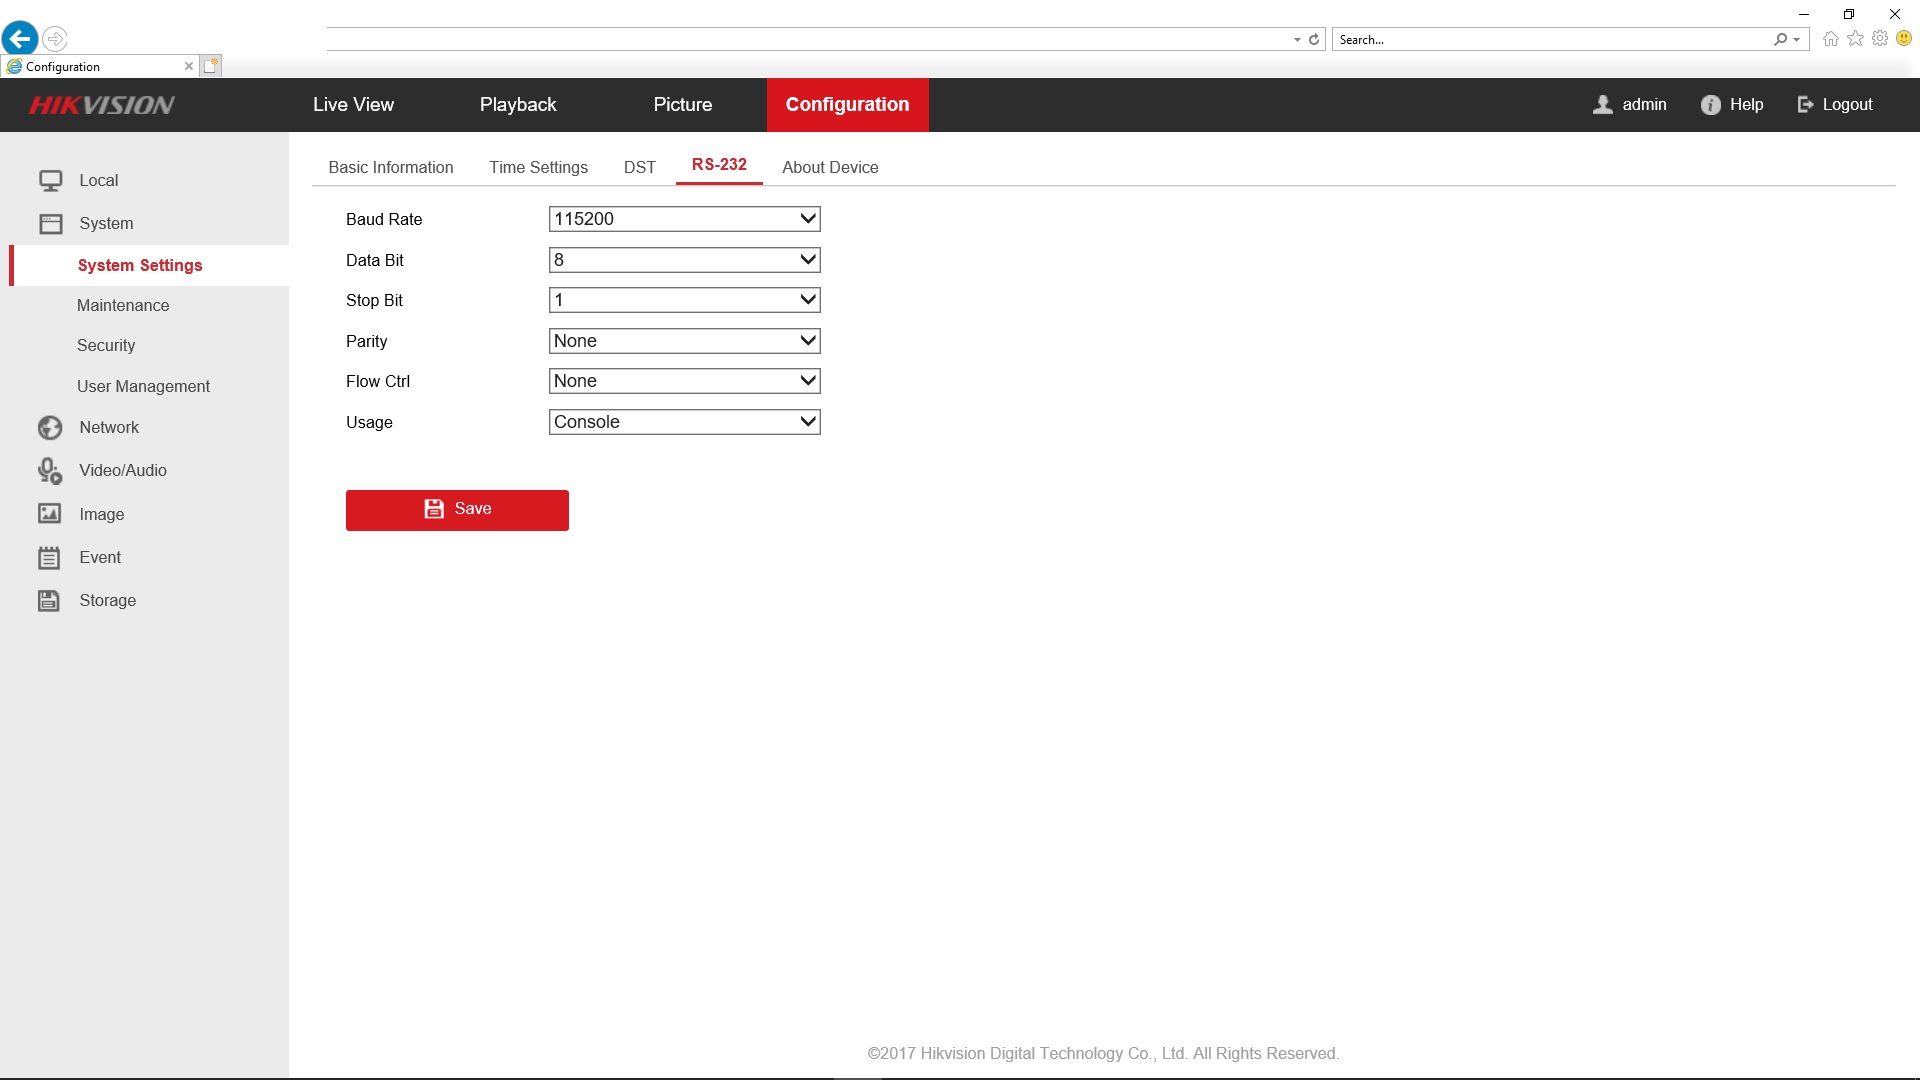

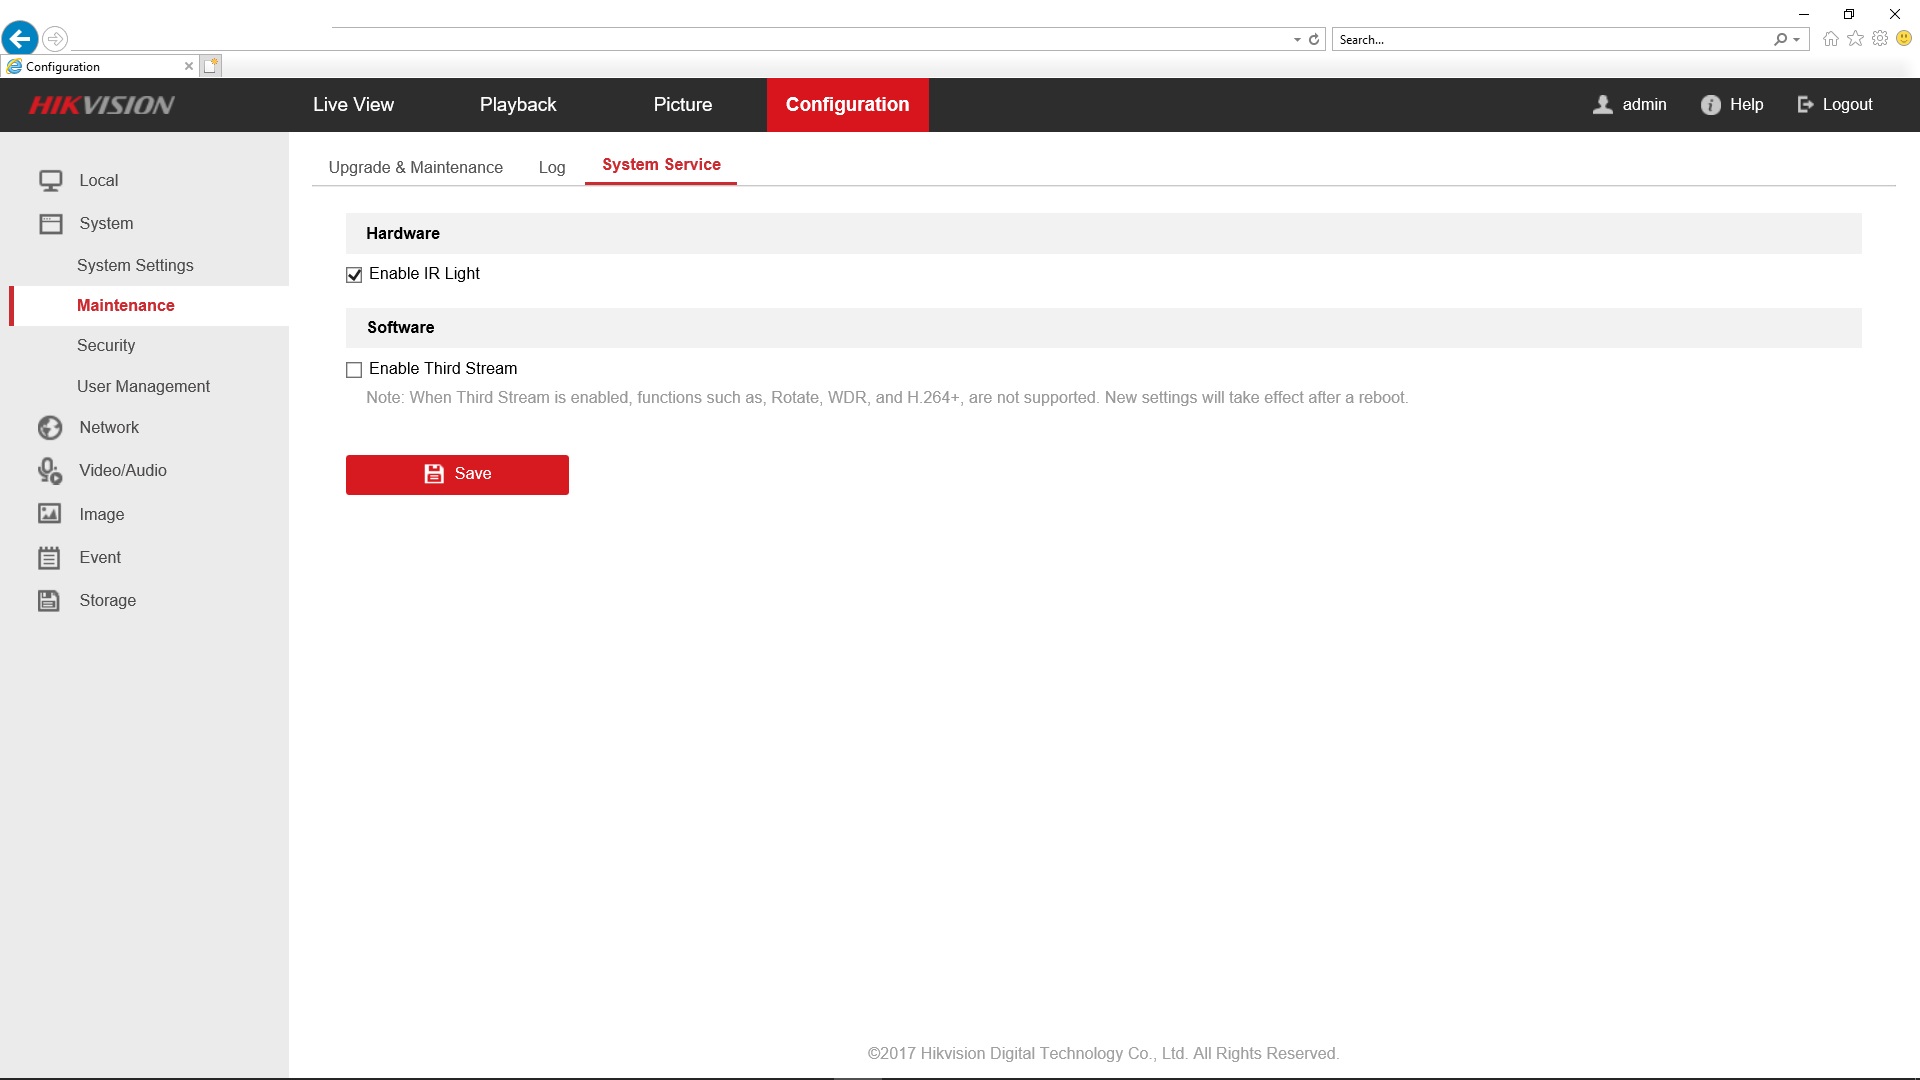
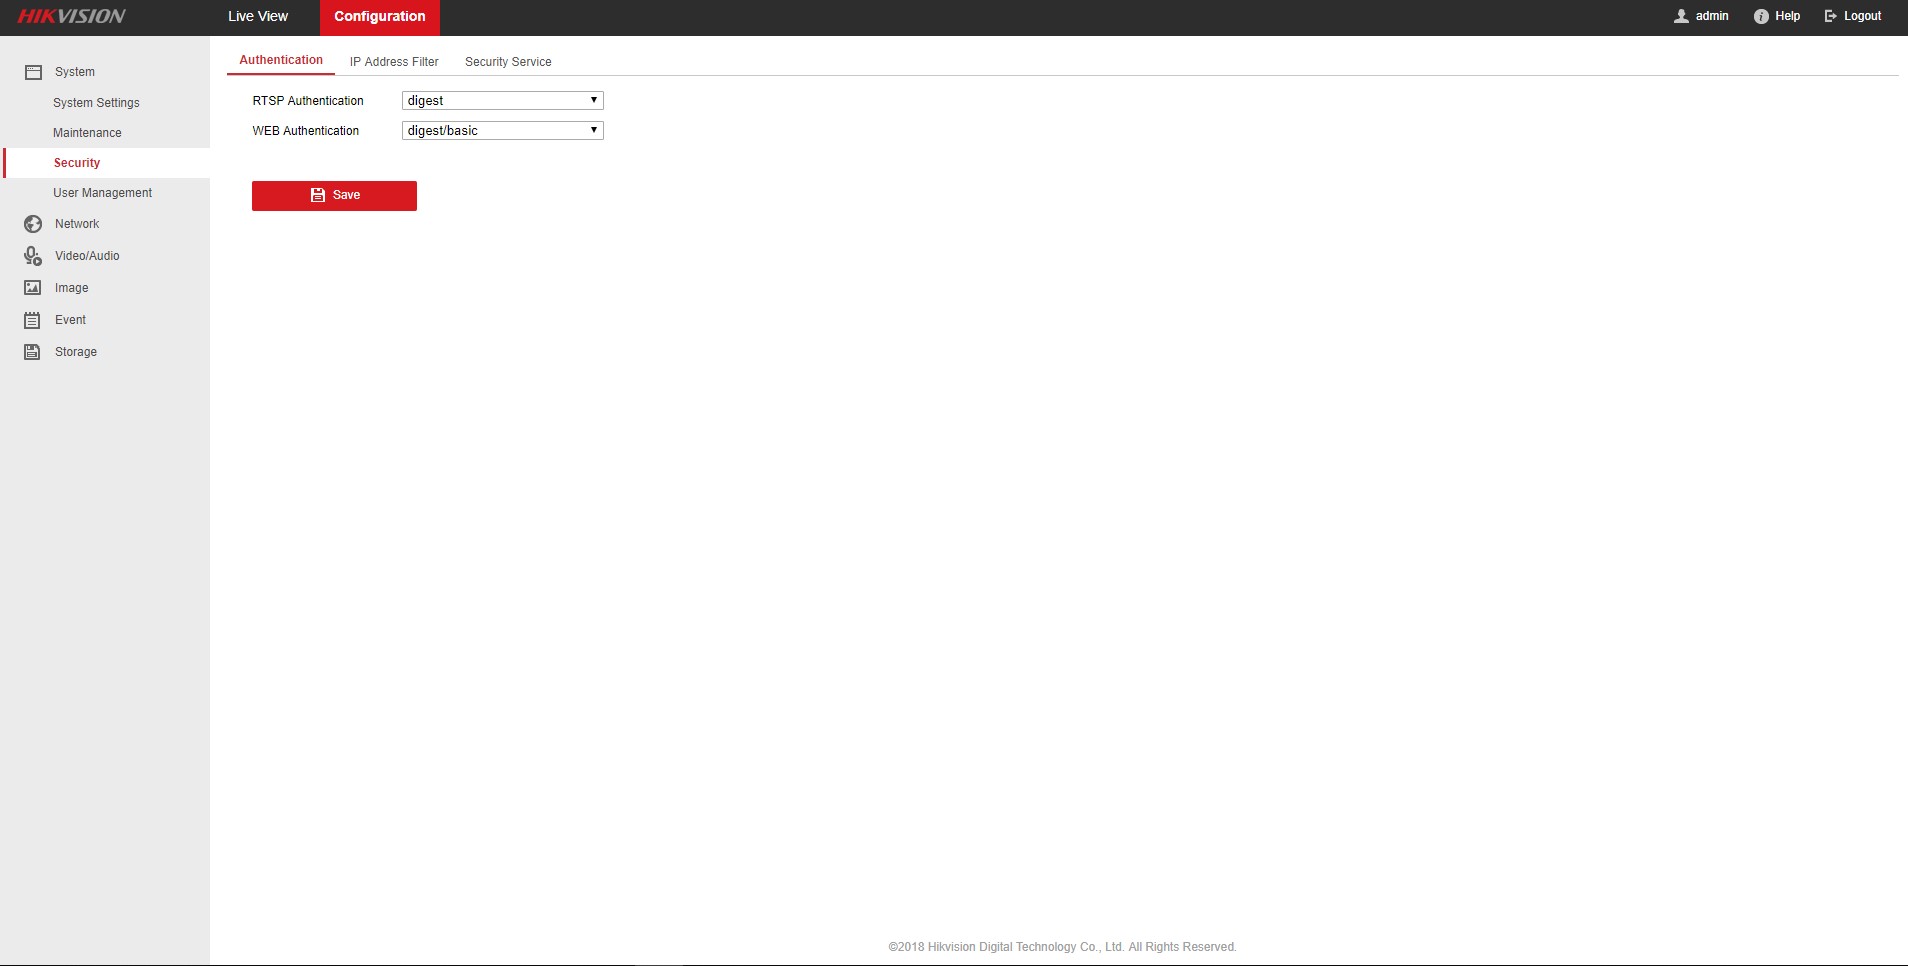
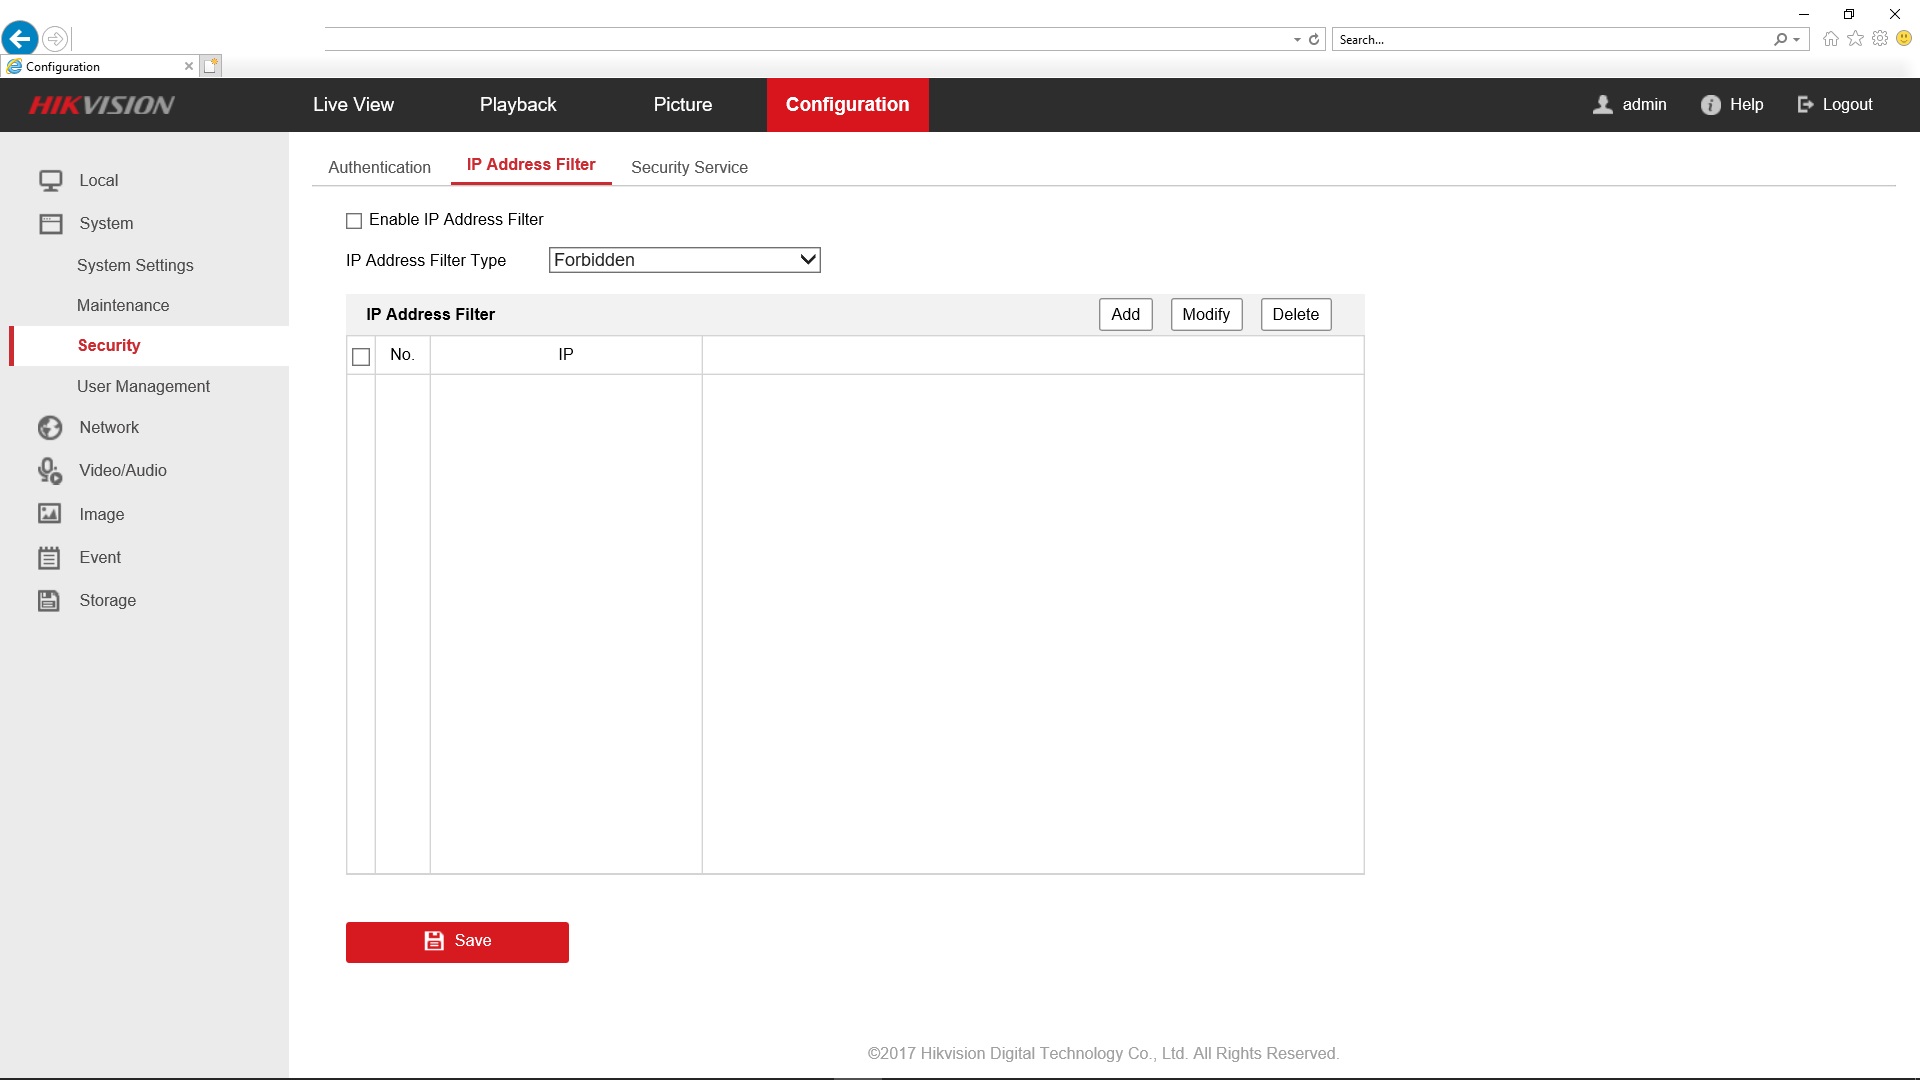
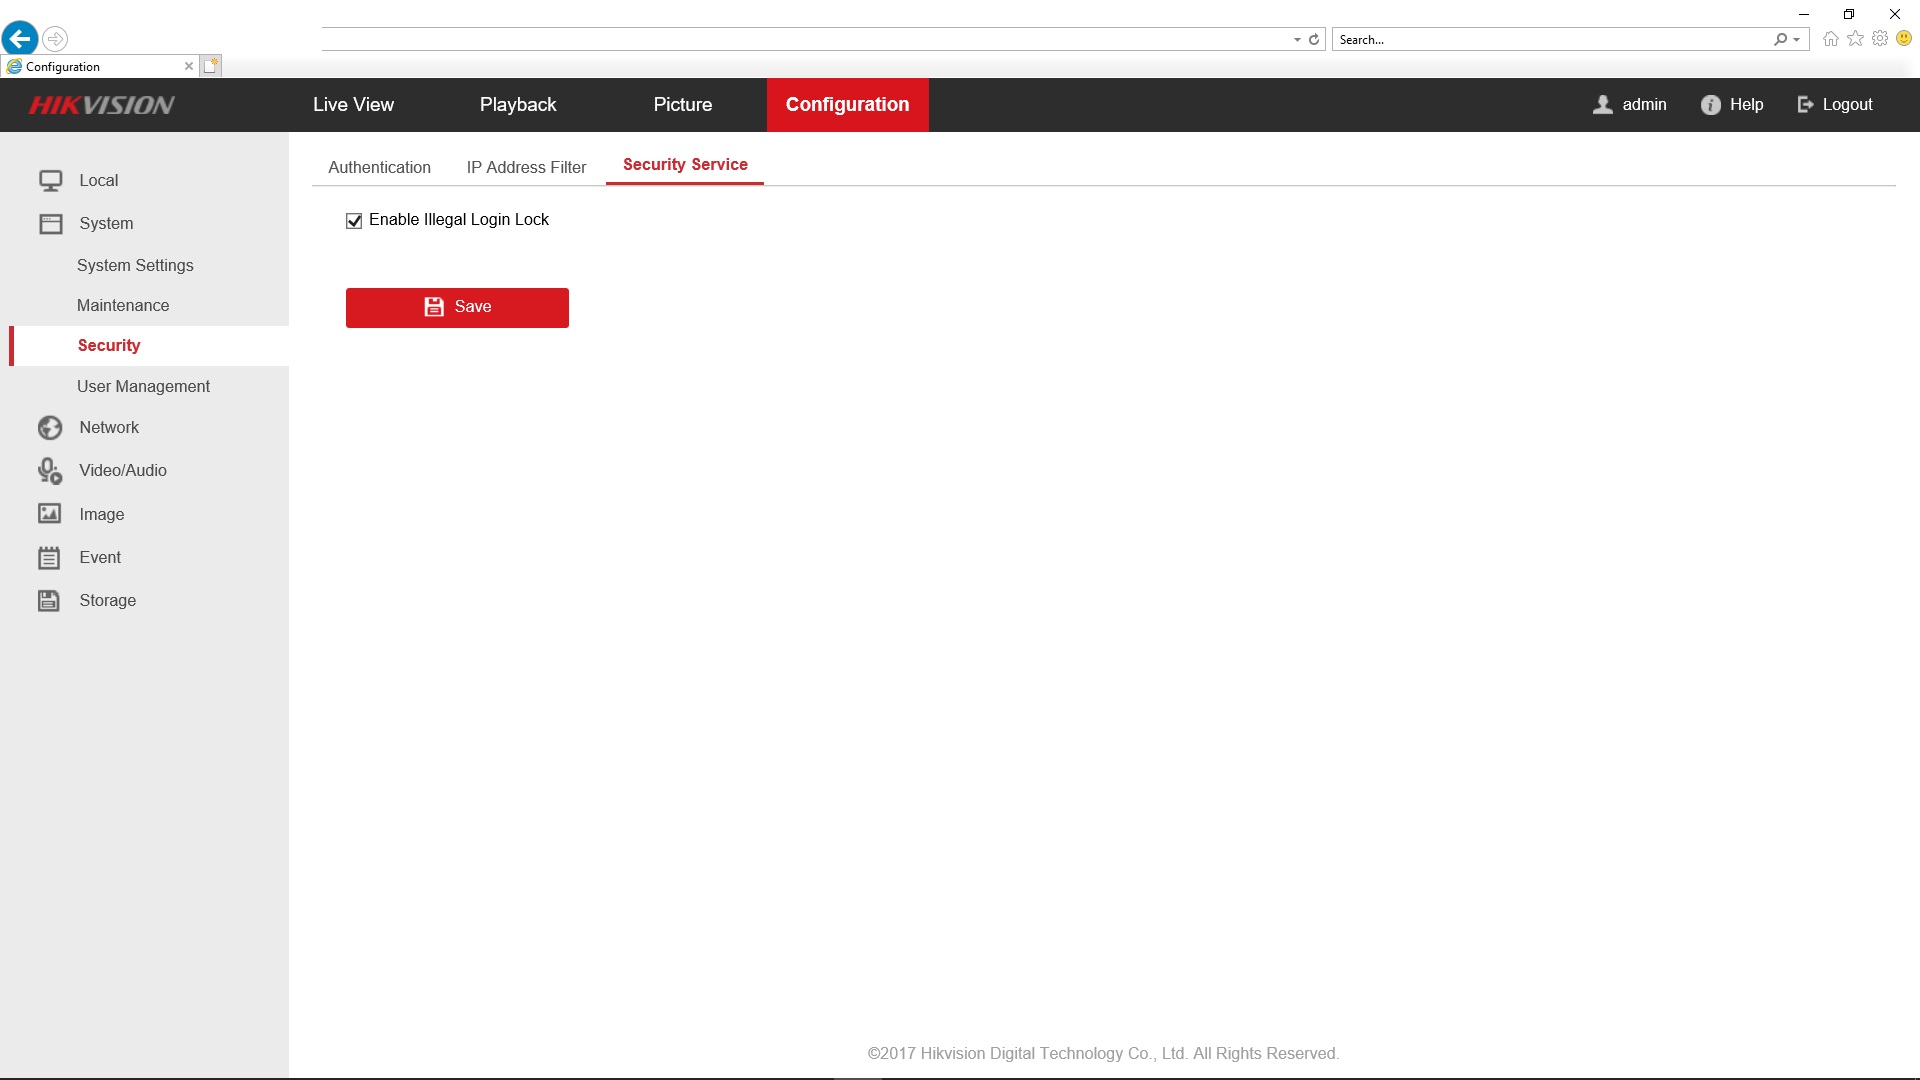

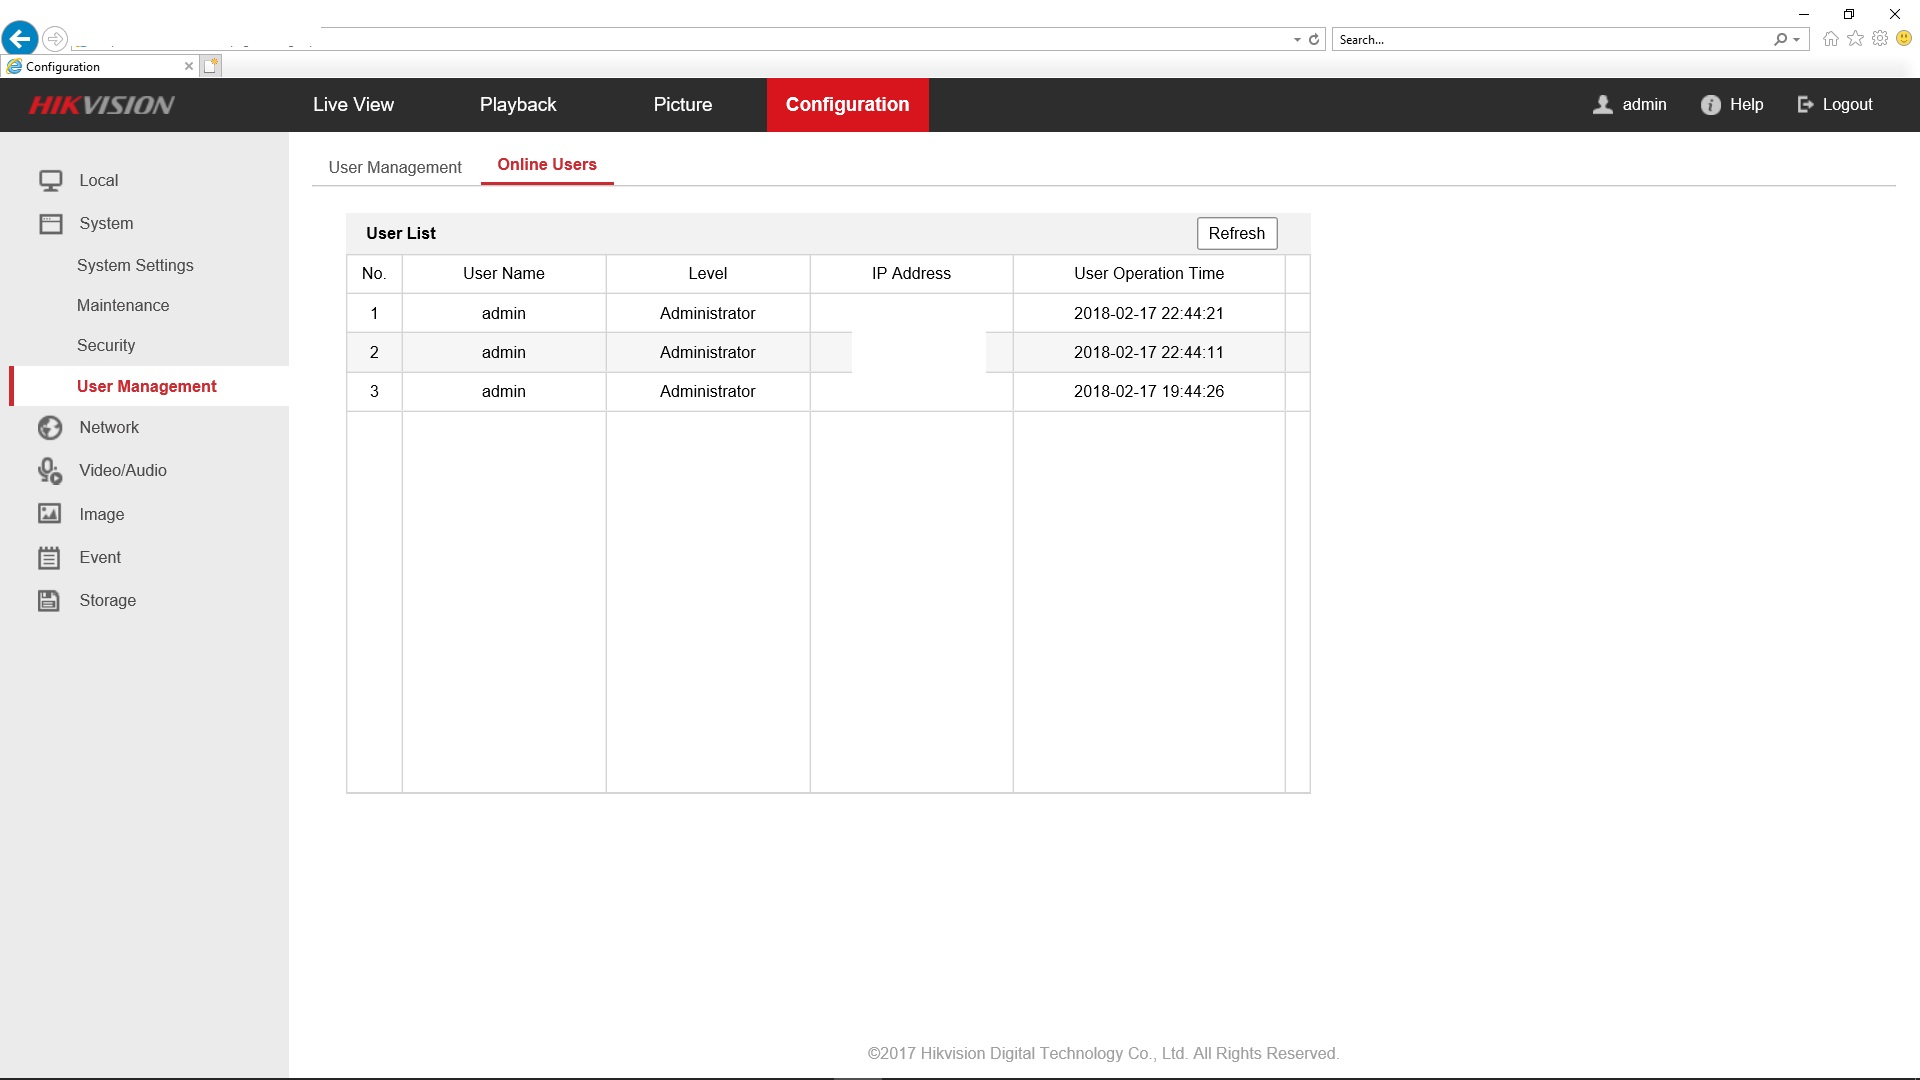
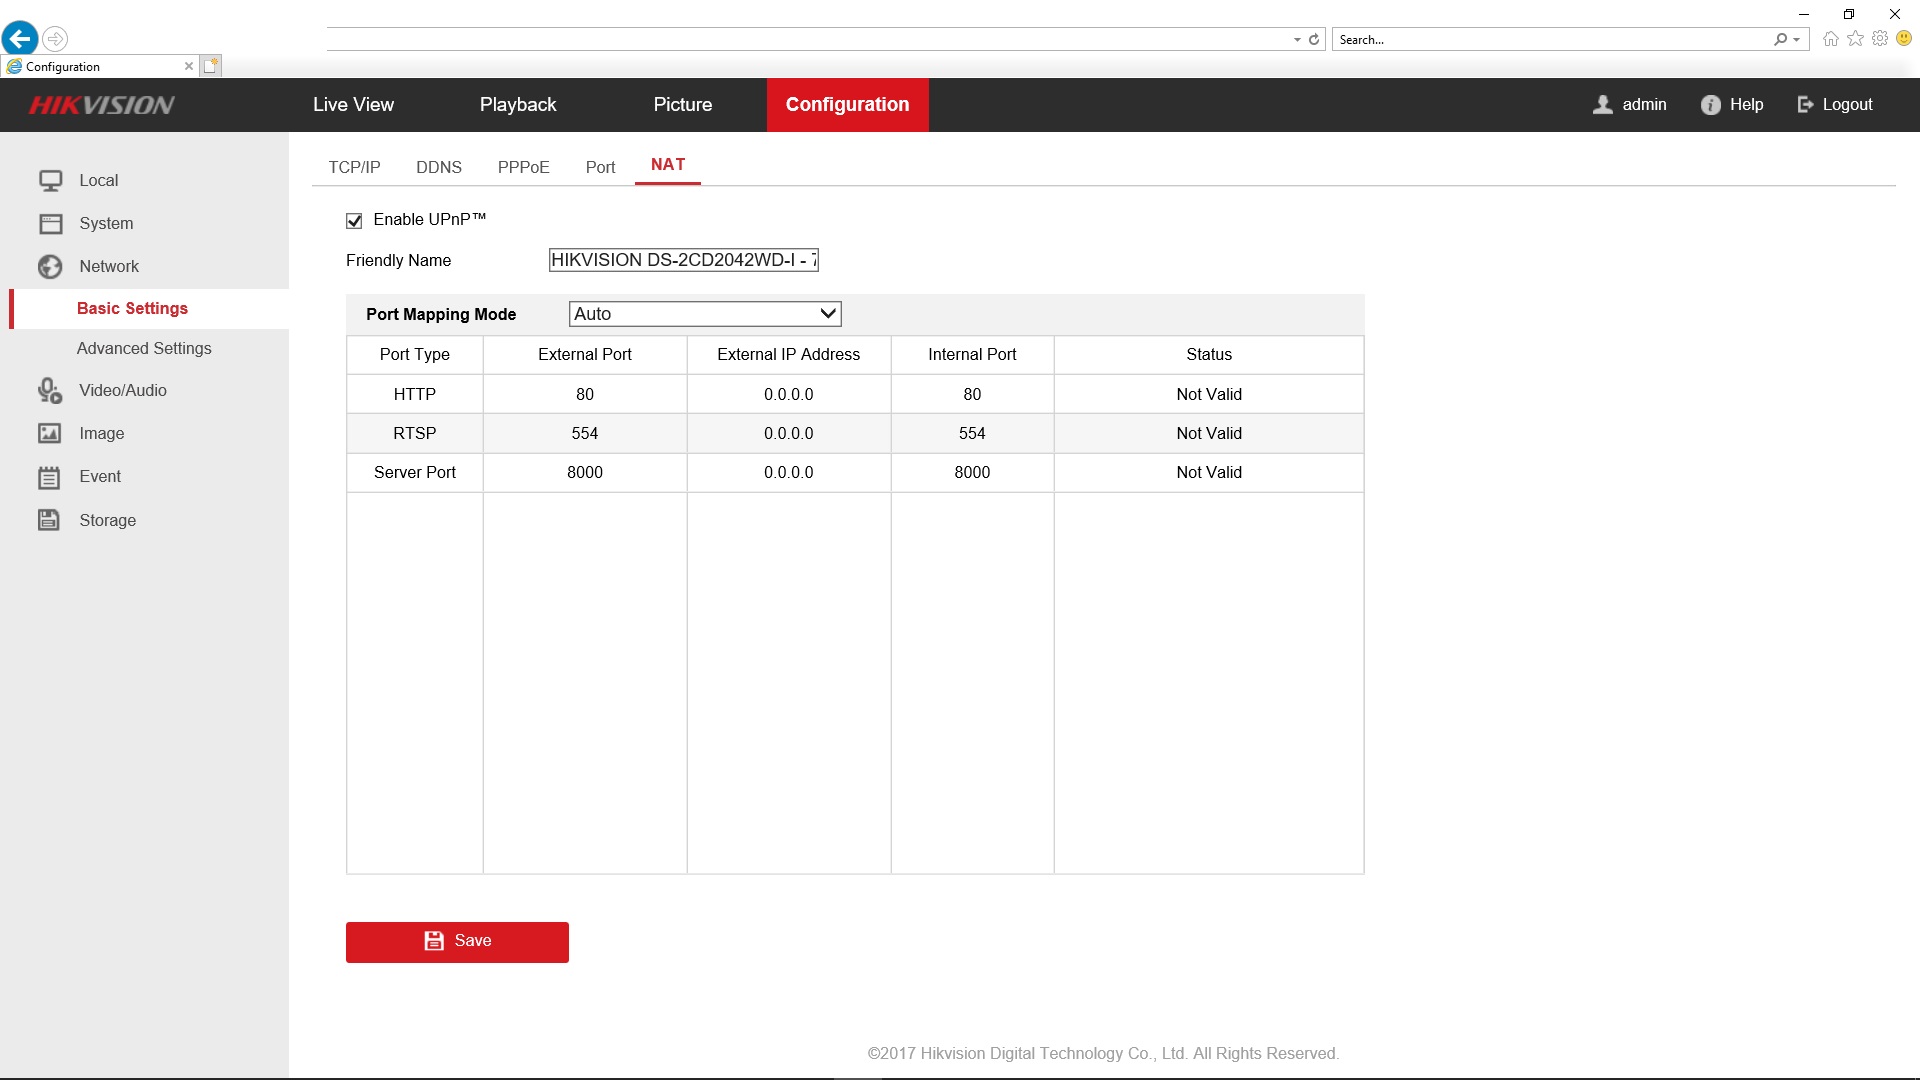
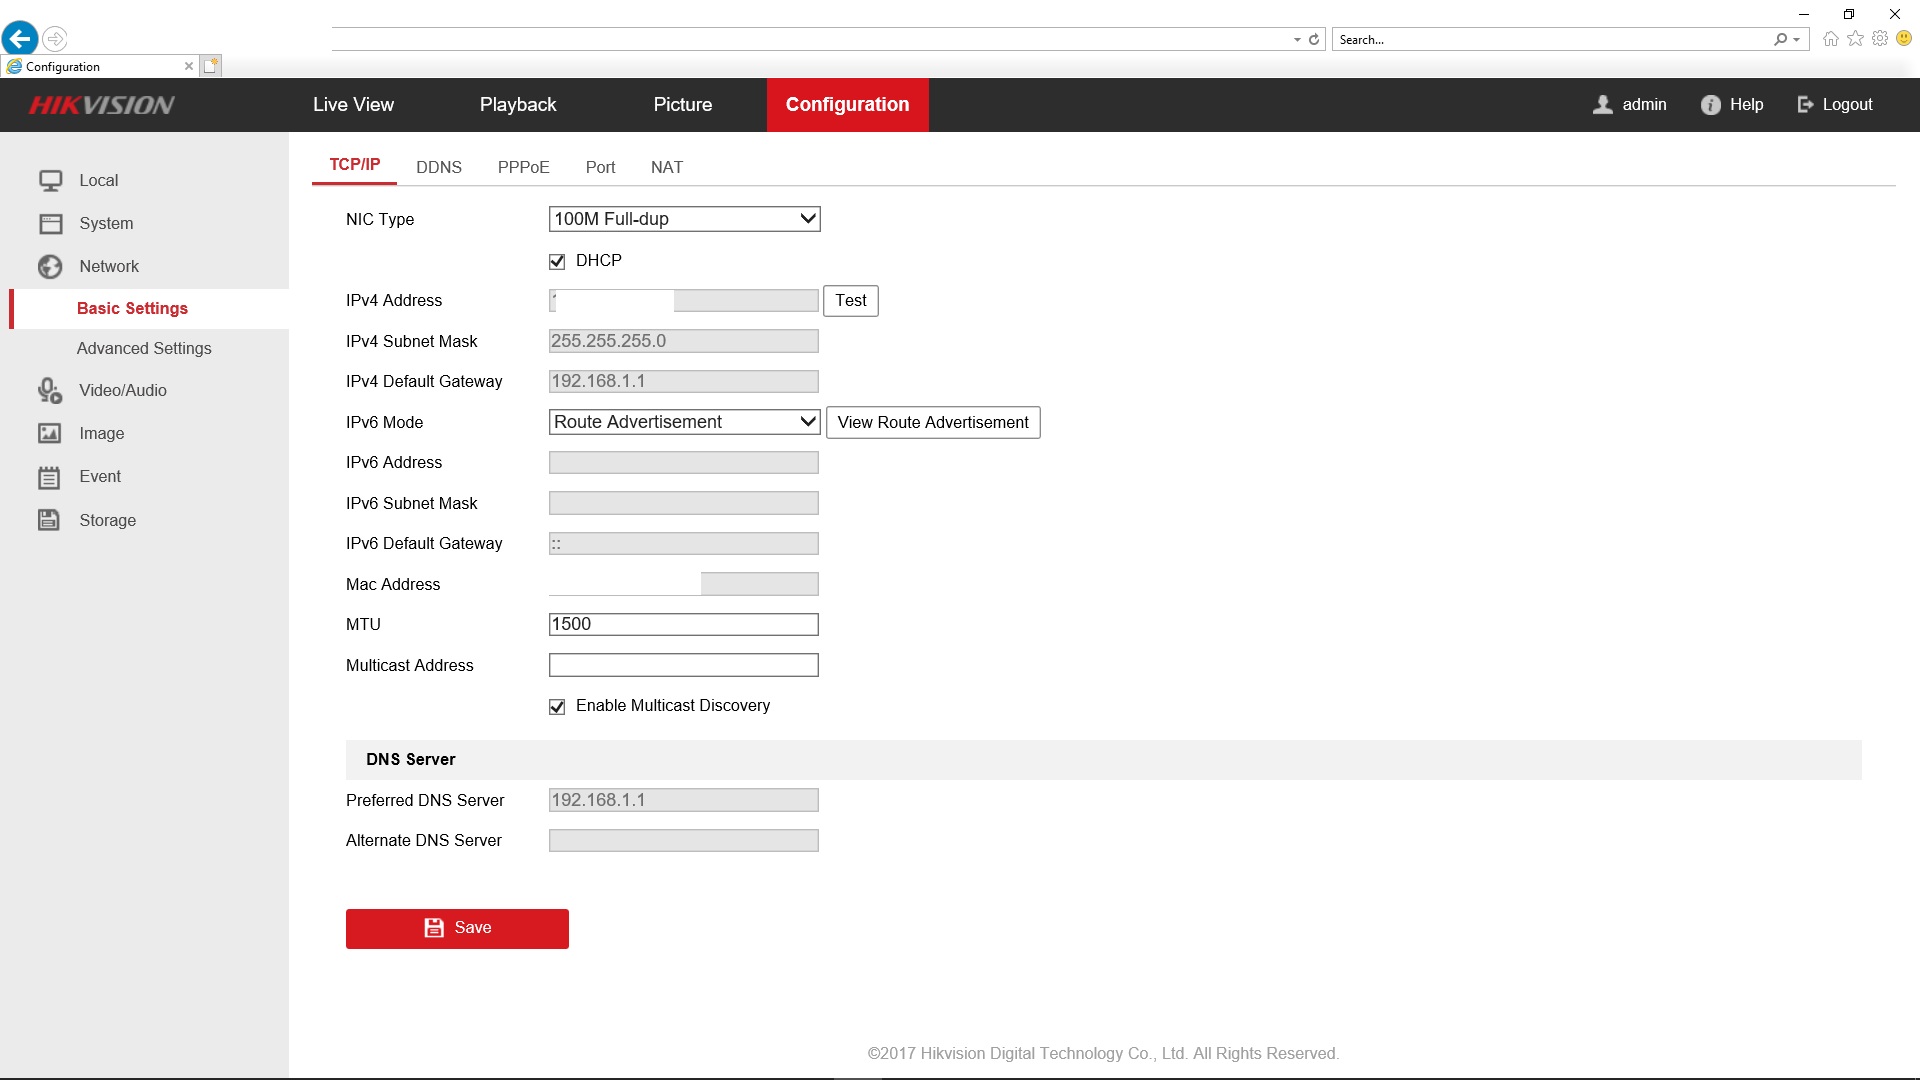
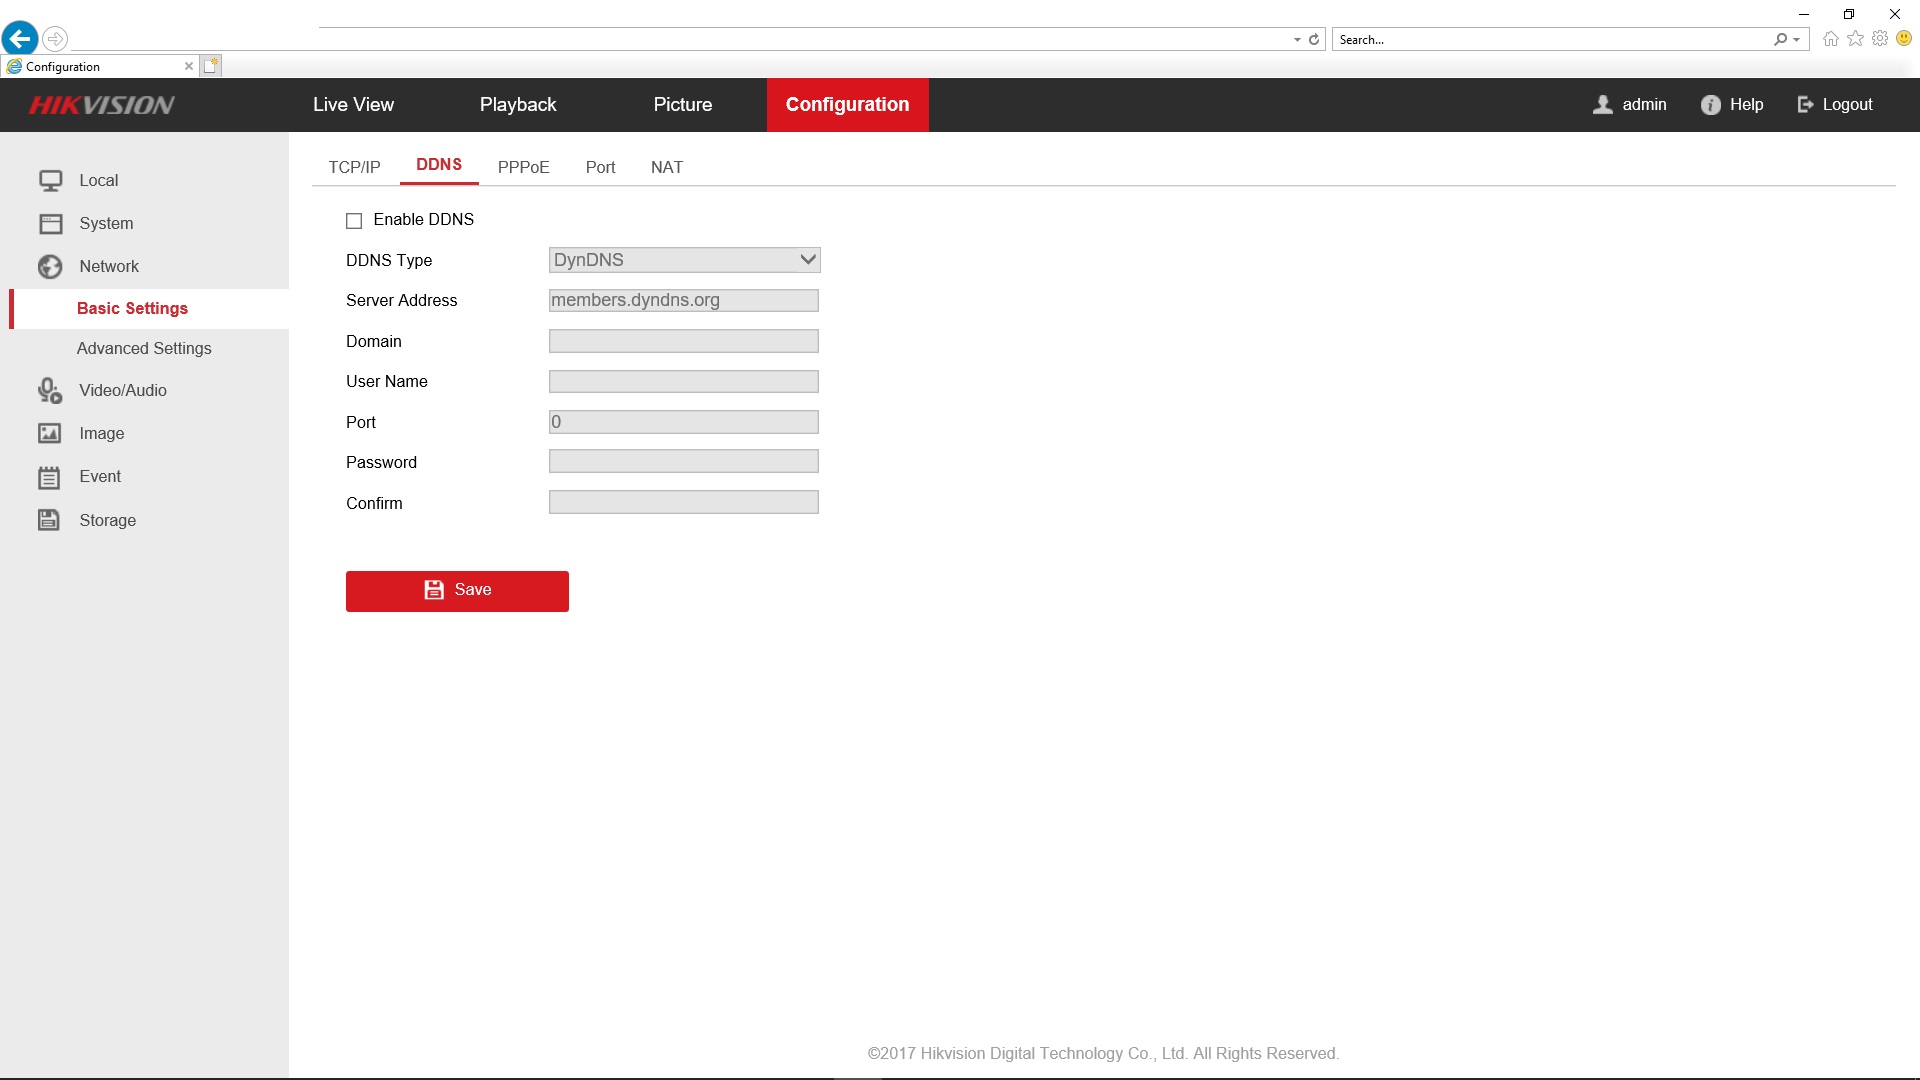
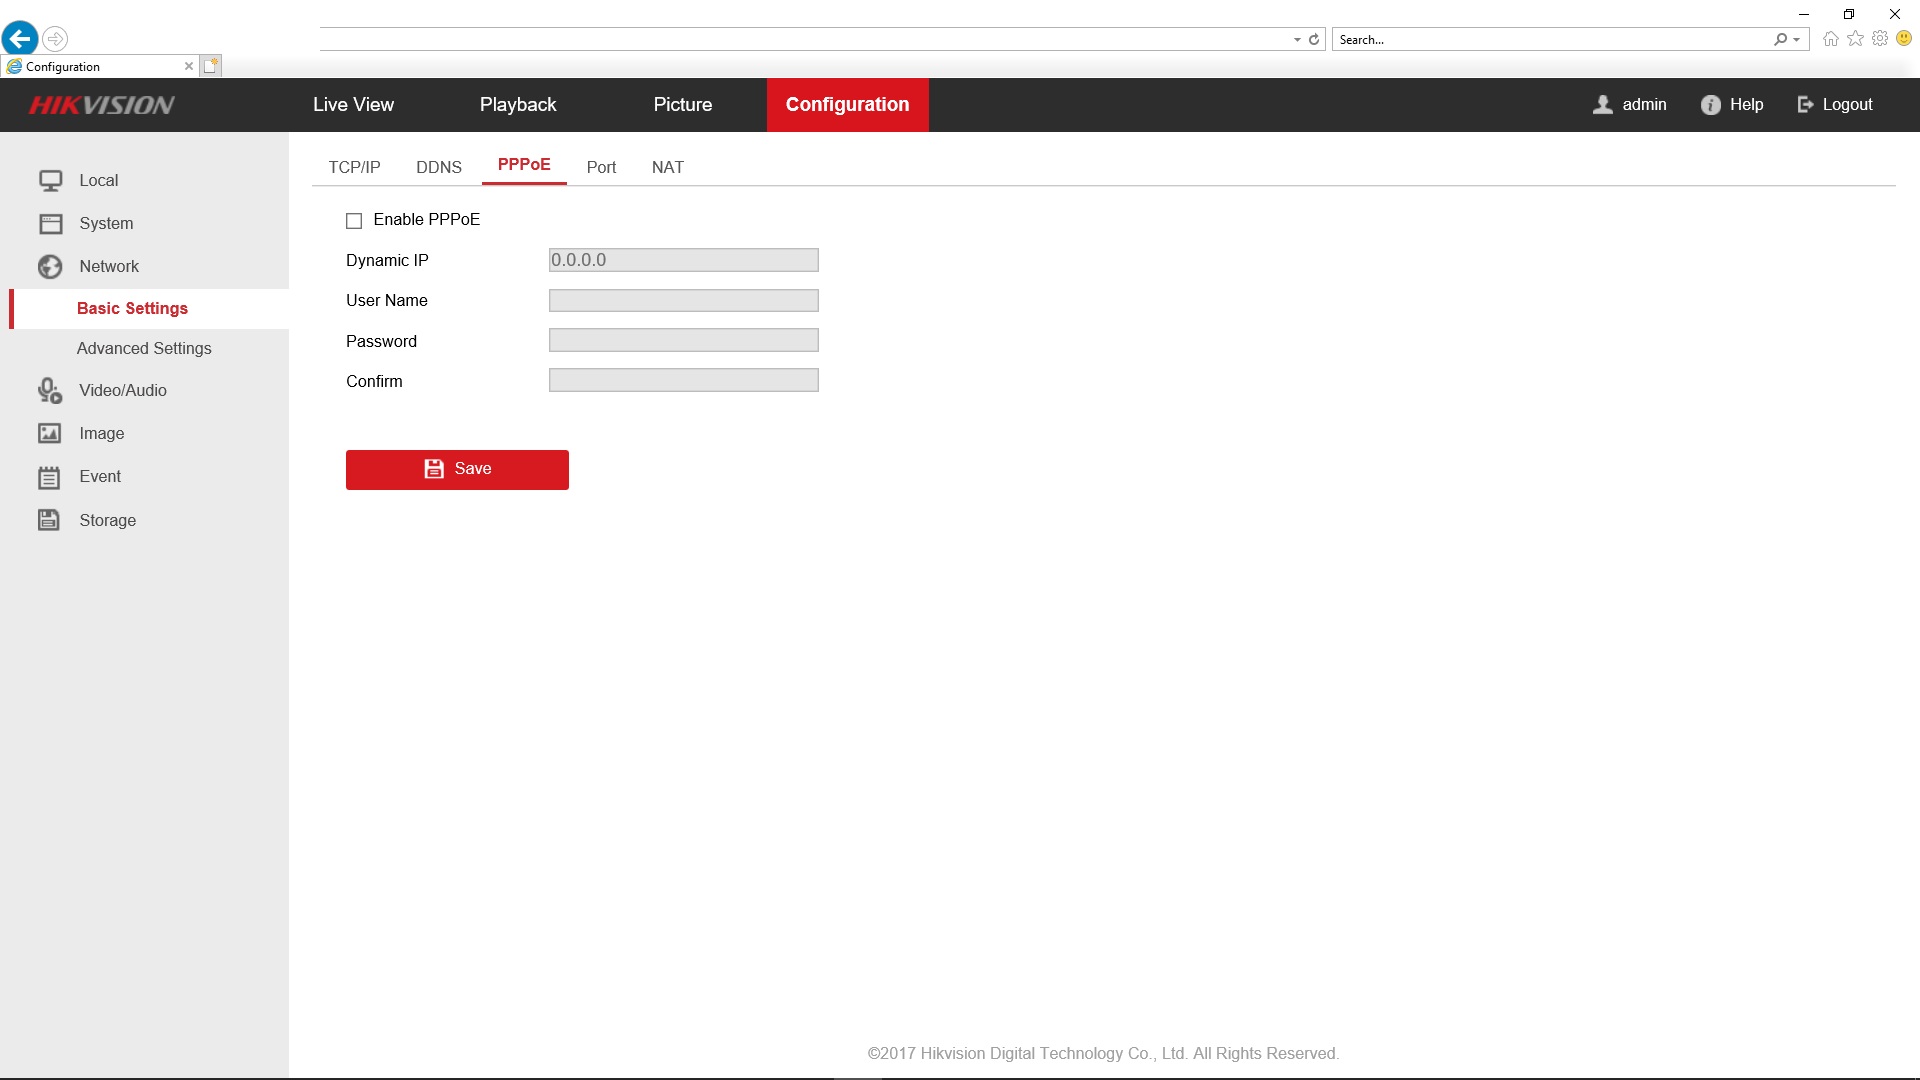
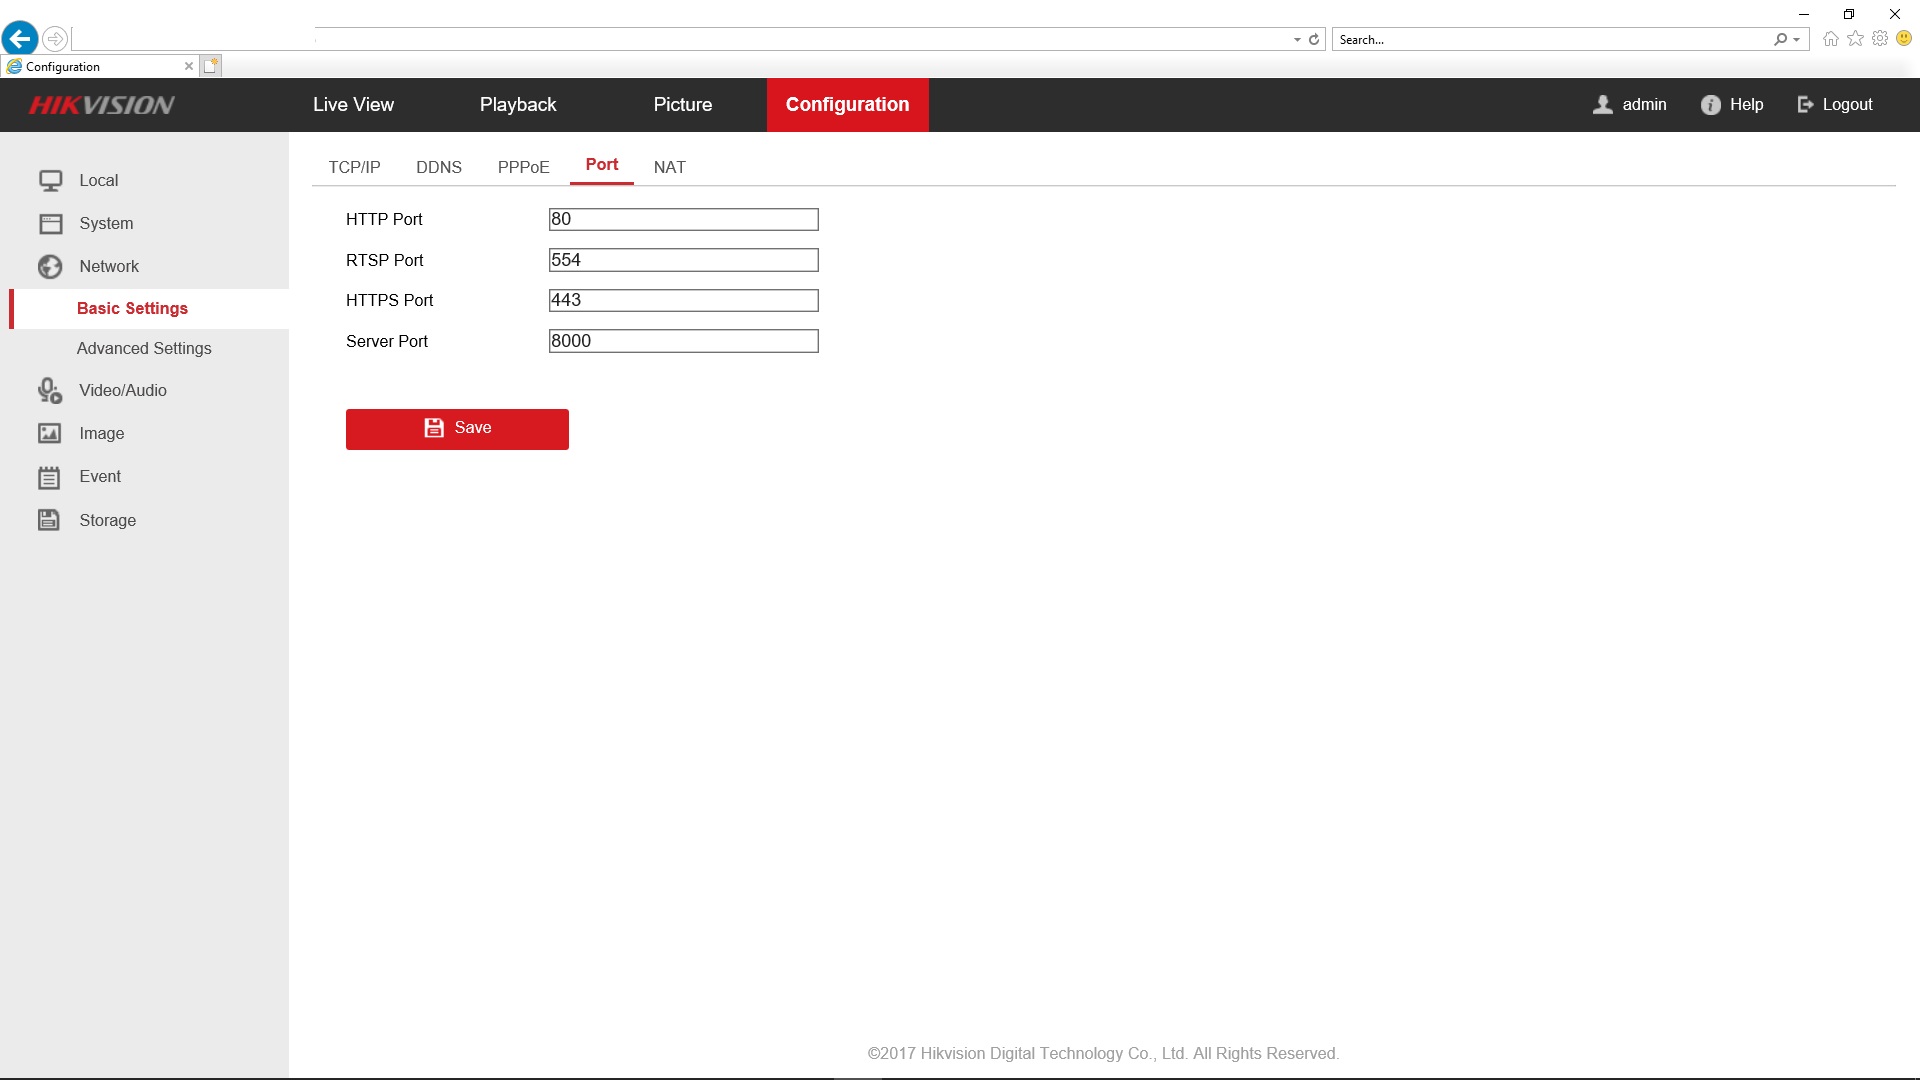
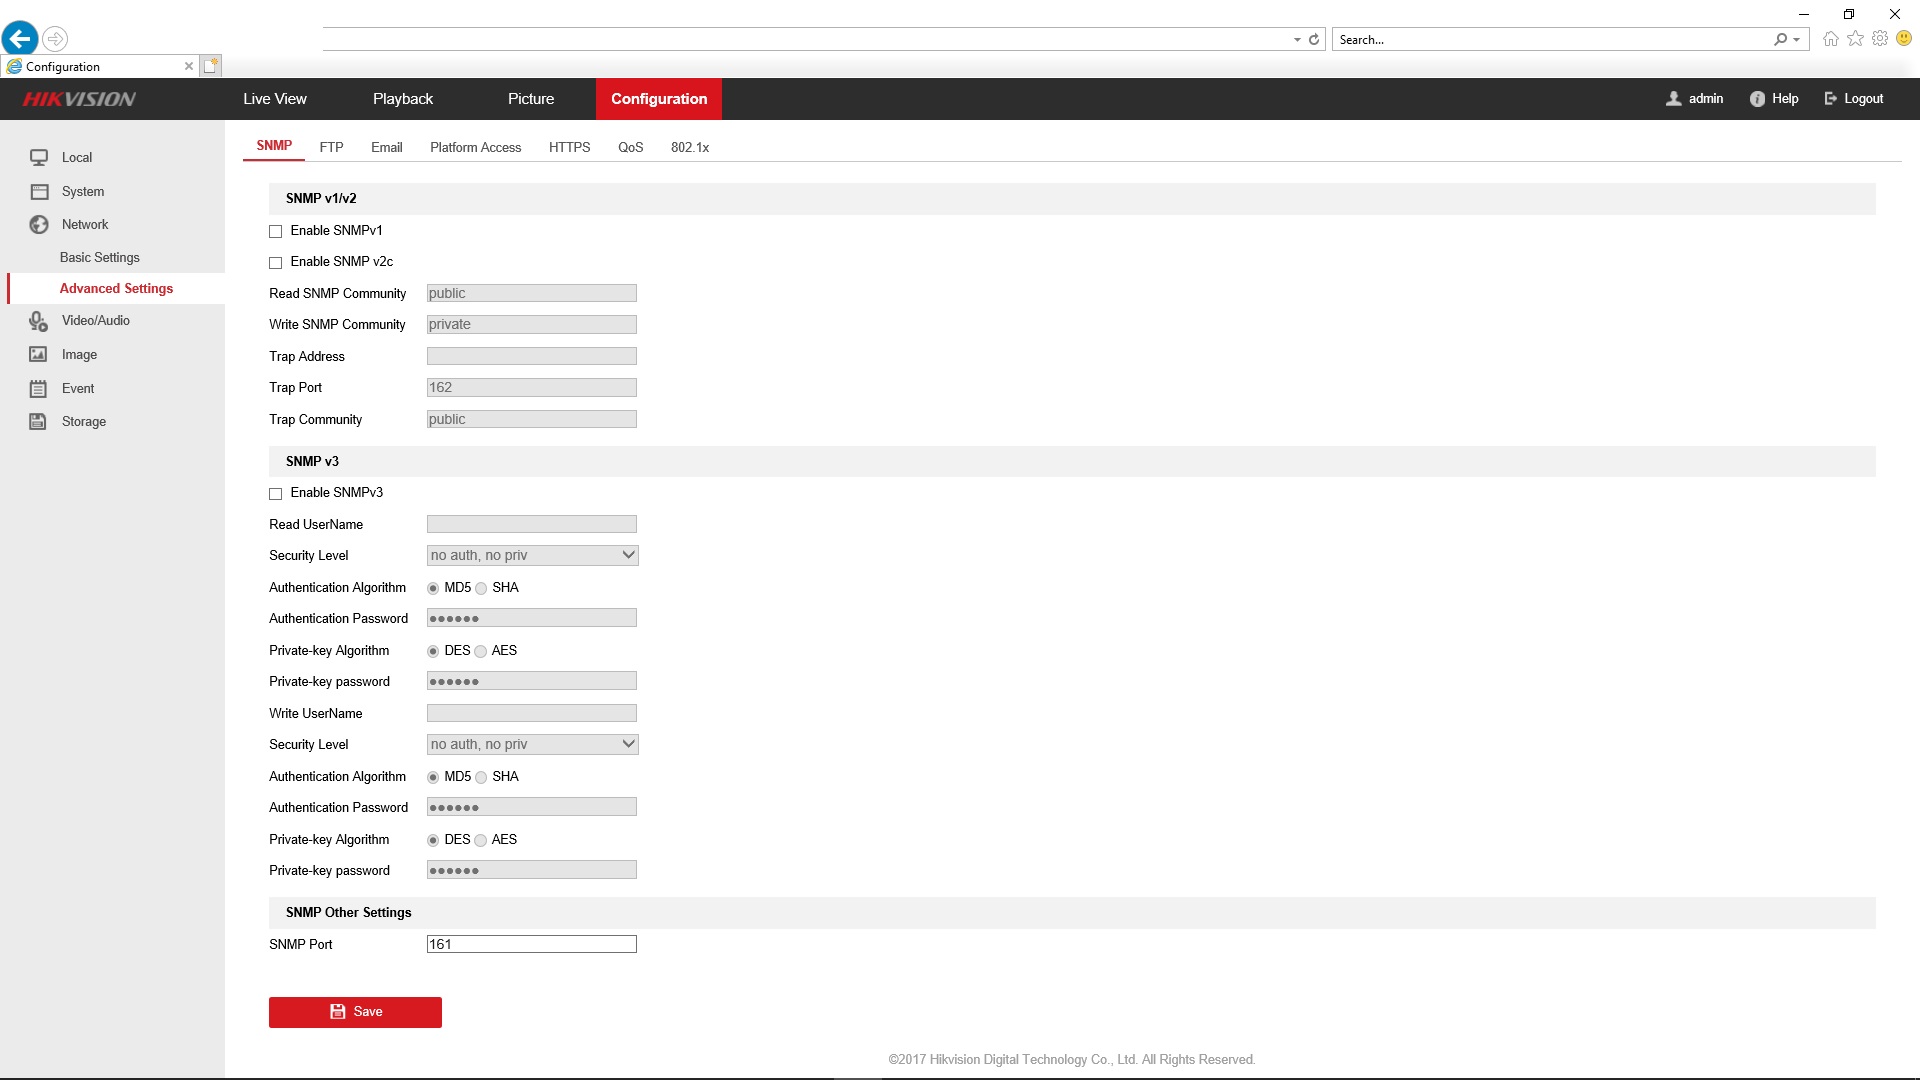
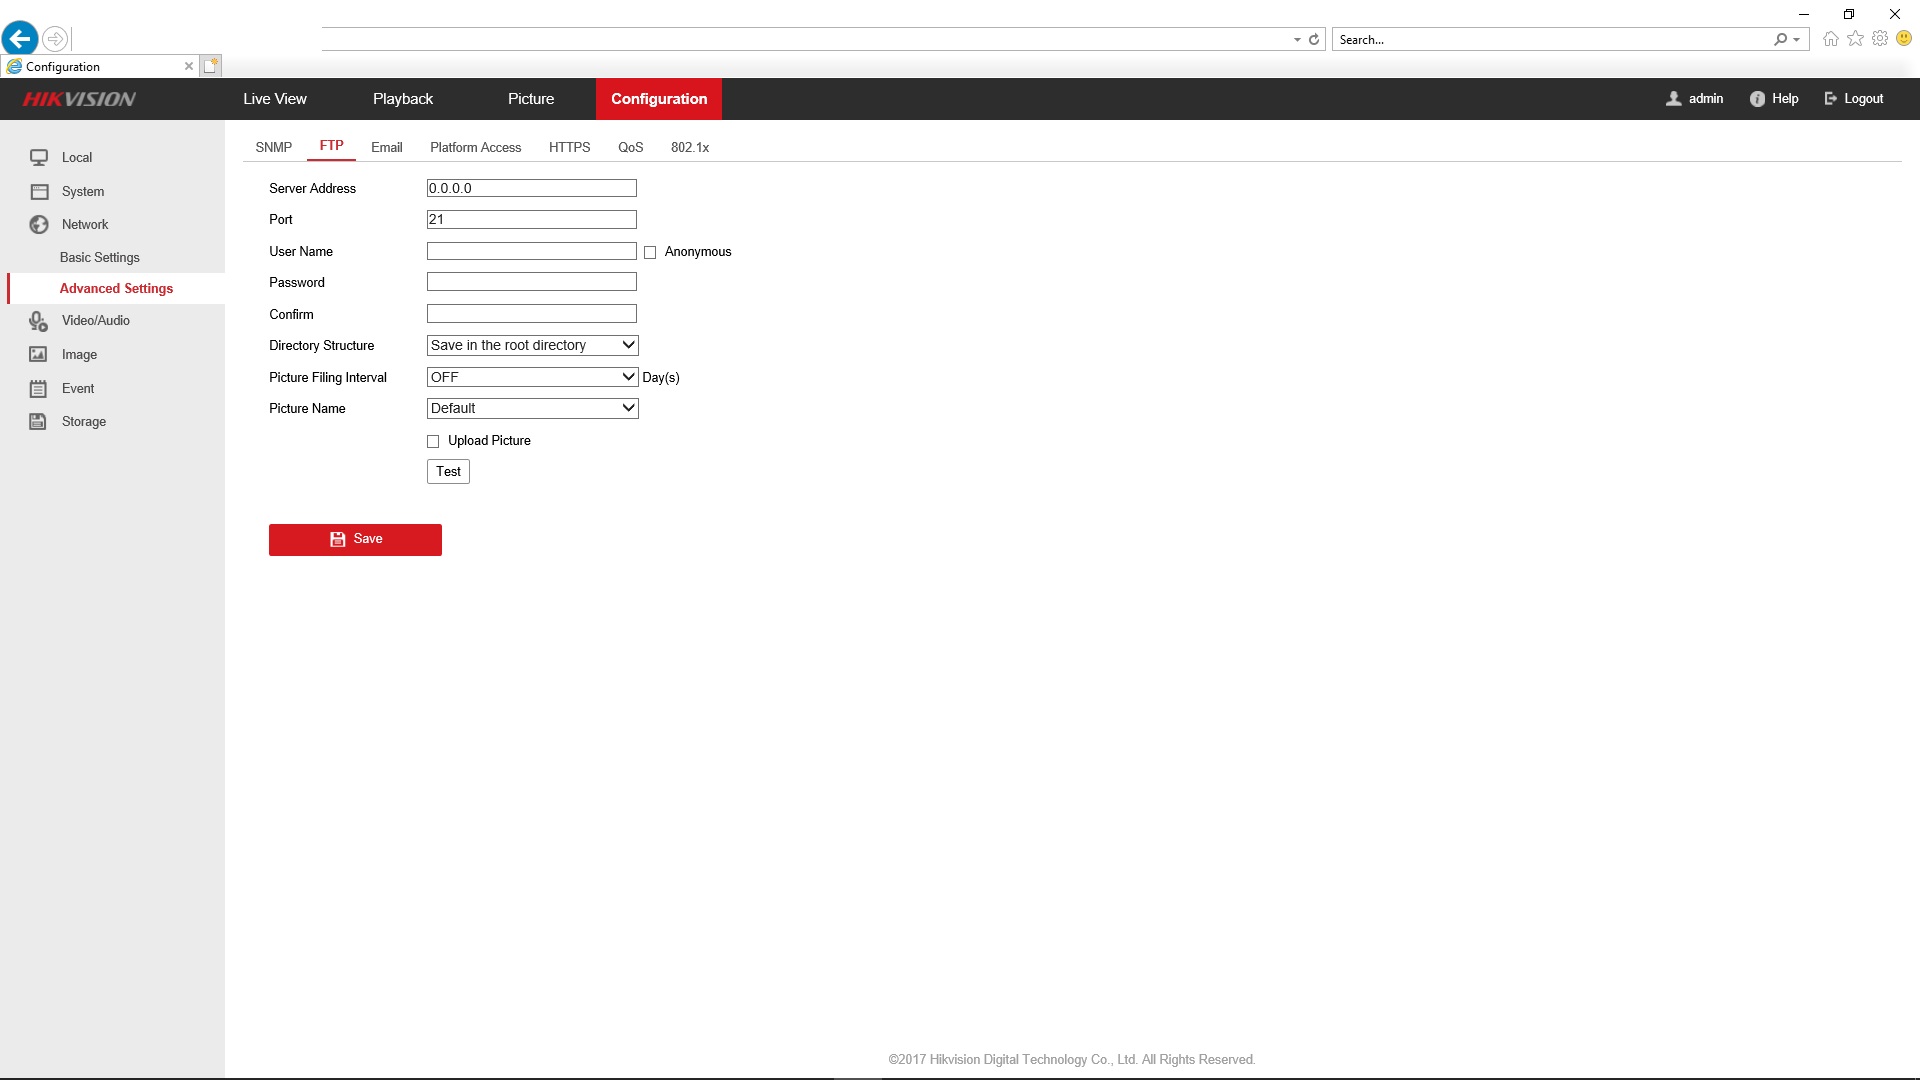
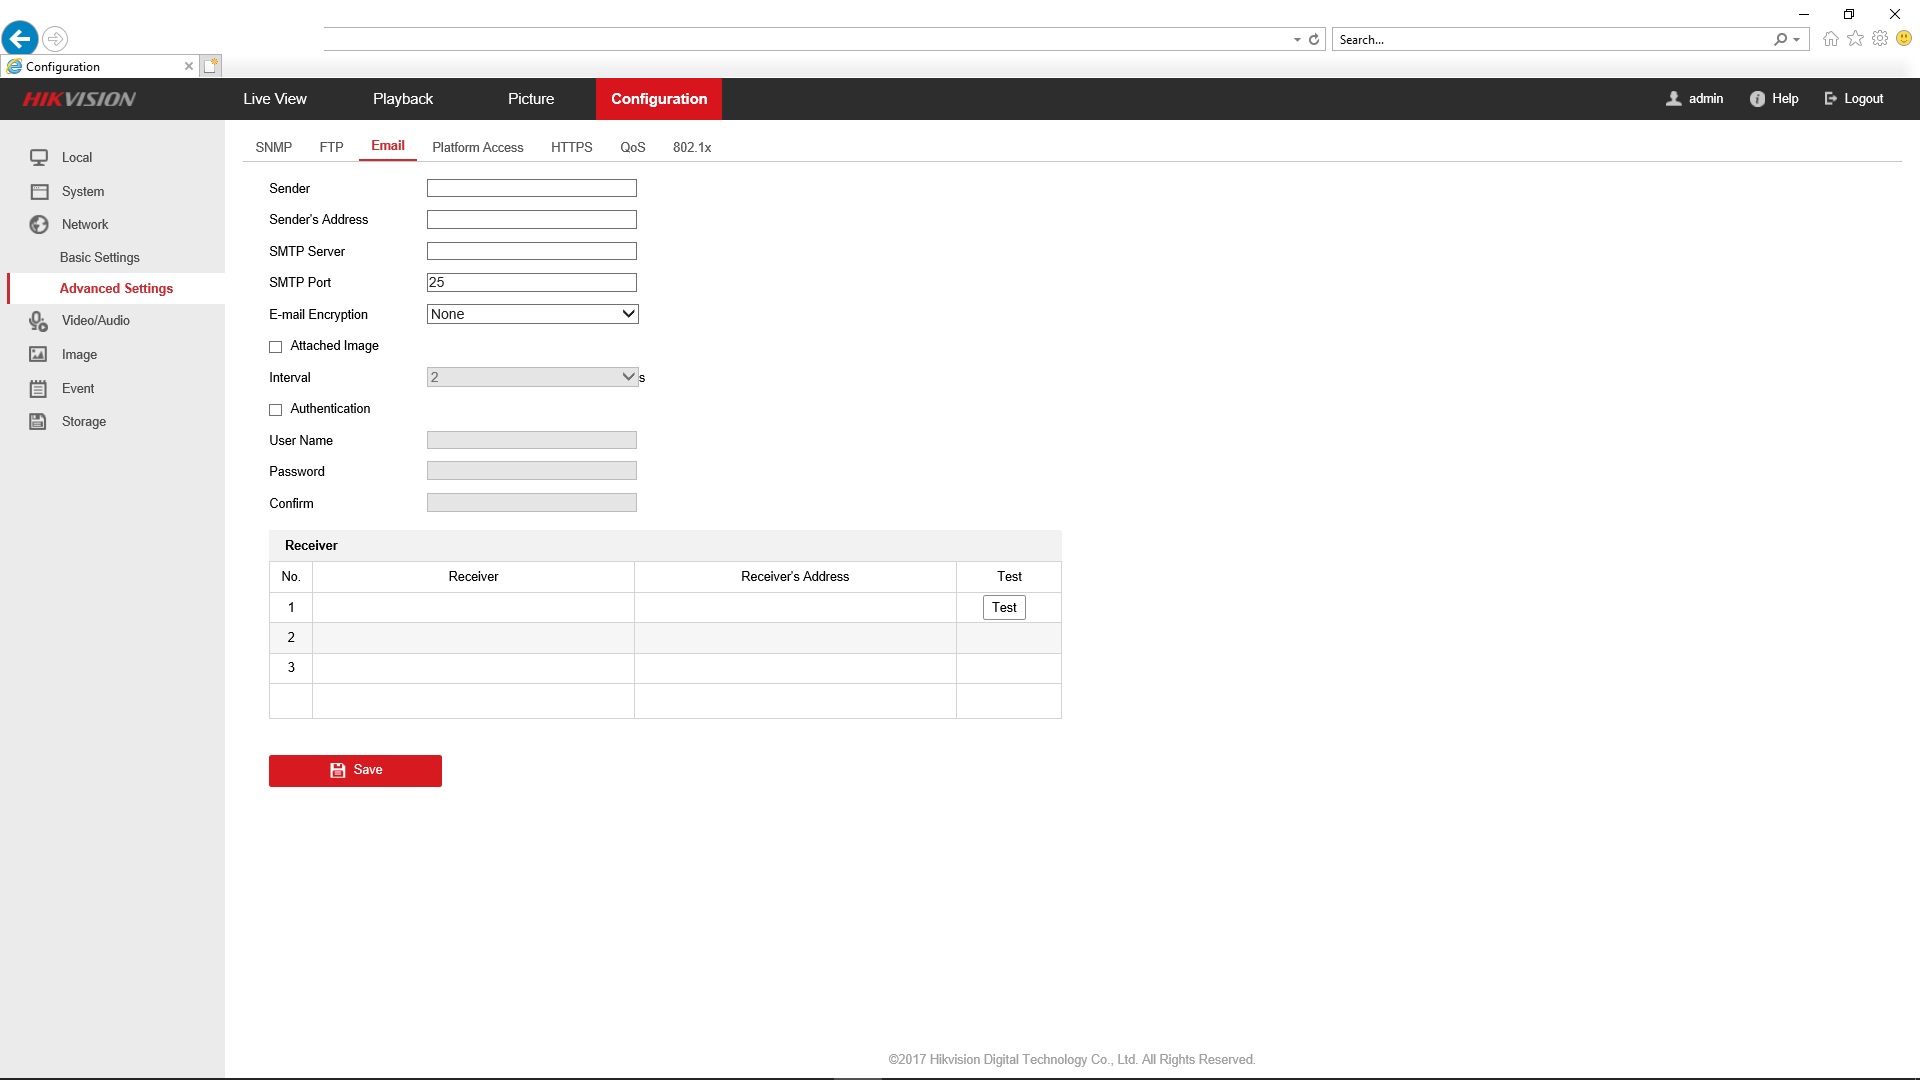
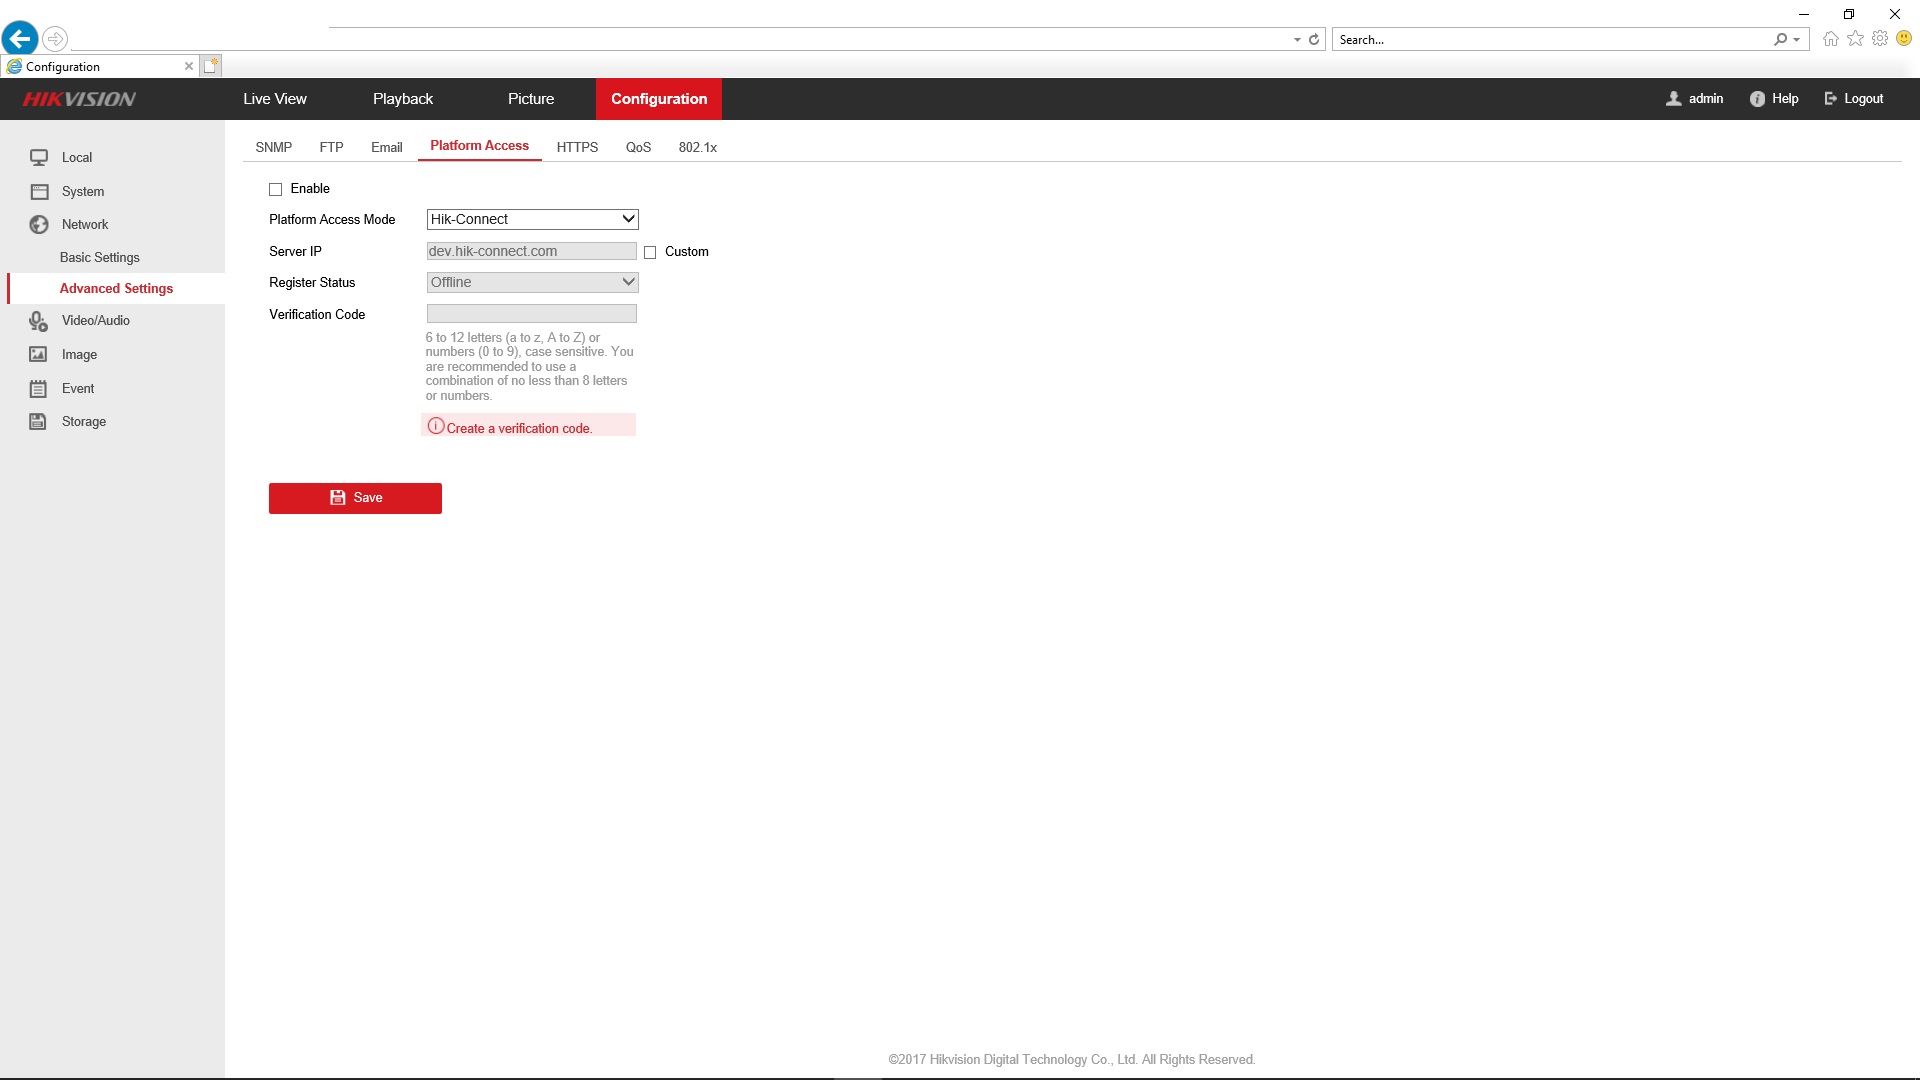
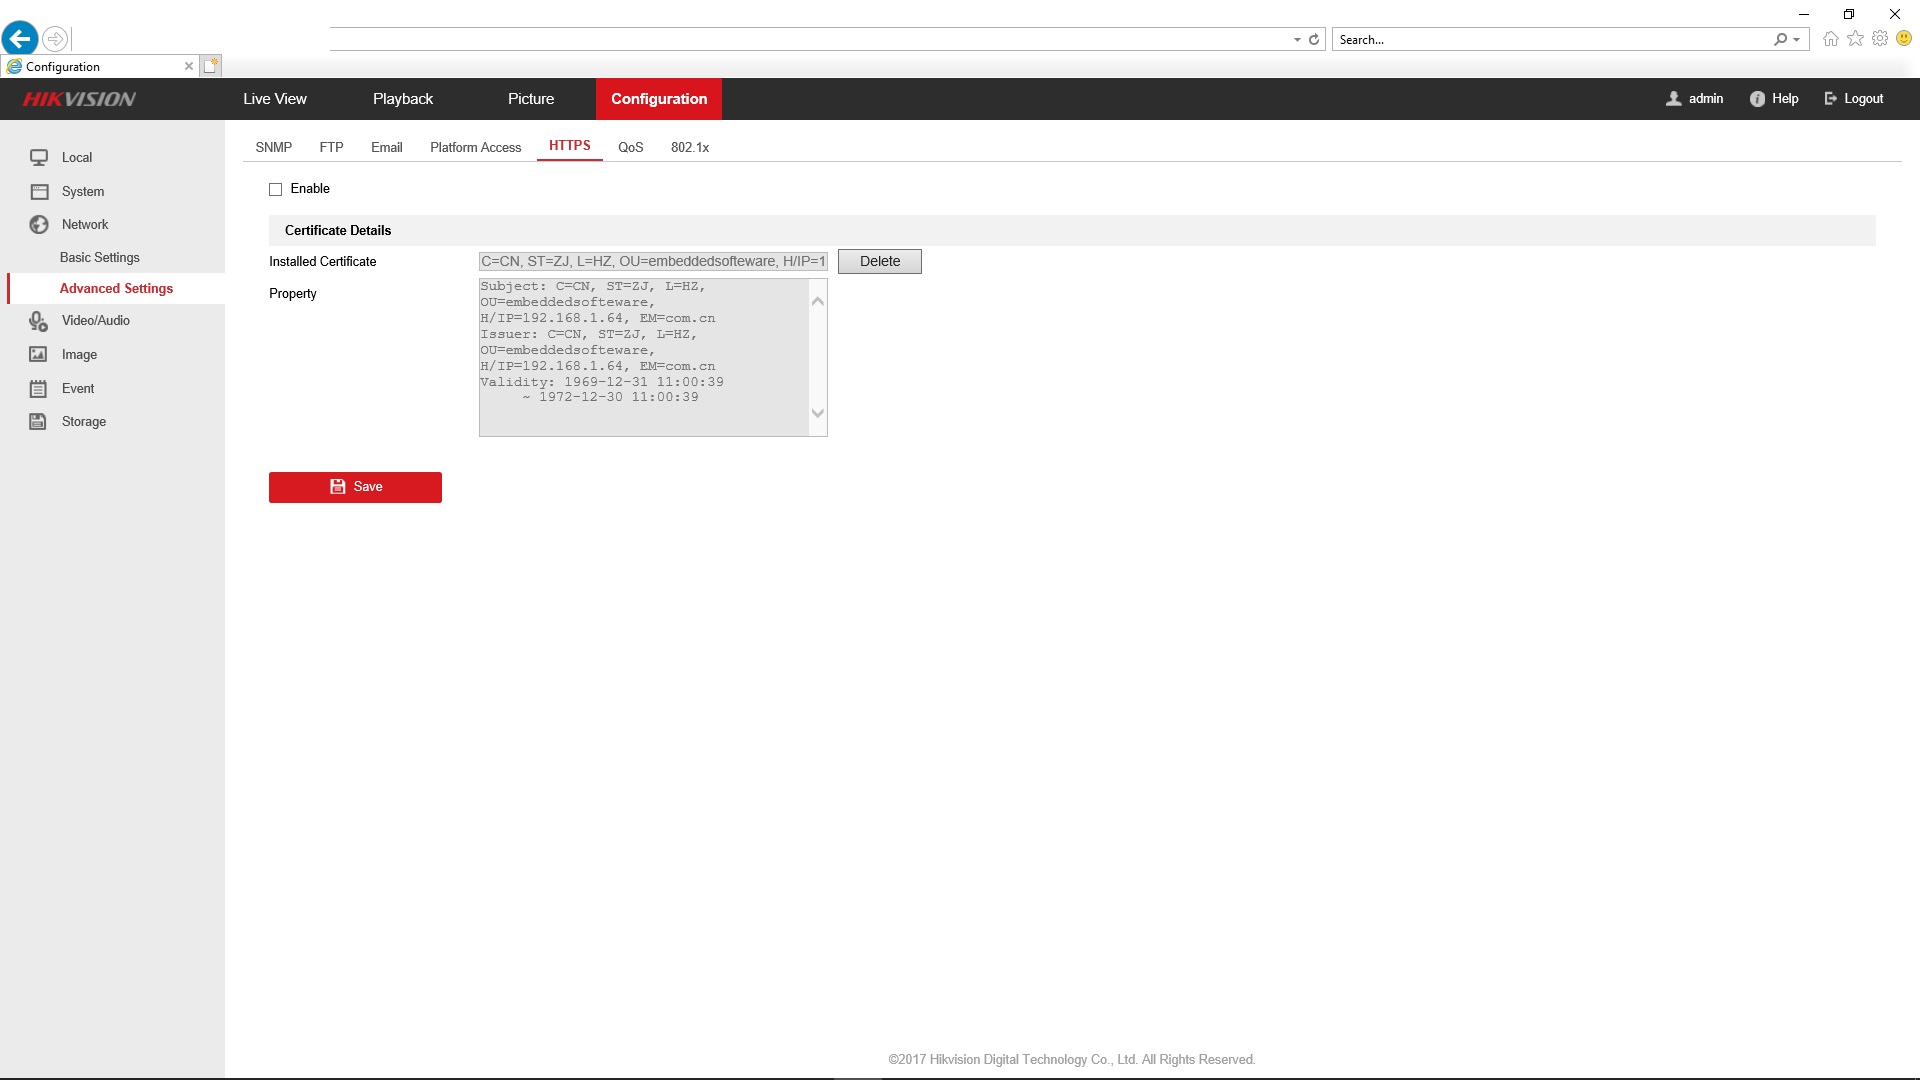

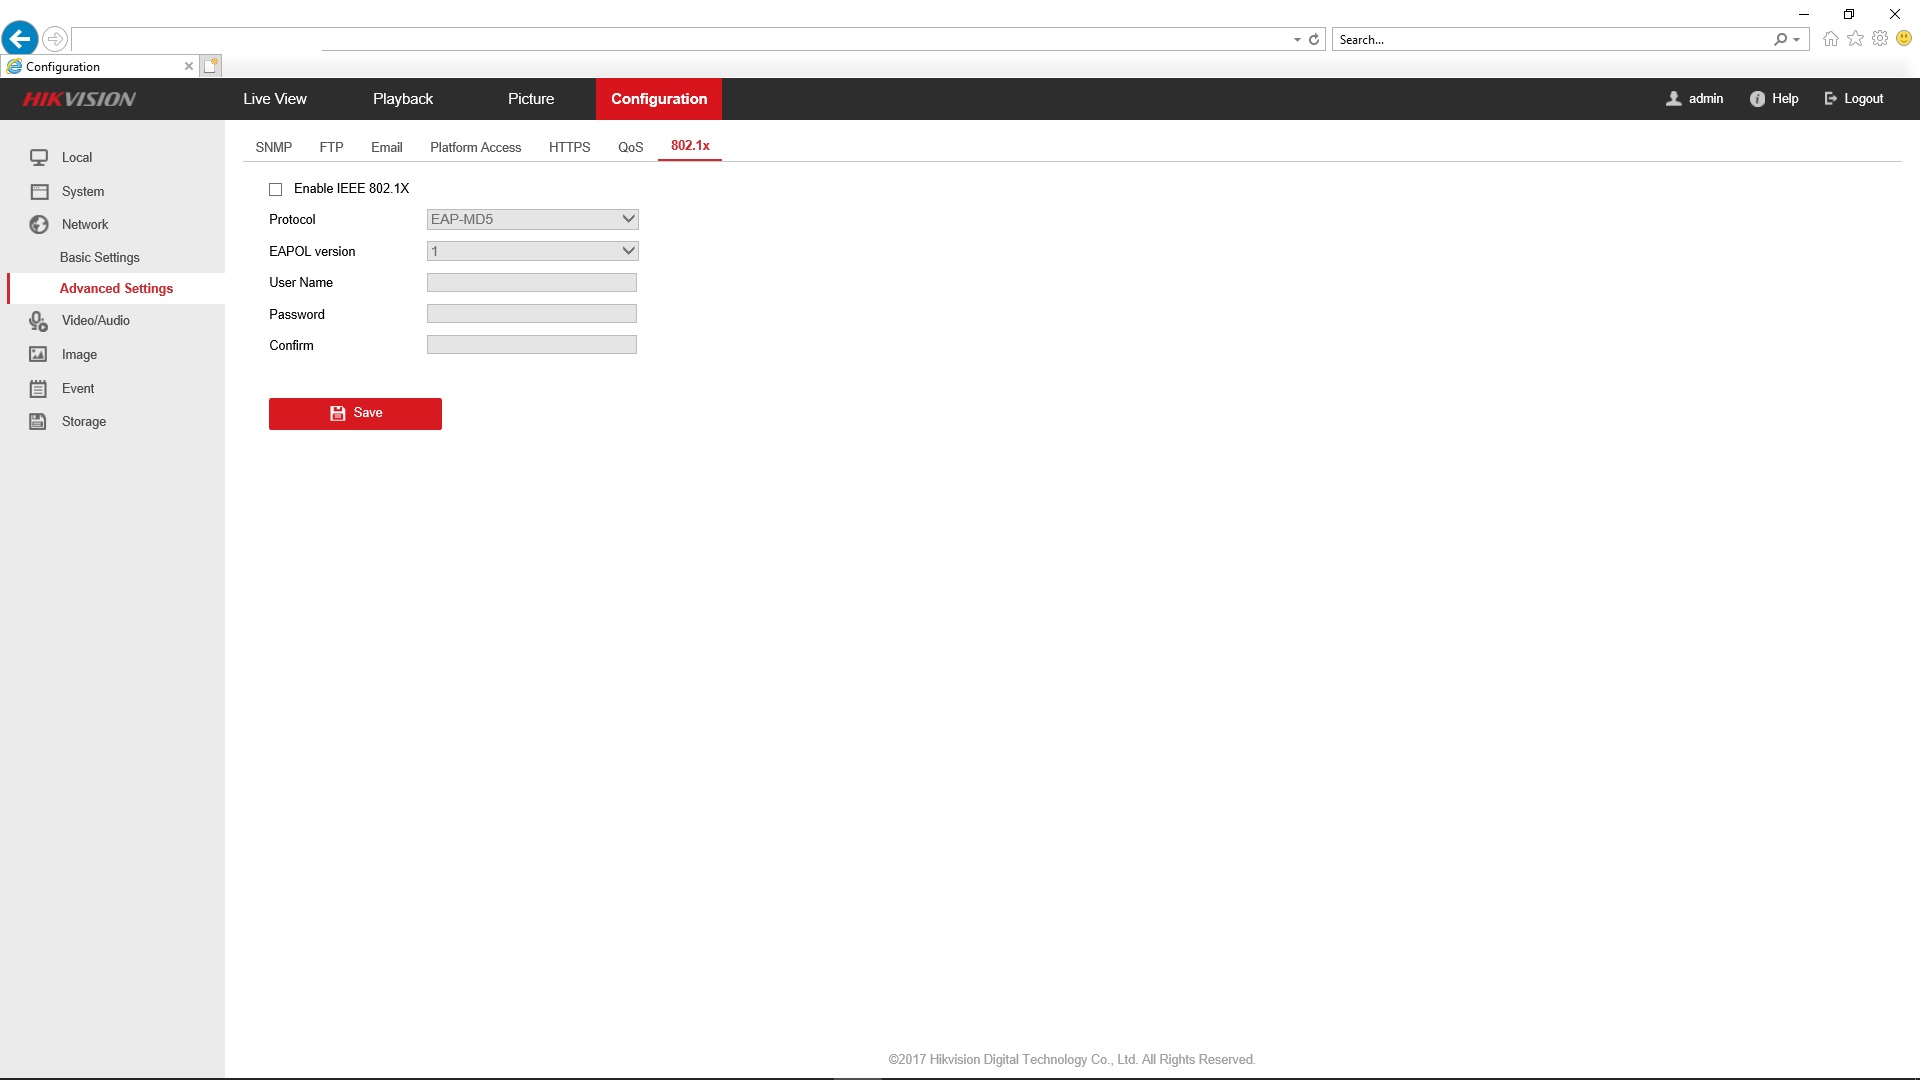
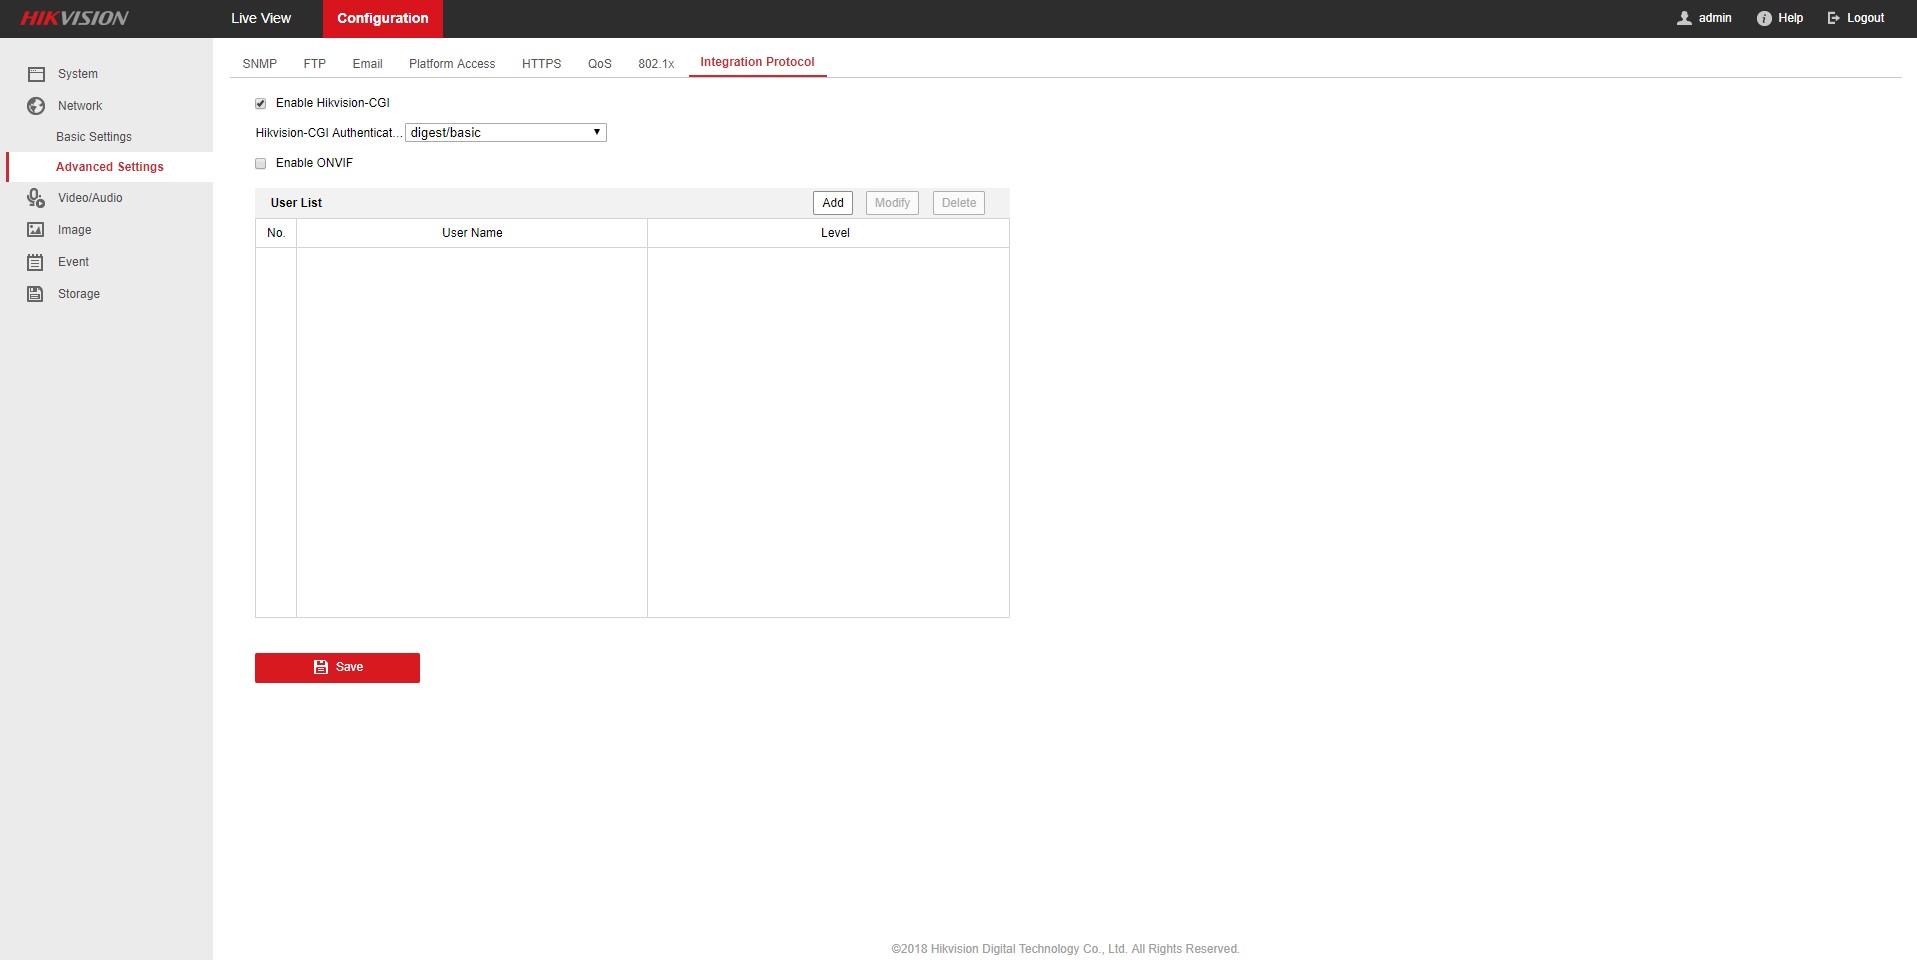 The "Integration Protocol" under Advanced settings is only visible if you have the latest firmware. The reason you don't see that option in the above screenshots is because I had older version of firmware, and I updated it to enable text overlay feature.
The following is the Home Assistant REST API sensor that sets a given text to the camera. For more information, go to
[https://github.com/skalavala/mysmarthome/blob/master/packages/cameras.yaml#L141](https://github.com/skalavala/mysmarthome/blob/master/packages/cameras.yaml#L141)
```
rest_command:
set_camera_textoverlay_left_bottom:
url: http://192.168.xxx.xxx/Video/inputs/channels/1/overlays/text/1
username: !secret camera_username
password: !secret camera_password
method: PUT
content_type: 'text/xml'
payload: >-
1true
45520
{{ message }}
```
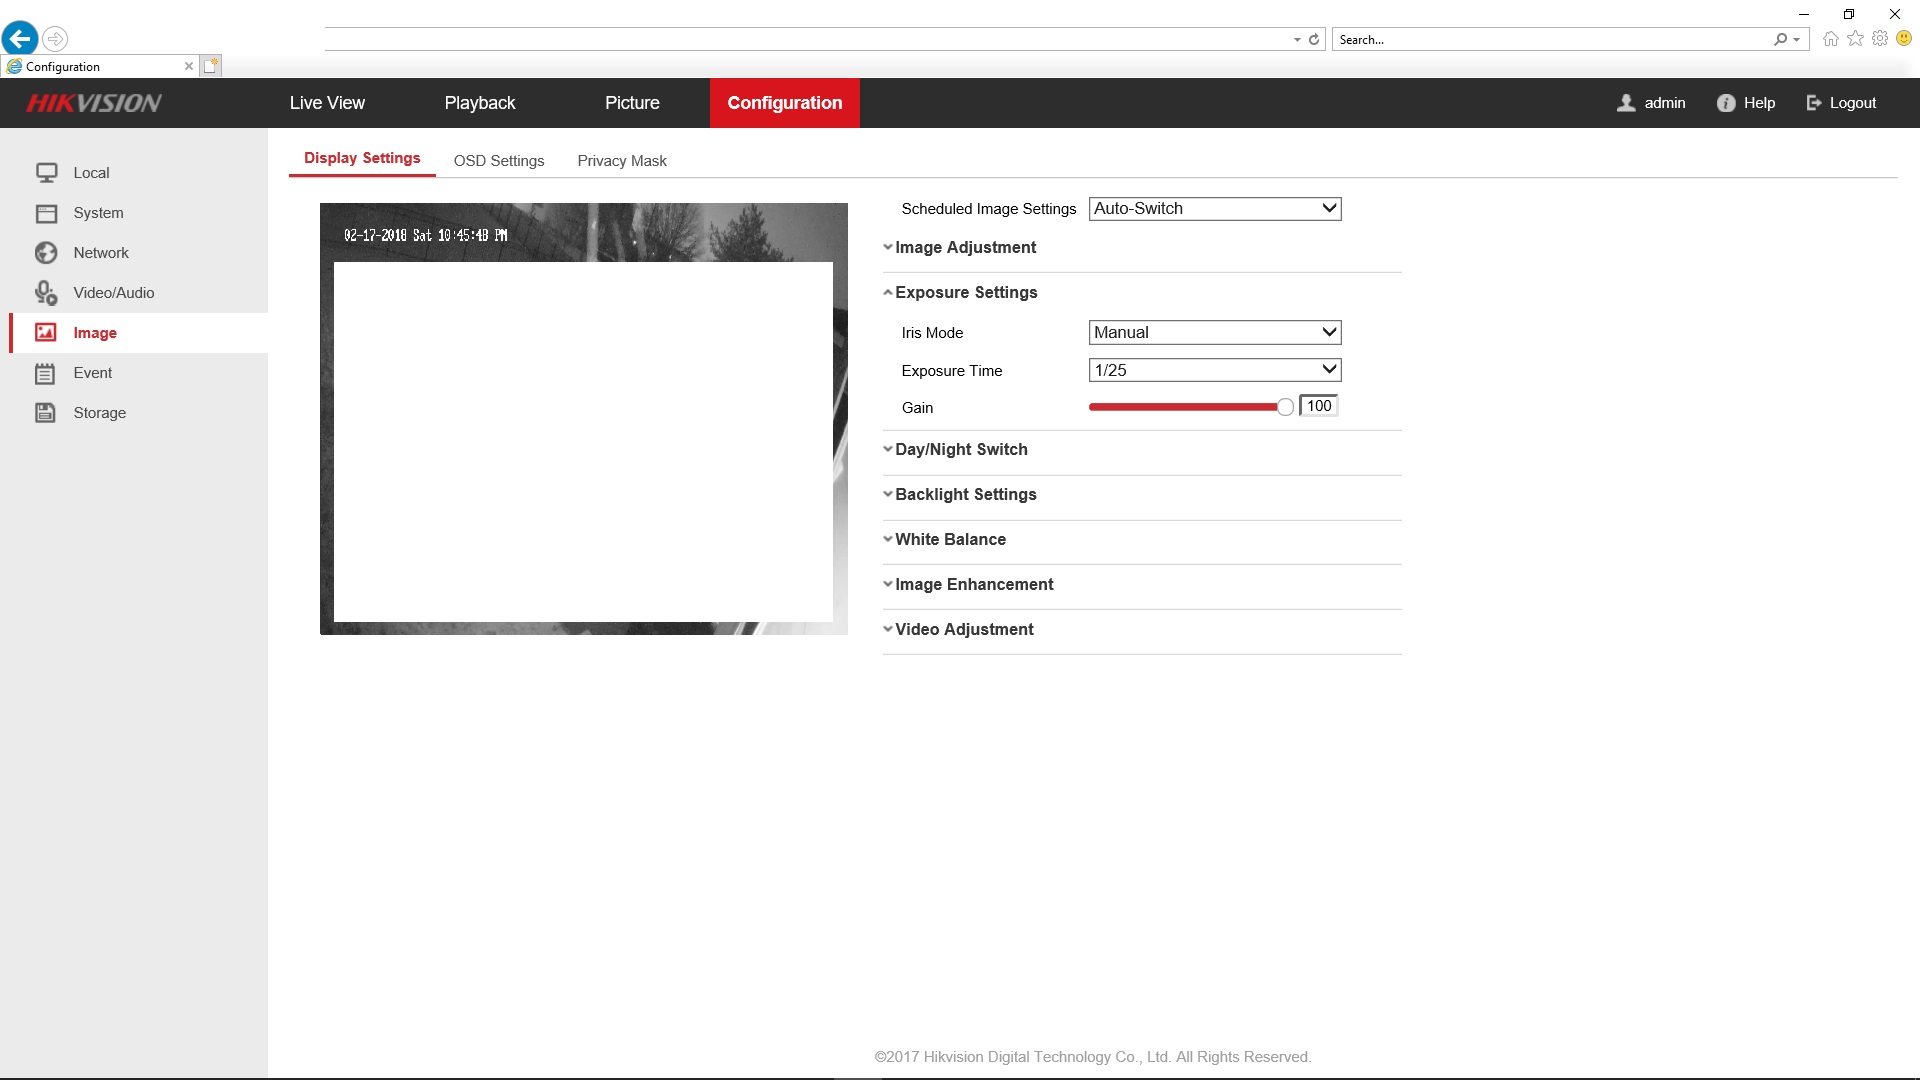
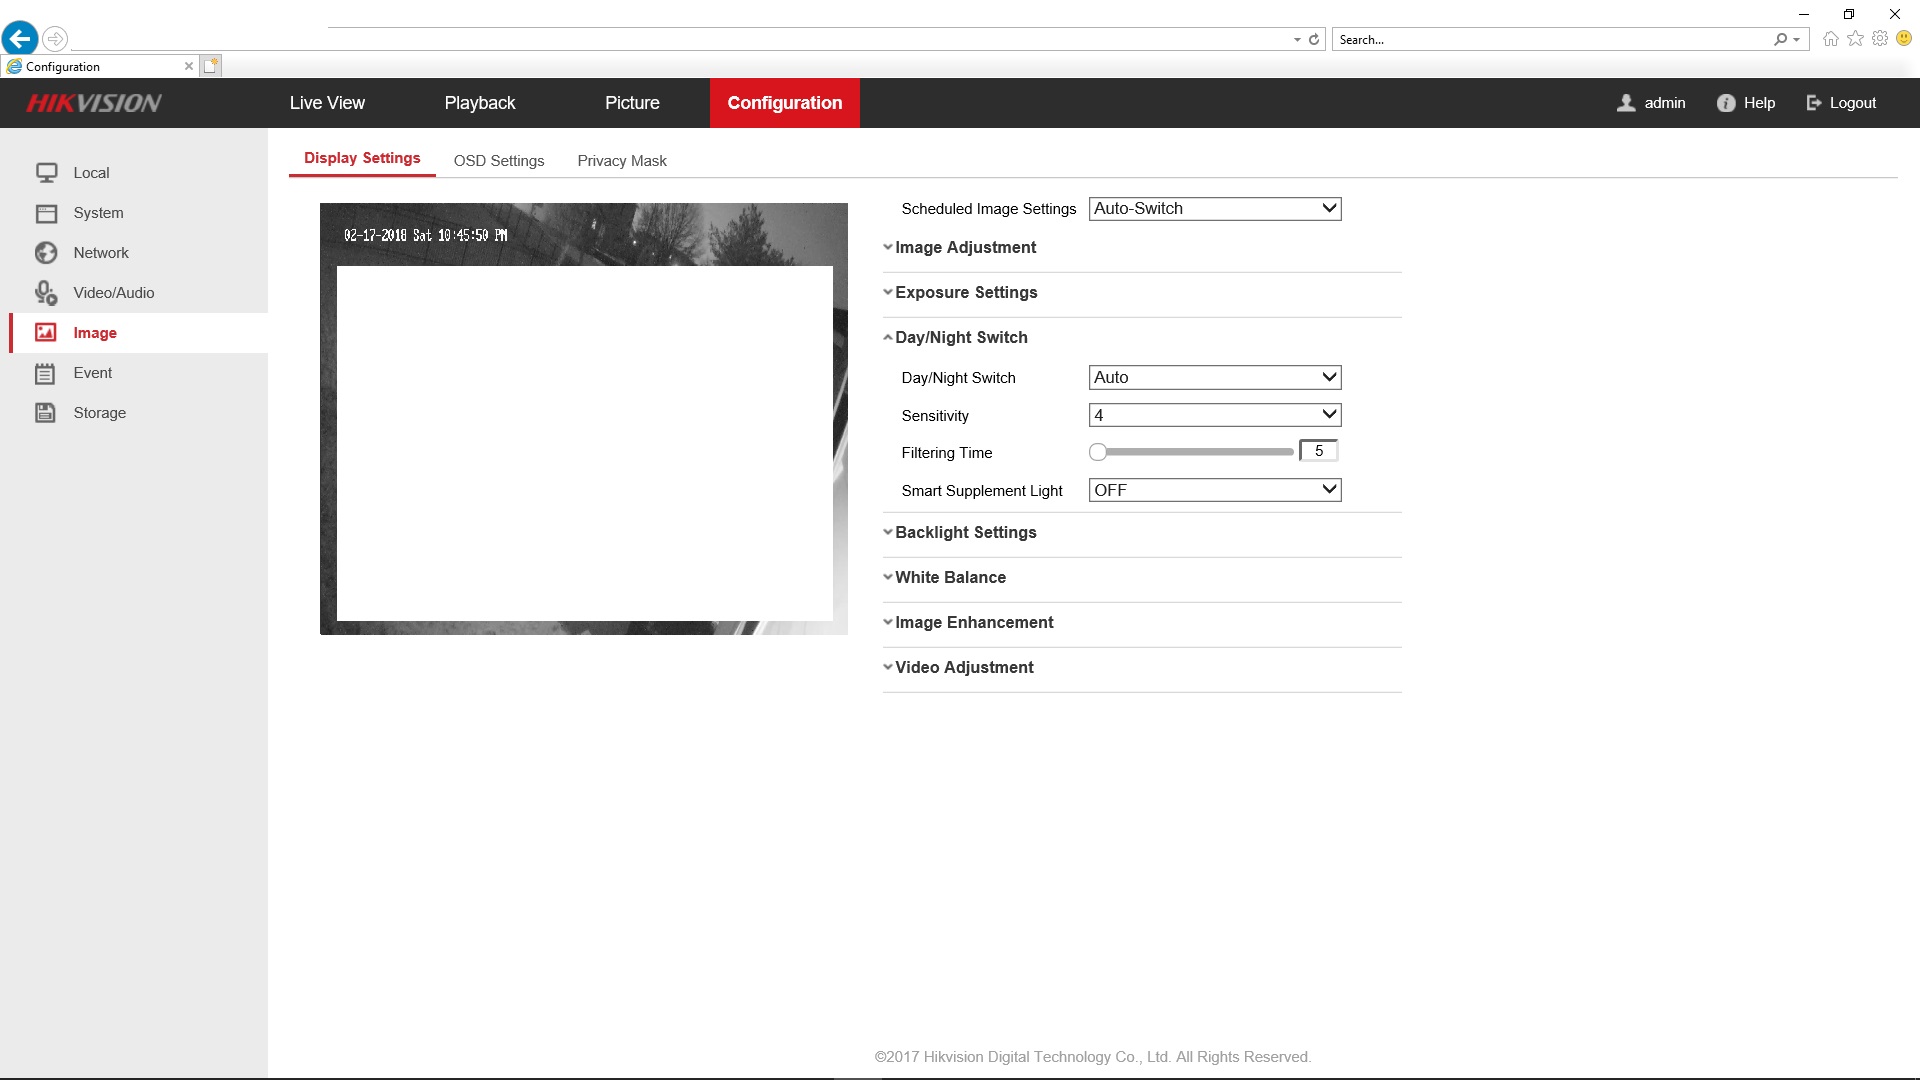
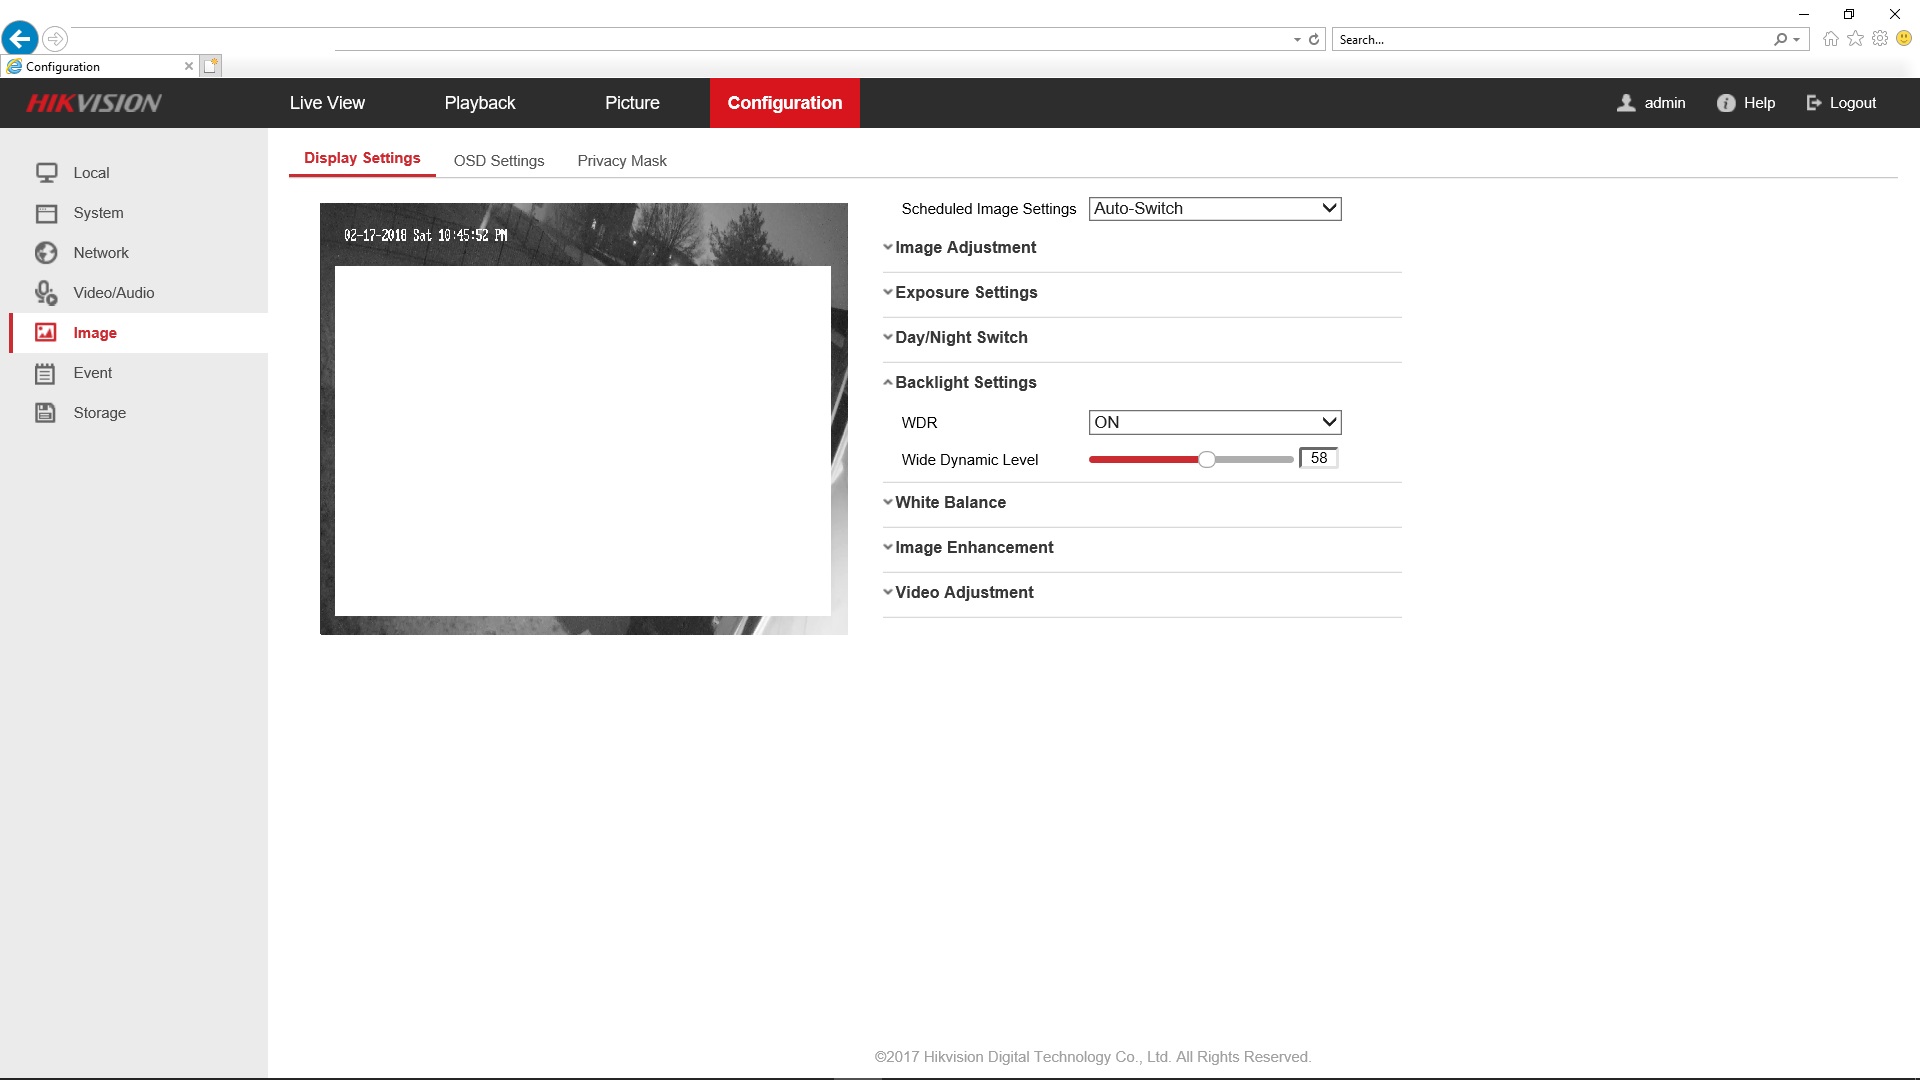
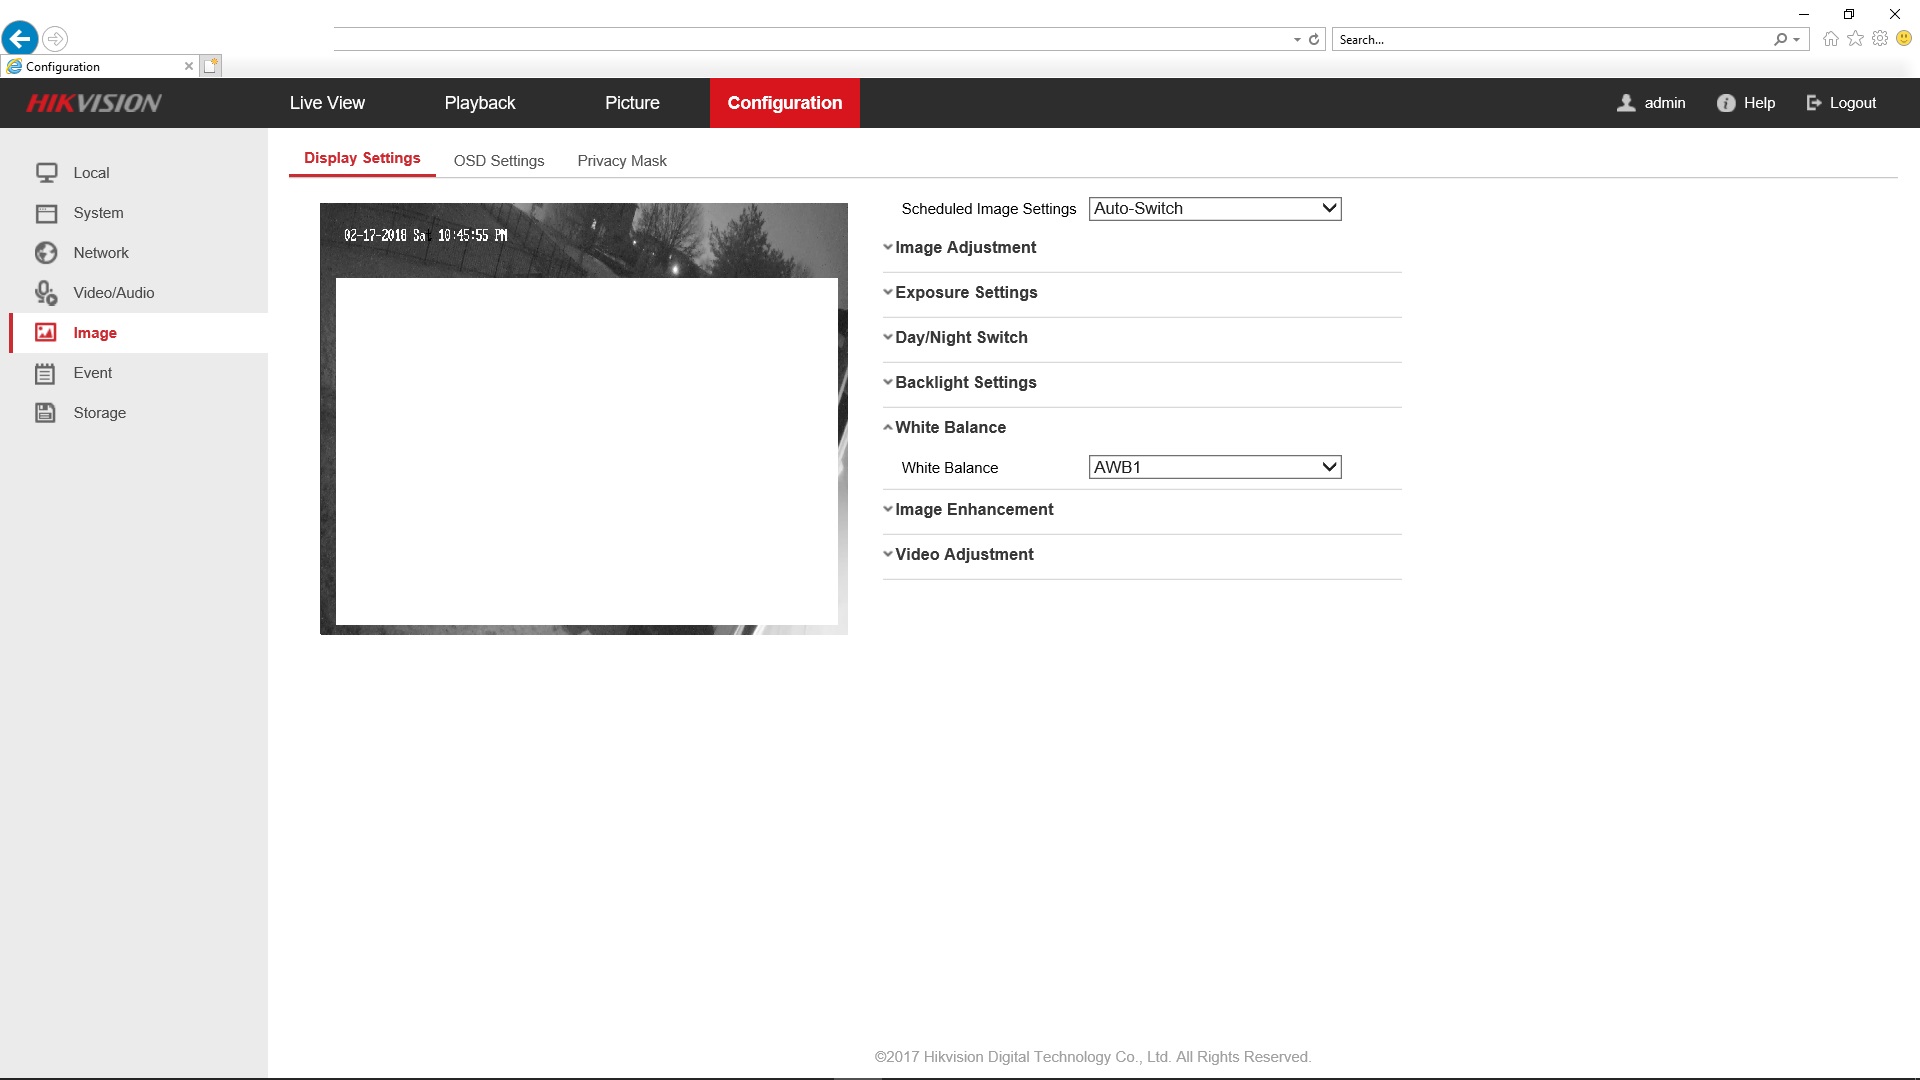
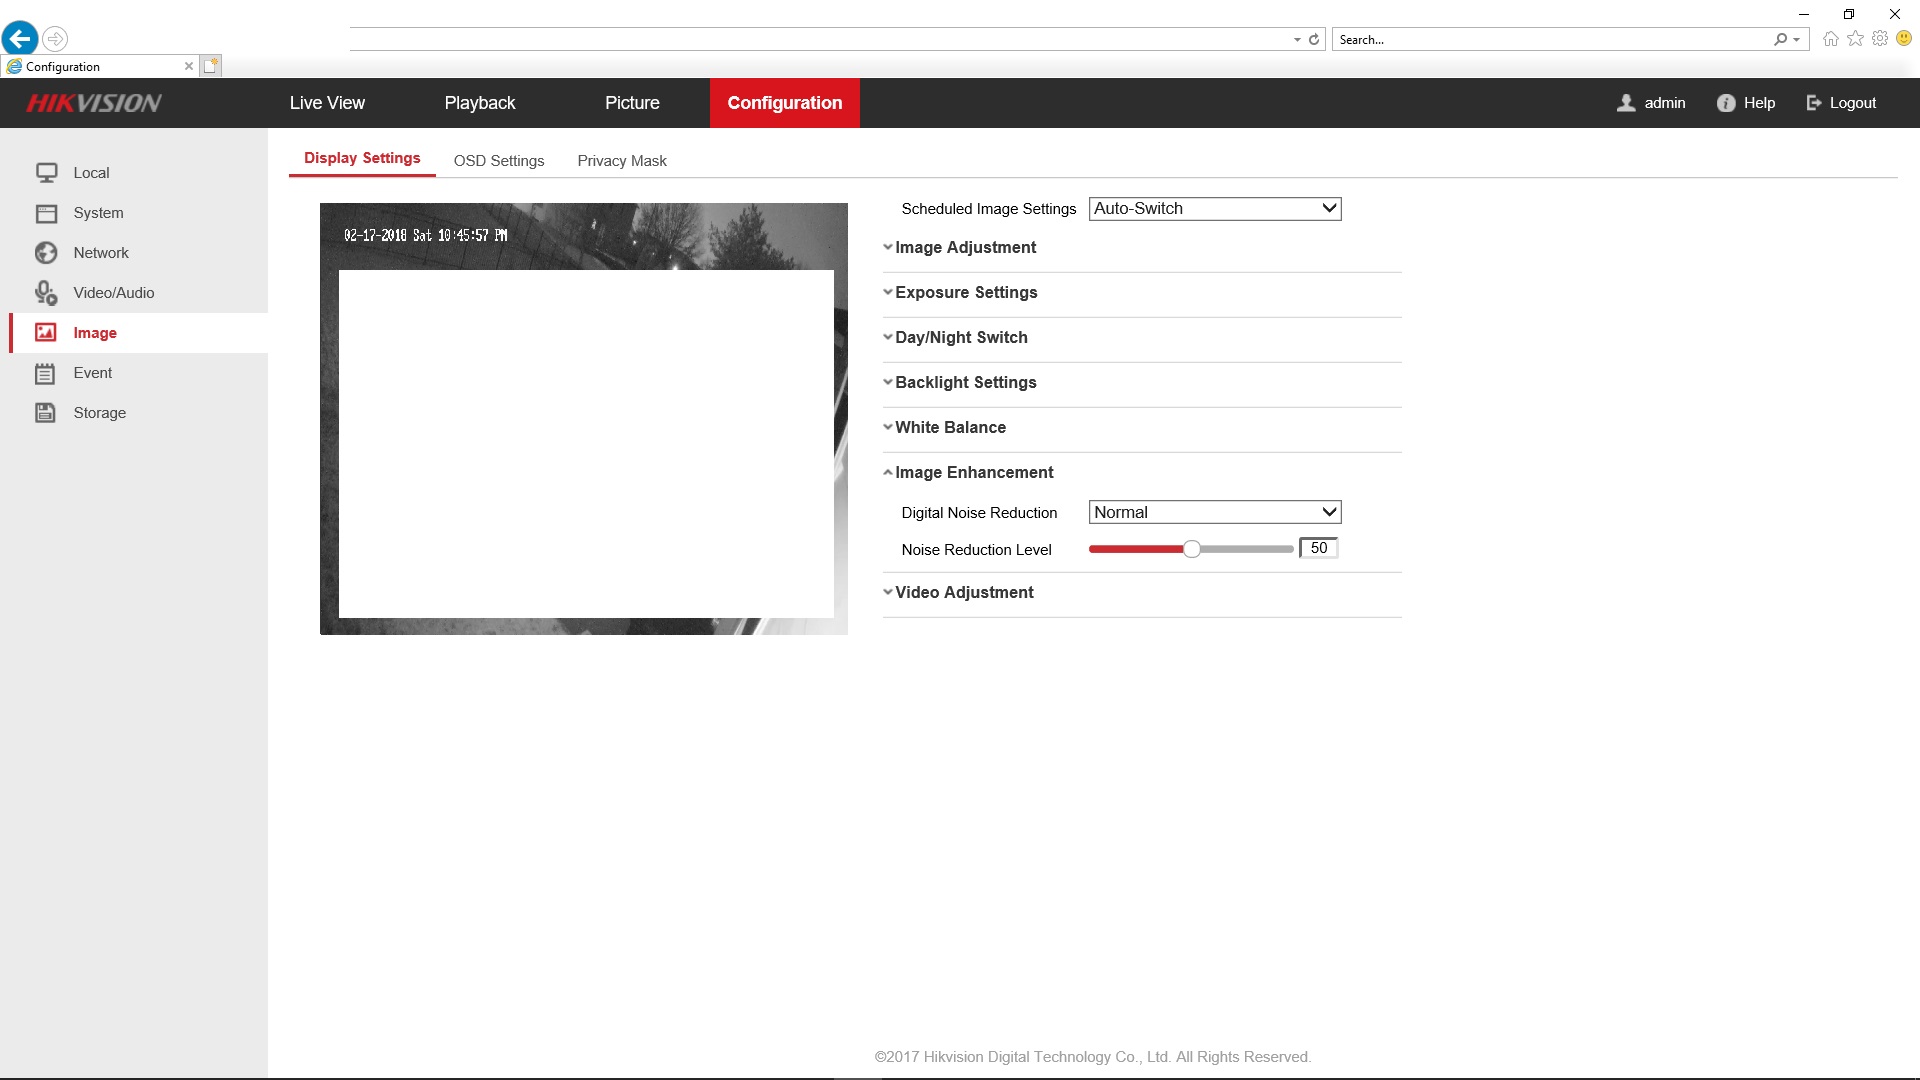
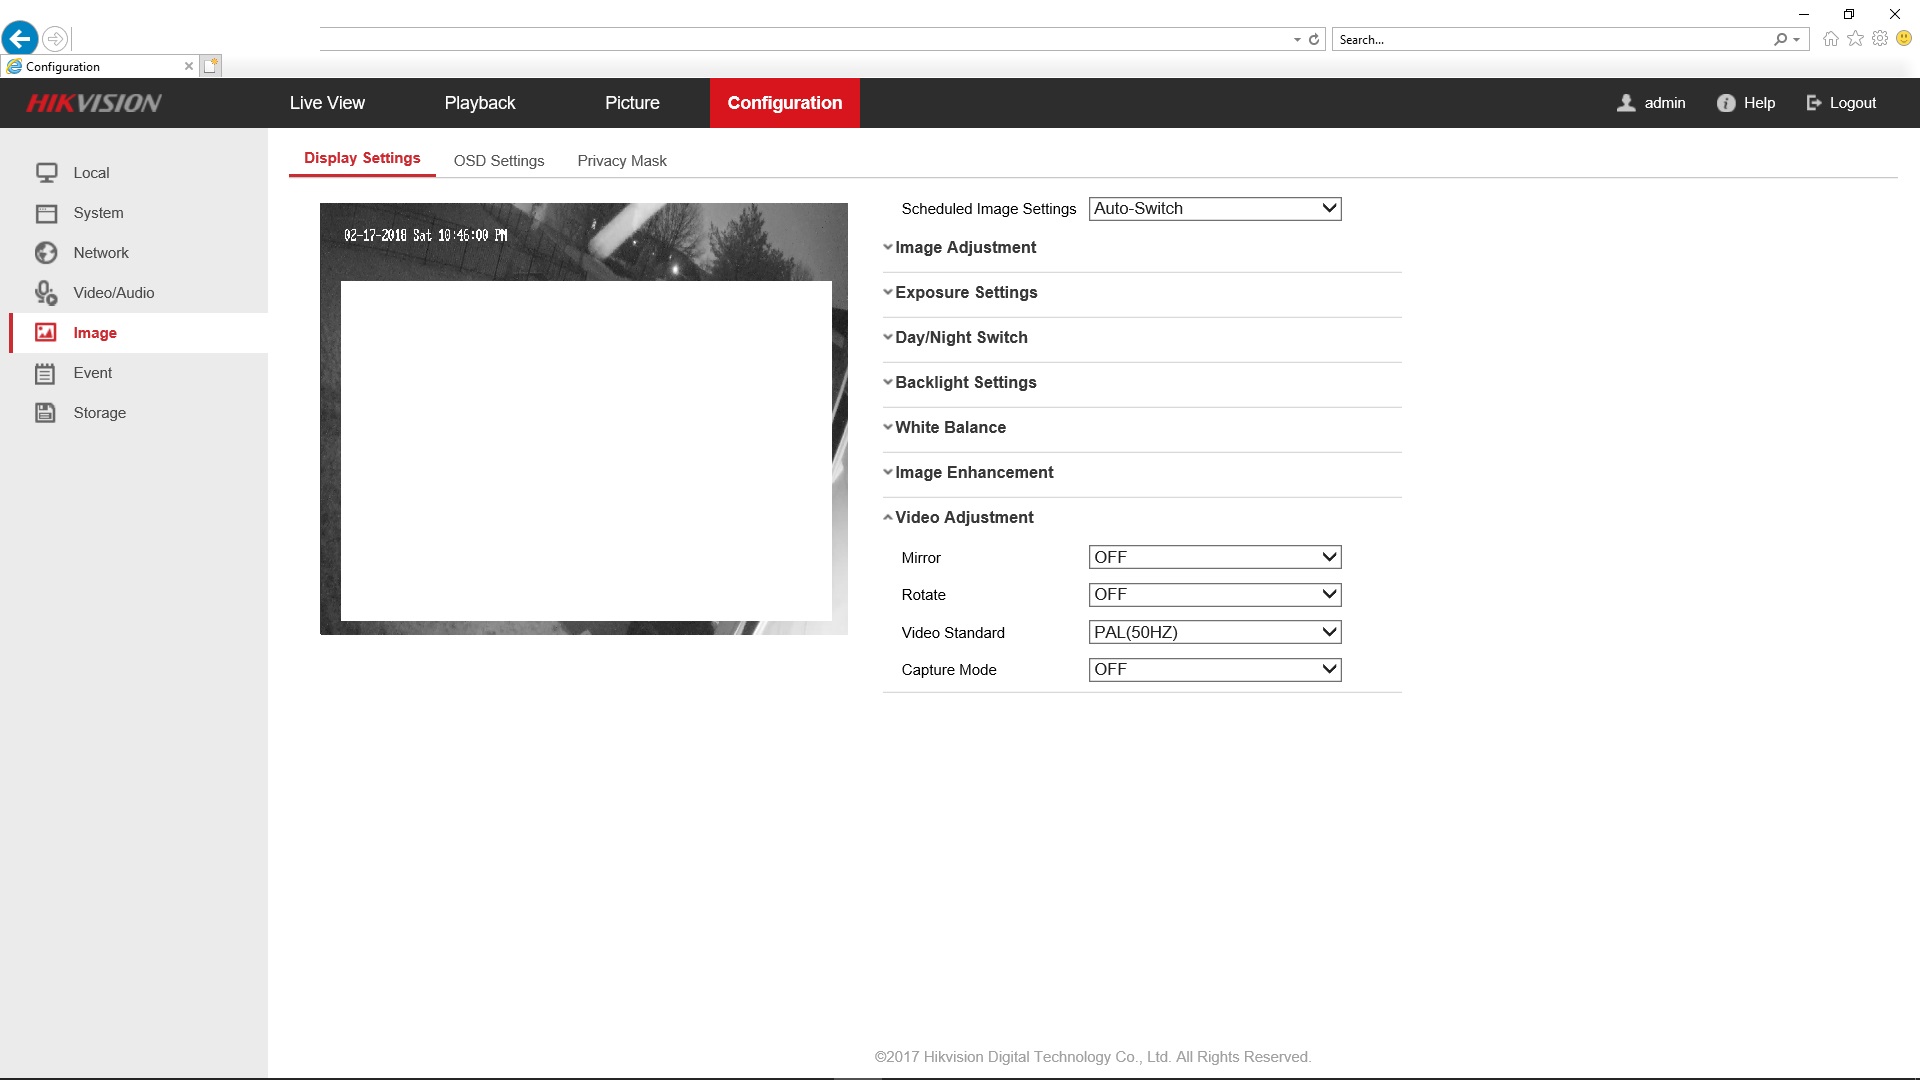
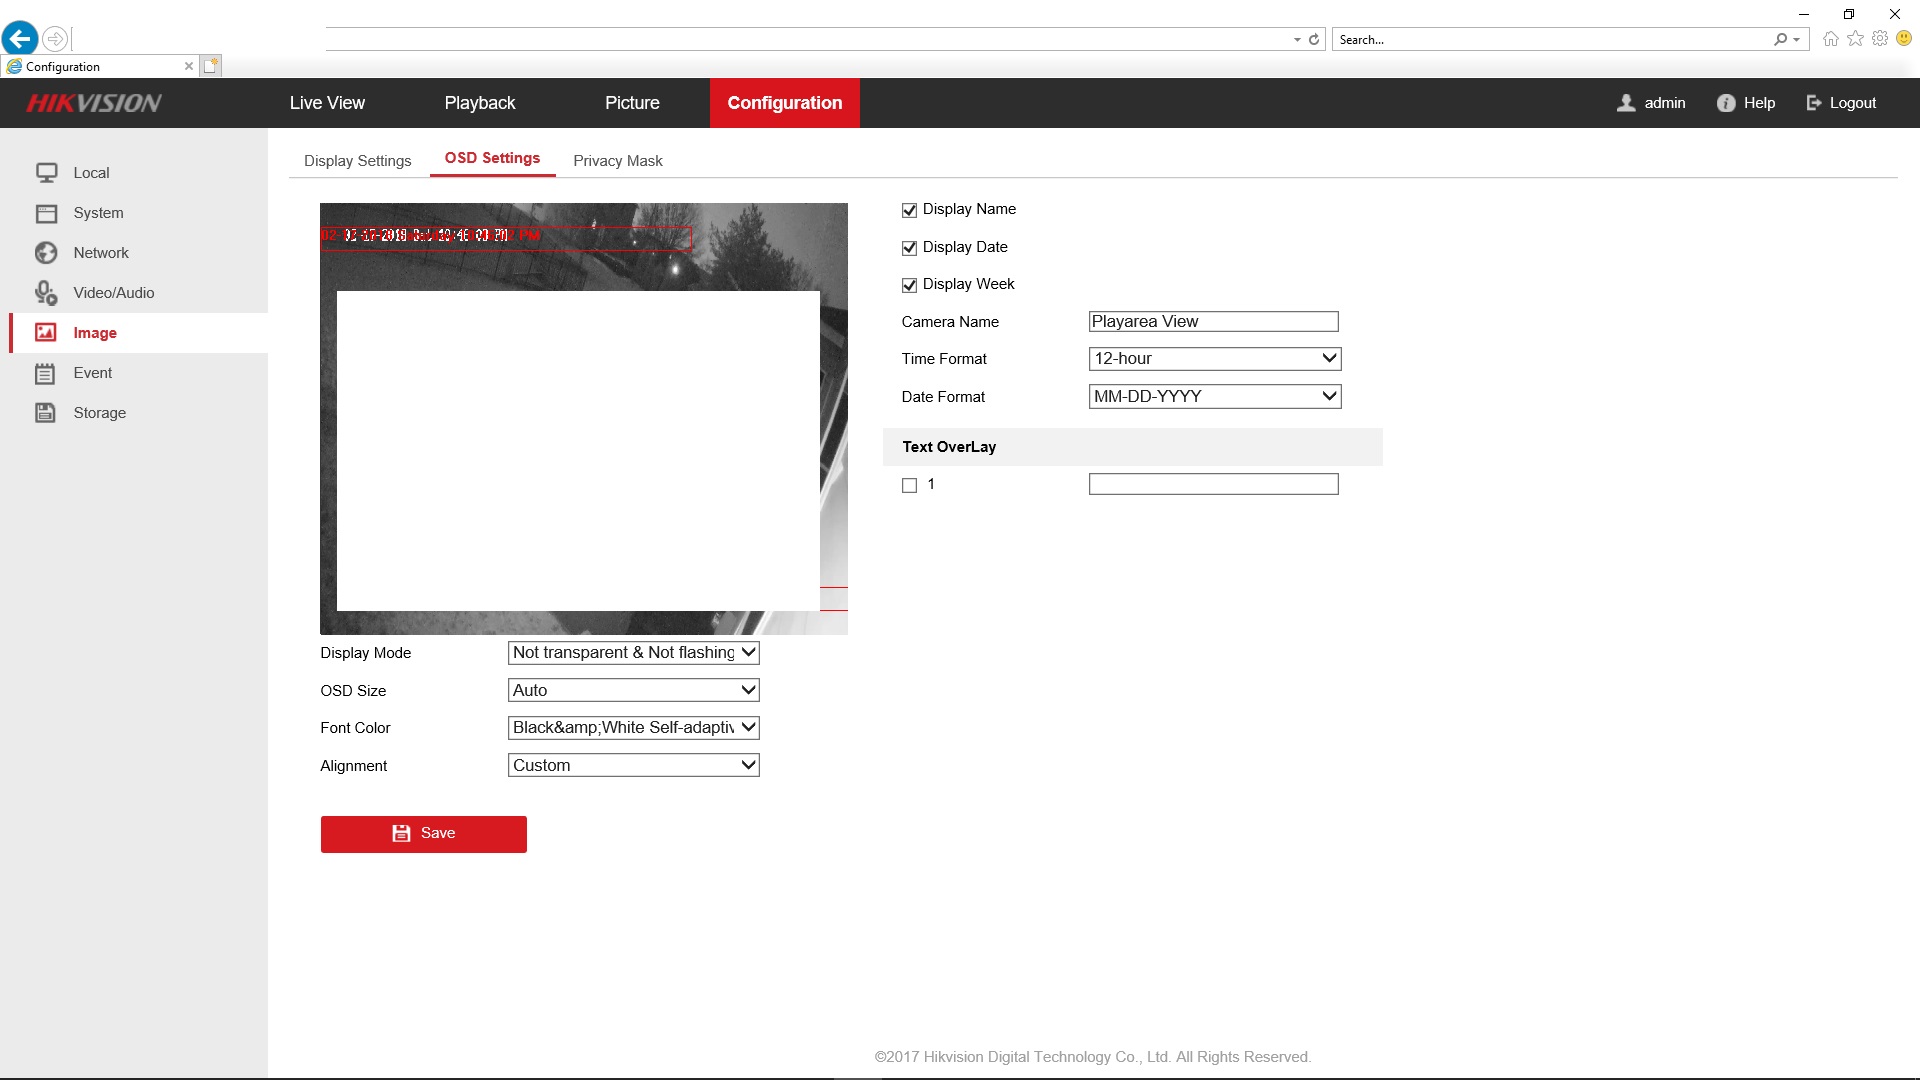 Make sure you check the "1" checkbox under **Text Overlay**, enter some text and save settings if you want to update the text programmatically.
Also, if you get the "Parameter Error" while saving, that means you are using wrong browser!
**Make sure you use IE11 browser with the ActiveX plugin installed.**
**Hikvision settings are best updated using IE11 browser!**
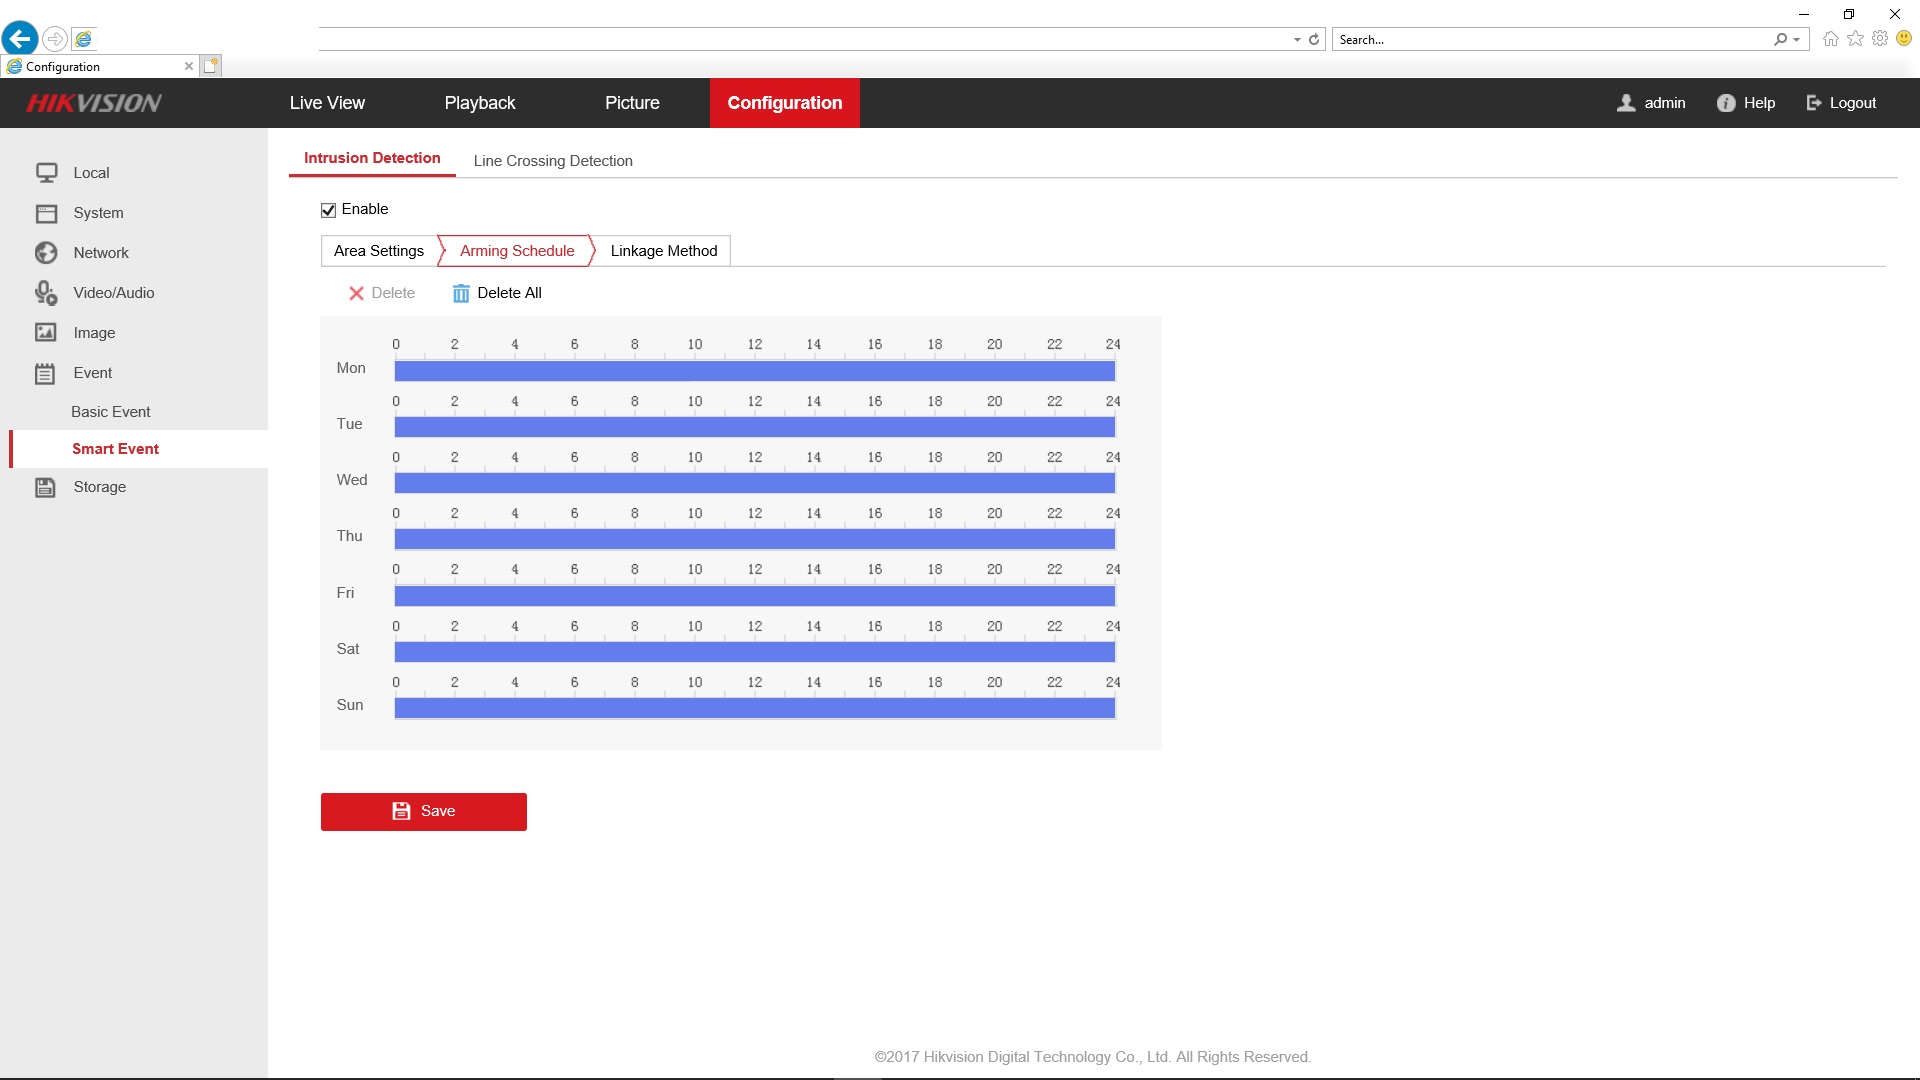
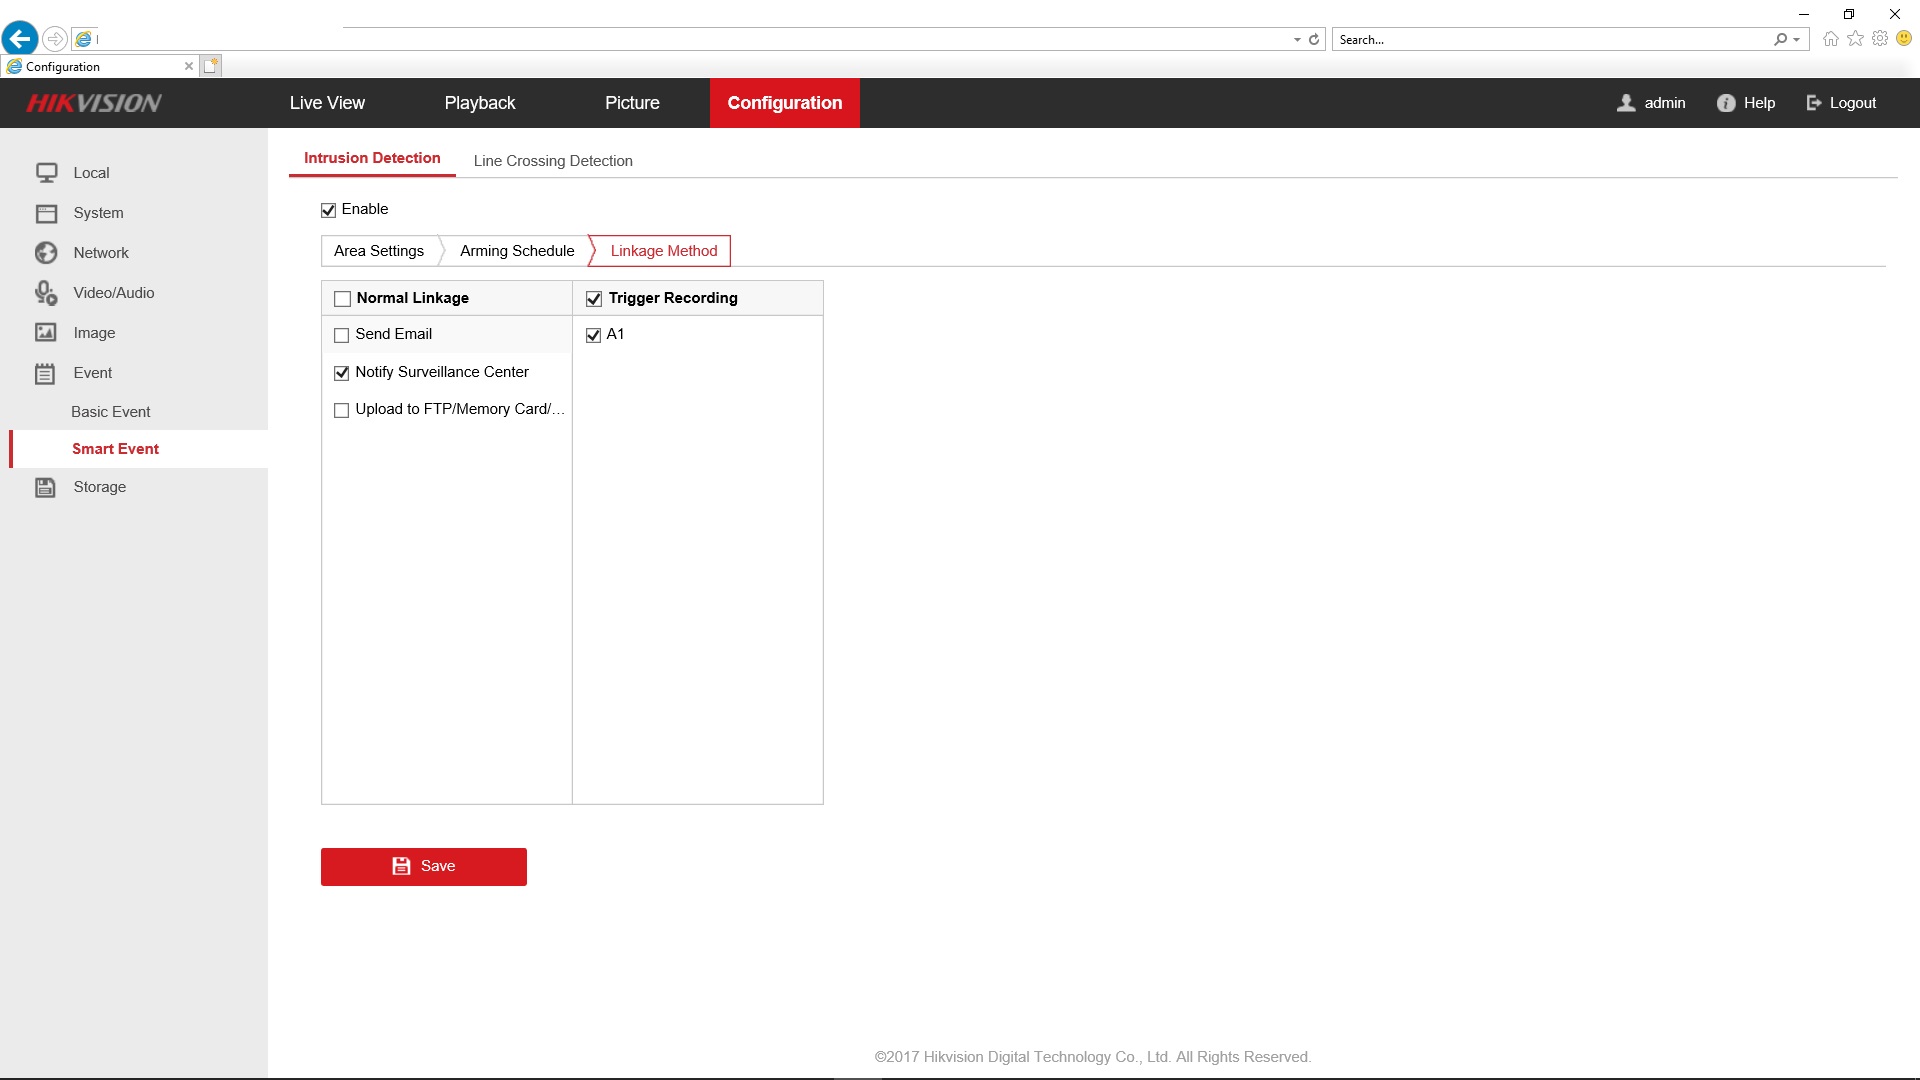
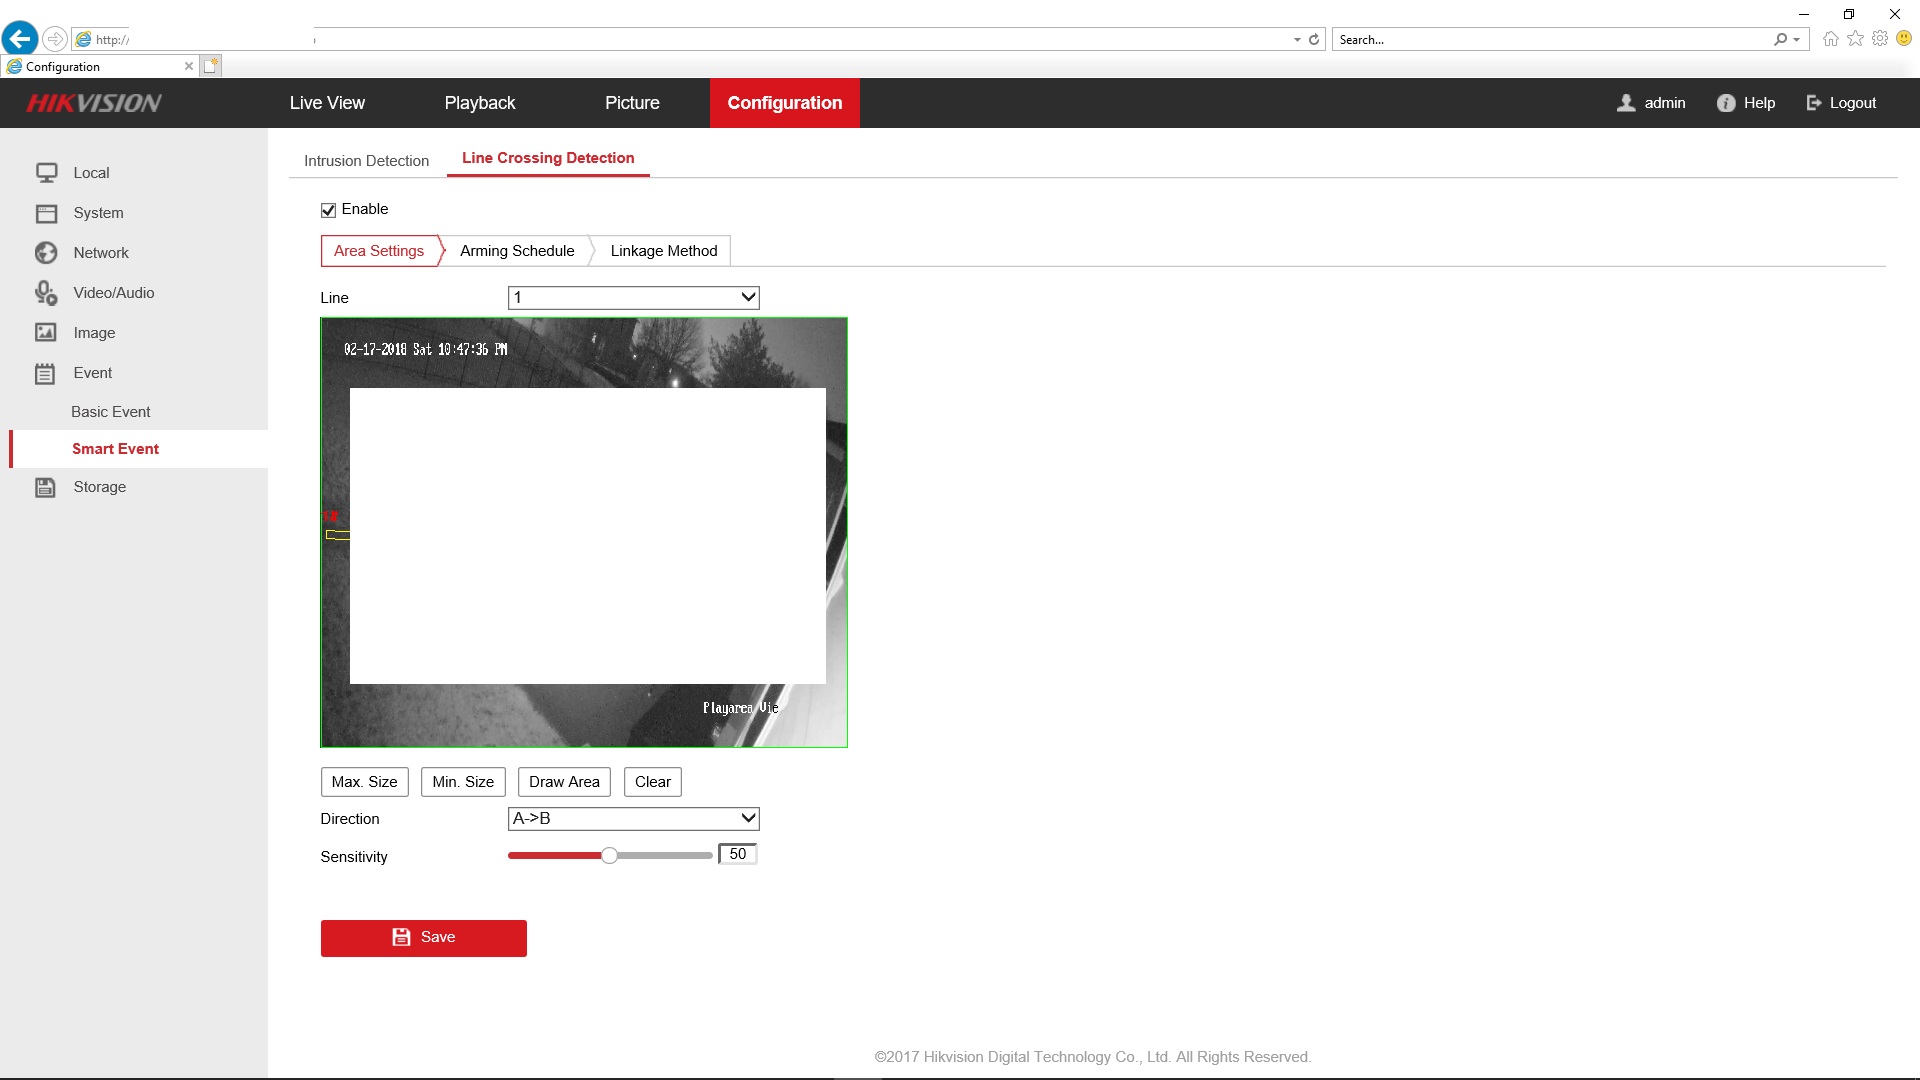
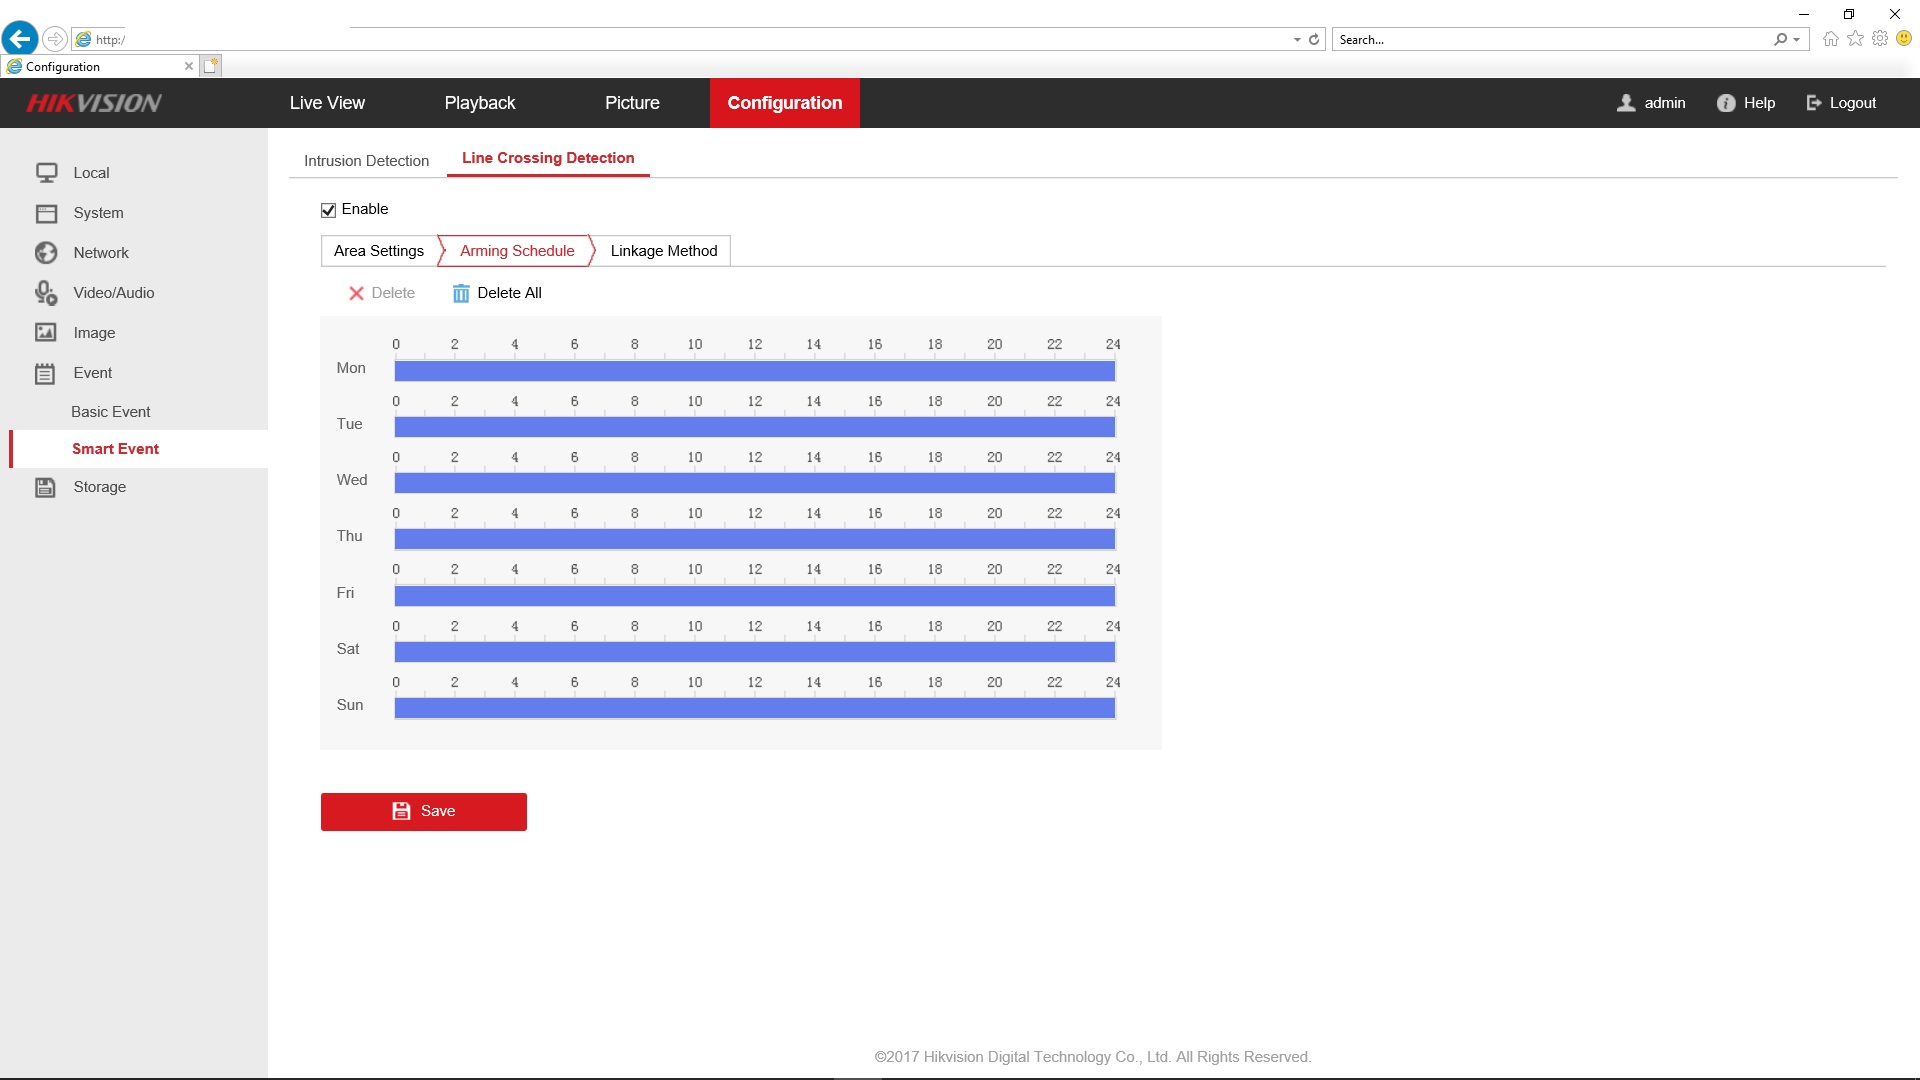


 The "Integration Protocol" under Advanced settings is only visible if you have the latest firmware. The reason you don't see that option in the above screenshots is because I had older version of firmware, and I updated it to enable text overlay feature.
The following is the Home Assistant REST API sensor that sets a given text to the camera. For more information, go to
[https://github.com/skalavala/mysmarthome/blob/master/packages/cameras.yaml#L141](https://github.com/skalavala/mysmarthome/blob/master/packages/cameras.yaml#L141)
```
rest_command:
set_camera_textoverlay_left_bottom:
url: http://192.168.xxx.xxx/Video/inputs/channels/1/overlays/text/1
username: !secret camera_username
password: !secret camera_password
method: PUT
content_type: 'text/xml'
payload: >-


 Make sure you check the "1" checkbox under **Text Overlay**, enter some text and save settings if you want to update the text programmatically.
Also, if you get the "Parameter Error" while saving, that means you are using wrong browser!
**Make sure you use IE11 browser with the ActiveX plugin installed.**
**Hikvision settings are best updated using IE11 browser!**


